Discover how to replace the charging port on your Samsung Galaxy S20 in this article. Learn the step-by-step process to restore your Samsung Galaxy S20 charging port functionality.
The Samsung Galaxy S20 has been widely praised for its powerful performance, stunning display, and impressive camera capabilities. However, like any electronic device, it will face hardware issues. One of the most common problems that users face is a faulty or damaged charging port. Fortunately, there is a solution for Samsung Galaxy S20 Damaged Charging Port.
Let us explore the process of replacing the charging port on the Samsung Galaxy S20.
Step 1 Collect All the Tools
To replace your phone’s charging port, make sure you have collected all the following tools and materials:
- SIM Card ejecting tool: This tool helps you take out the SIM card from your phone.
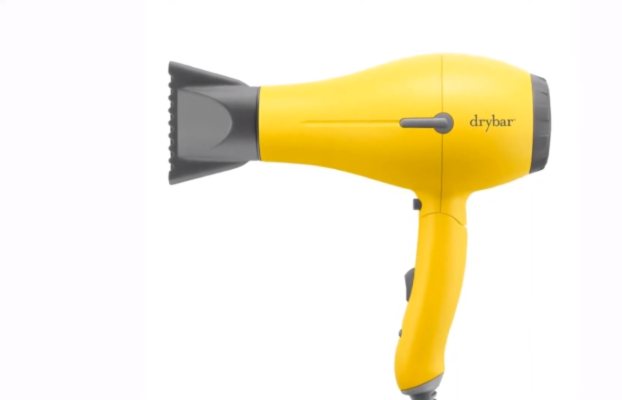
- Heat gun or Hairdryer: You will use this to heat the device, which loosens the adhesive holding the back cover.
- Suction cup: This handy tool helps you lift the back cover and create a gap between the back cover and the frame.
- A spudger: Use this tool to carefully separate the sensitive small internal parts from the phone’s frame without causing any damage.
- Screwdriver: It will help you loosen the screws.
- Adhesive glue: You will need this to securely reattach the back cover.
It will be much easier to replace a charging port if you have all these tools and set up a proper workspace.
Step 2 Turn Off the Phone
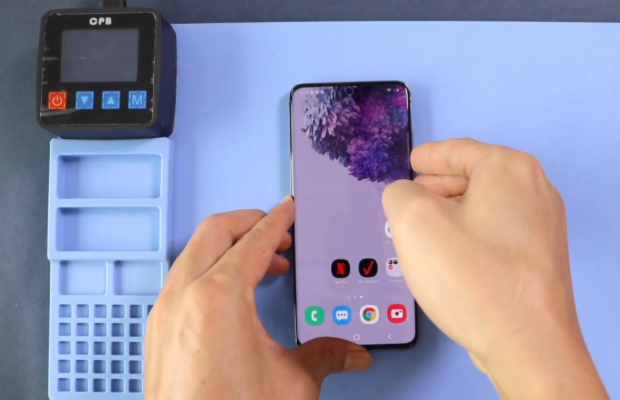
- Press and hold the power button located on the right side of the Samsung Galaxy S20.
- After a few seconds, a menu will appear on the screen.
- Tap on the “Power off” option.
Step 3 Remove the SIM Card Tray
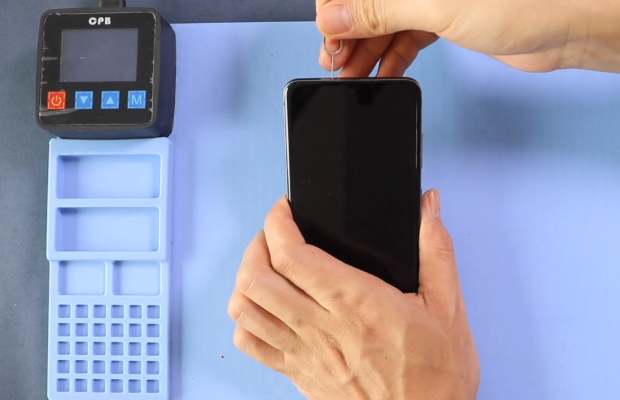
- Find a small hole near the slot where you insert the SIM card on your phone.
- In the hole, insert the SIM ejecting tool, which looks like a small pin.
- Gently push the tool into the hole, and the SIM tray will come out of the phone.
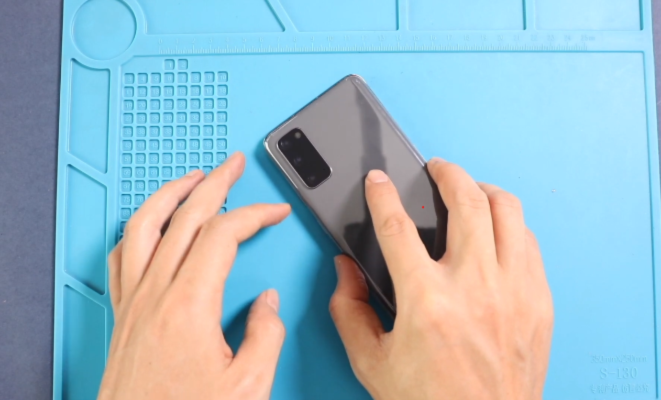
Step 4 Heat All Four Corners of the Device
- Heat all four corners of the back frame of the smartphone with a heat gun or hair dryer.
- At least heat the device for 3 to 5 minutes, as the Samsung S20 adhesives are of high quality and take time to become soft.
- Do not overheat the phone.
Step 5 Slice Adhesives from the Lower Side
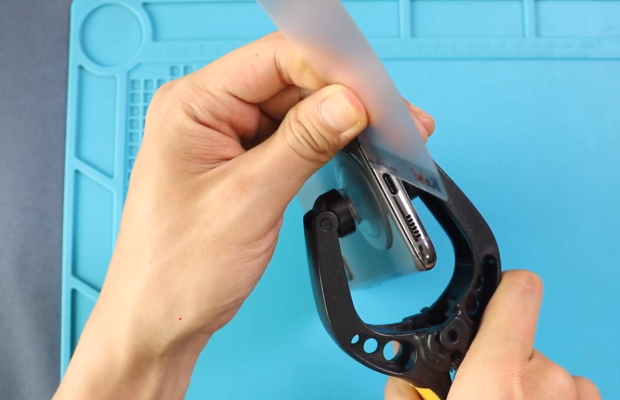
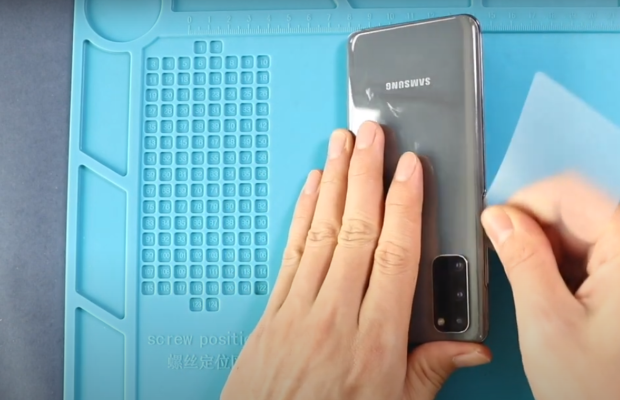
- With the help of a suction cup, pull the back cover outward. A gap creates between the back cover and the phone frame.
- Insert a plastic pick of 5 mm size into the gap.
- Move the pick from one lower corner to the other to cut the adhesives.
Step 6 Remove Adhesives from the Left Side
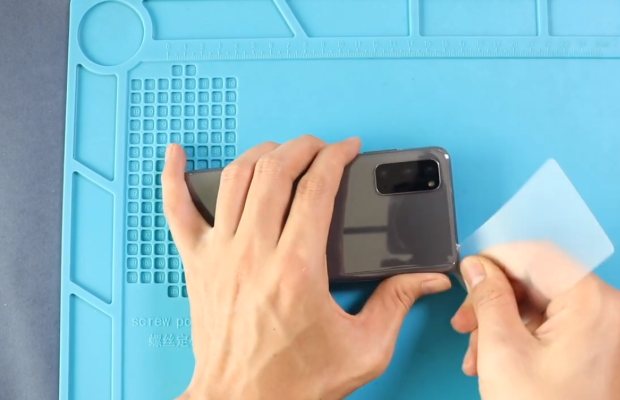
- From the lower left corner to the upper left corner, move the pick for 3 to 4 times.
- This will remove all the adhesives on the left side.
Step 7 Cut Adhesives from the Upper Side
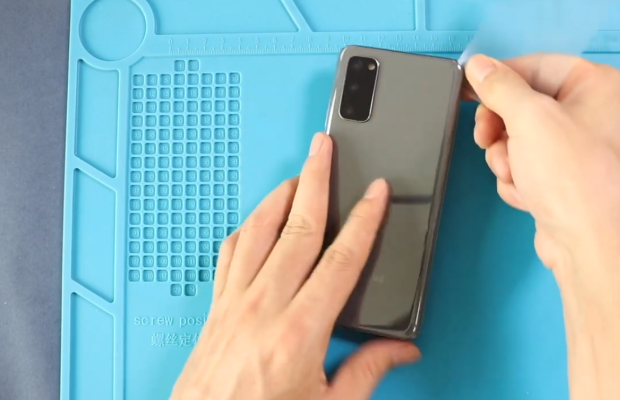
- To cut the adhesive glues from the upper corner, slide the pick from the upper left corner to the upper right corner.
- Repeat this pick motion 3 times.
Step 8 Slice Right Side Adhesives
- Keep sliding the plastic pick from the upper right corner to the lower right corner.
- In this way, adhesive glue is removed from all four sides of the phone.
- If it becomes difficult to cut the adhesive, then heat the device again for 2 to 3 minutes.
Step 9 Remove the Back Cover
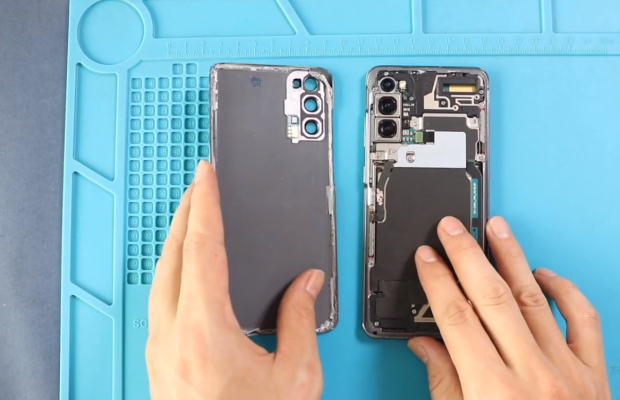
- After cutting adhesive glue from all sides, gently pull the back cover up with your fingers.
- It will be separated from the frame of the phone.
- Separate the back cover and keep it in a safe place.
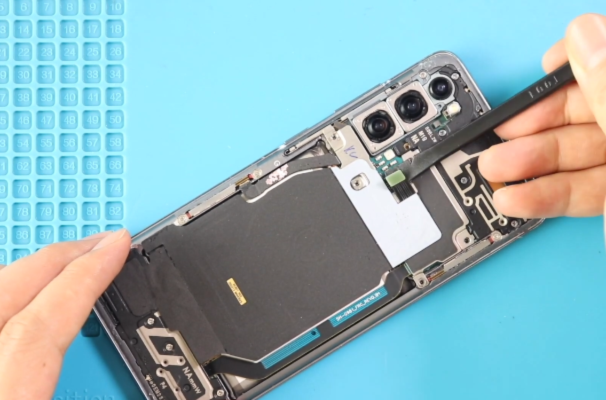
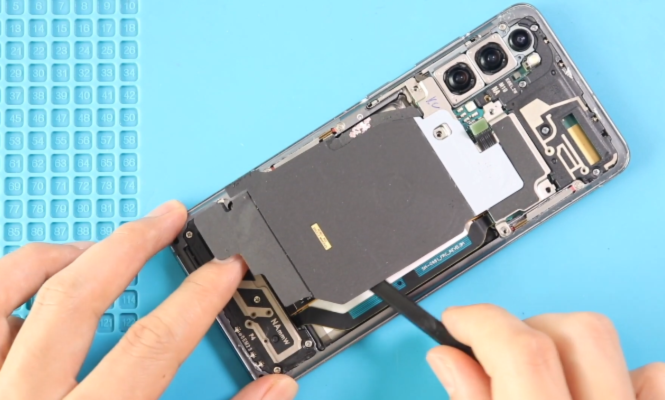
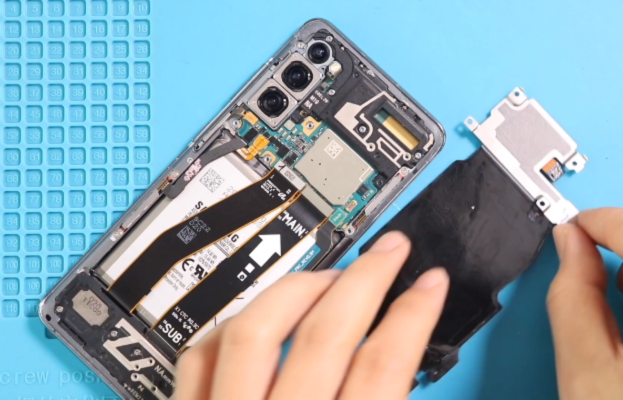
Step 10 Disconnect the Wireless Charging Coil
- Use a plastic tool or spudger to disconnect the wireless charging coil by lightly pulling it up.
- Use moderate force to unclip it.
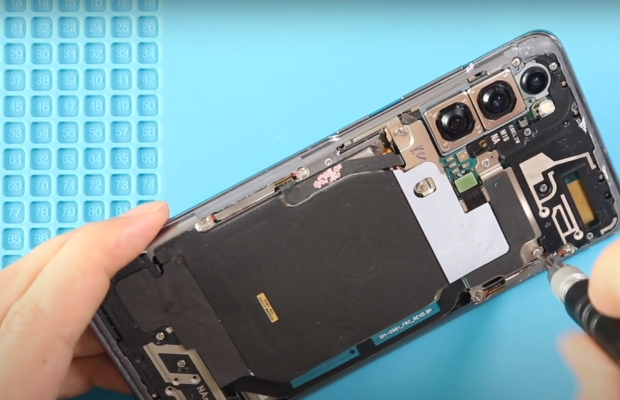
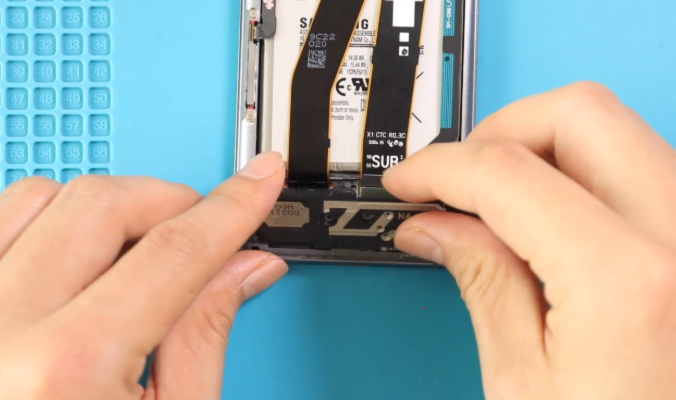
Step 11 Unfasten the Motherboard Bracket
- The Motherboard Bracket is secured with five 4 mm screws to the phone frame.
- Use a Phillips screwdriver to remove the screws.
- Place these screws in a safe place.
- Take help from blunt nose tweezers or fingers to unclip the motherboard bracket.
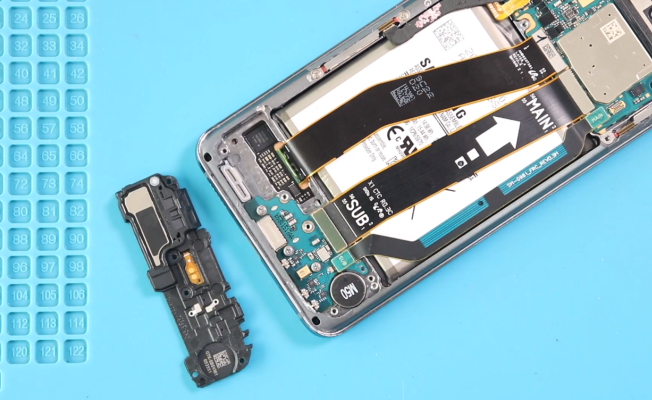
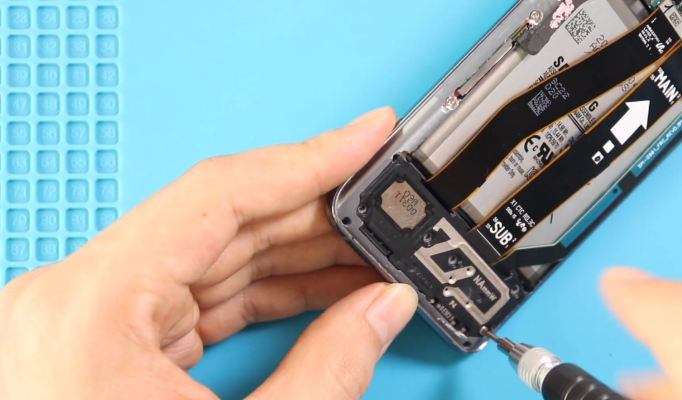
Step 12 Unclip and Disconnect the Loudspeaker
- A Philips screwdriver will help you unscrew the 4 mm long five screws of the loudspeaker.
- Remove the loudspeaker with the help of your fingers or a pair of tweezers.
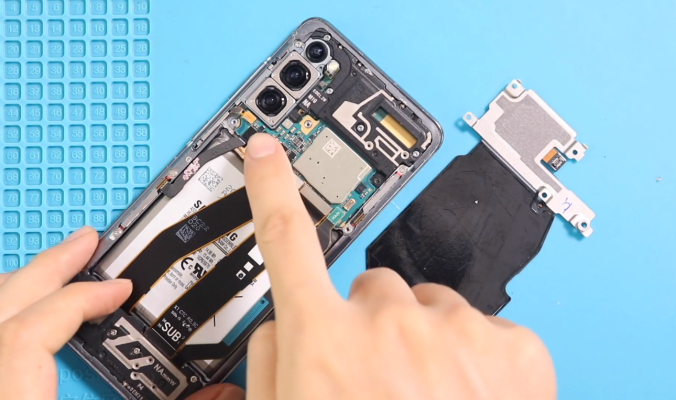
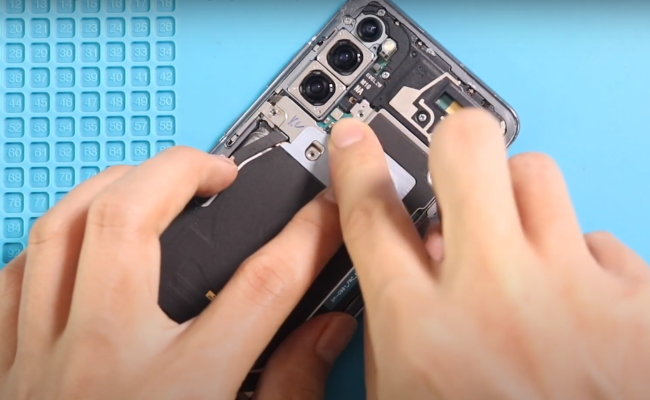
Step 13 Remove the Wireless Charging Coil
- The next step is to slowly pull up the wireless charging coil with a pair of tweezers or your fingers.
- Slowly peel off the wireless charging coil from the phone frame.
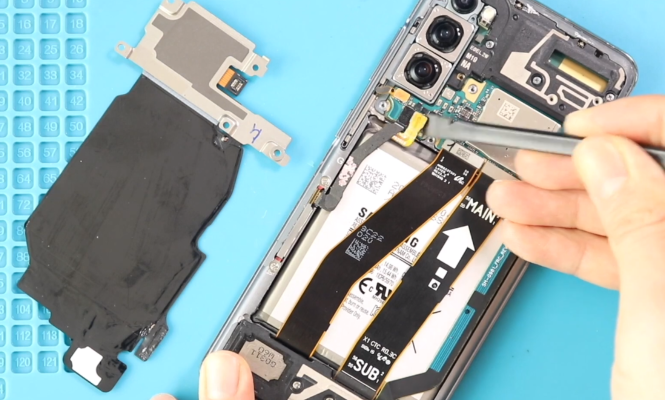
Step 14 Disconnect the Battery
- Disconnect the battery to avoid any thermal incident while replacing the charging port.
- The pointed edge of a spudger will help you unclip the battery connector press.
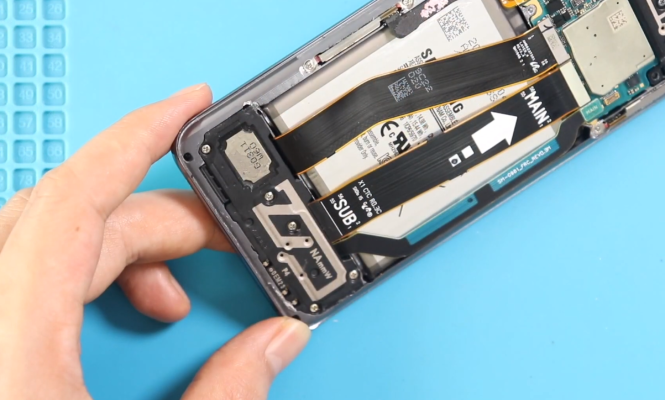
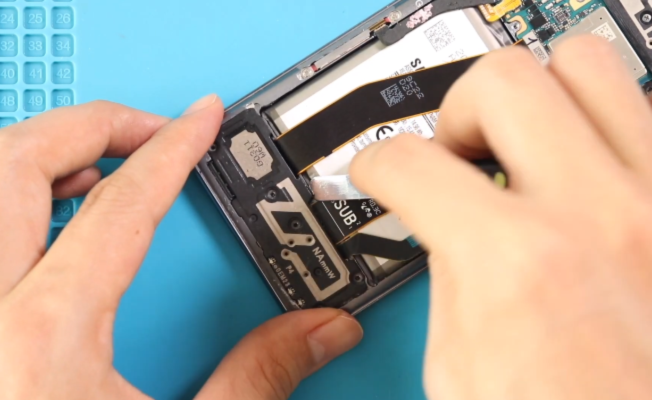
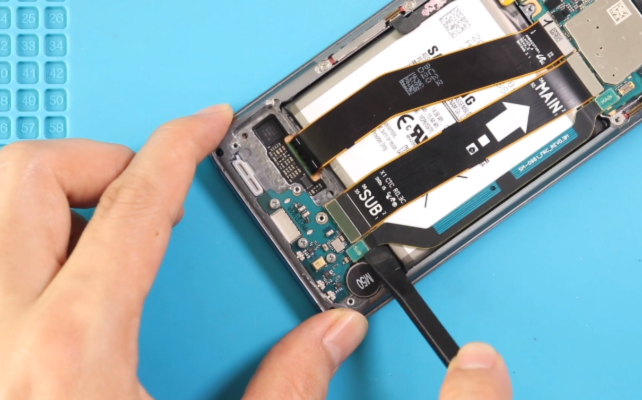
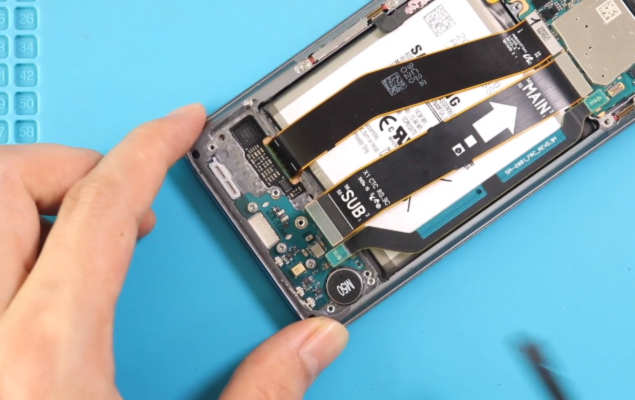
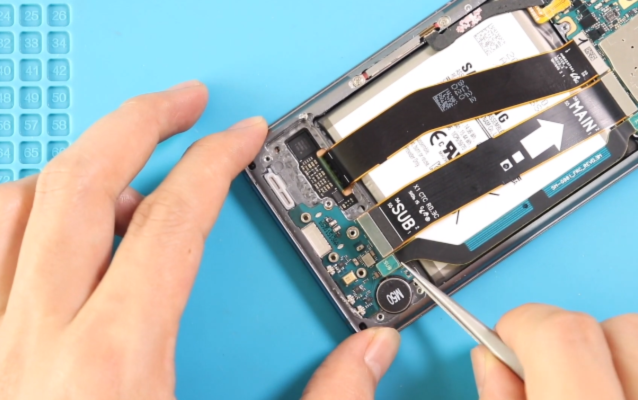
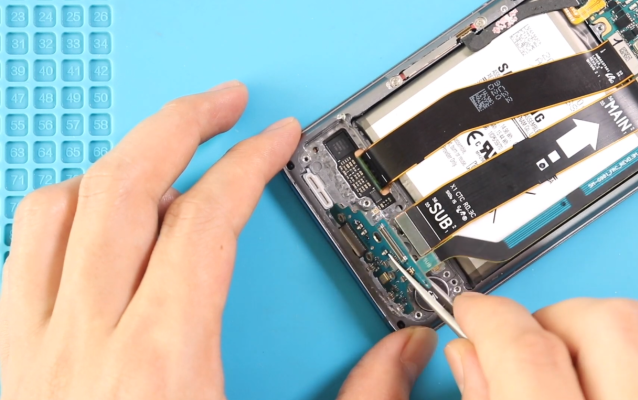
Step 15 Disconnect the Flex Cables
- You can use your fingers or a spudger to pull up and disconnect the flex cables.
- Pull up the flex cables gently.
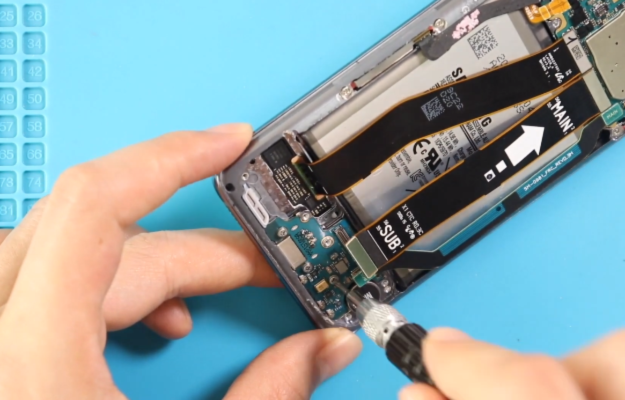
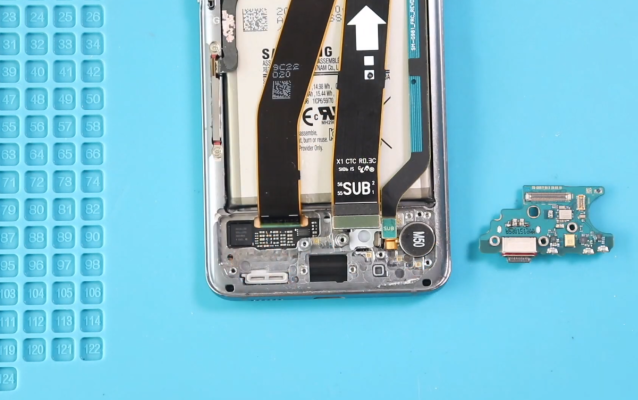
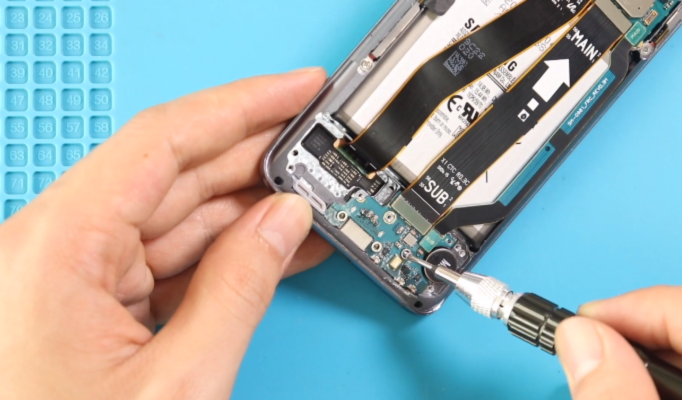
Step 16 Unfasten and Remove the Daughterboard
- This step involves removing screws from the daughterboard and then separating it from the phone.
- Remove the three 3.4 mm-long screws securing the USB-C port and daughterboard with a Phillips screwdriver.
Step 17 Attach the New Daughterboard
- After replacing the damaged USB charging port and daughterboard, place the daughterboard in its position again in the internal frame of the phone.
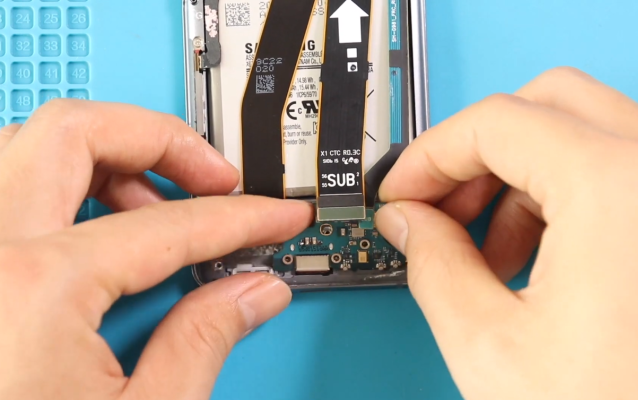
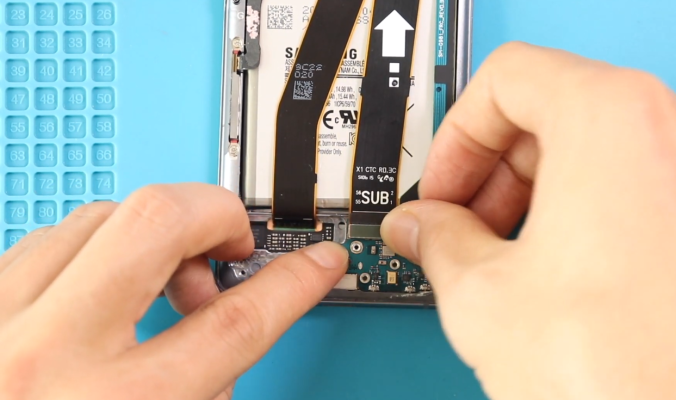
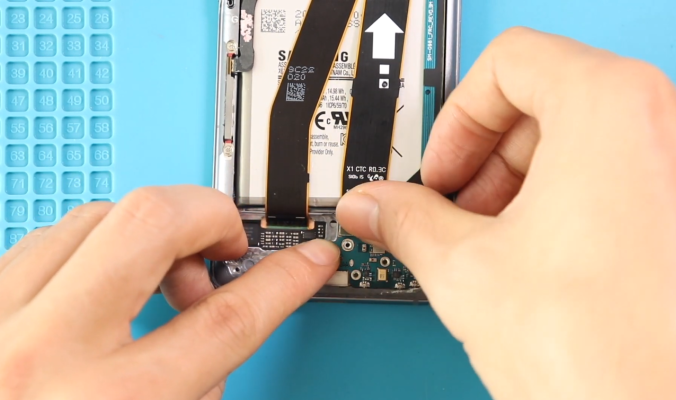
Step 18 Reconnect the Flex Cables
- Press the flex cables very carefully to reconnect.
Step 19 Fasten the Daughterboard
Use a Phillips screwdriver to tighten the three screws that secure the USB-C port and daughterboard.
Step 20 Attach the Loudspeaker
- It is time to reconnect and fasten the loudspeaker to its position again.
- Use a screwdriver to tighten its screws.
Step 21 Reconnect the Battery
- Now with the help of a finger, press the battery press connector and reconnect it with the internal frame of the phone.
Step 22 Fasten the Motherboard Bracket
- Hold the motherboard bracket in your fingers.
- Carefully place it on the internal frame and tighten up its screws with a screwdriver.
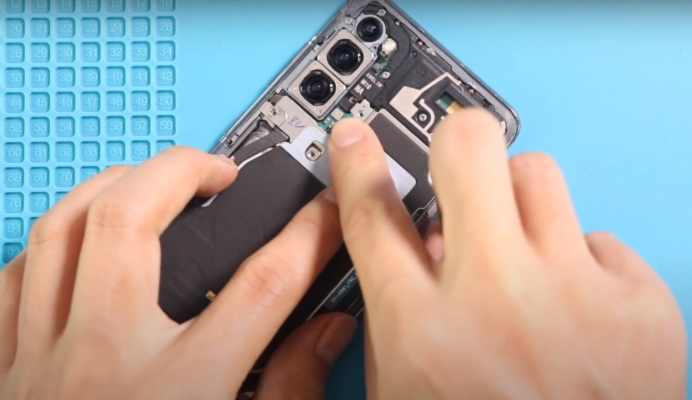
Step 23 Reconnect the Wireless Charging Coil
- Press the wireless charging coil clip with the help of a finger to reconnect it.
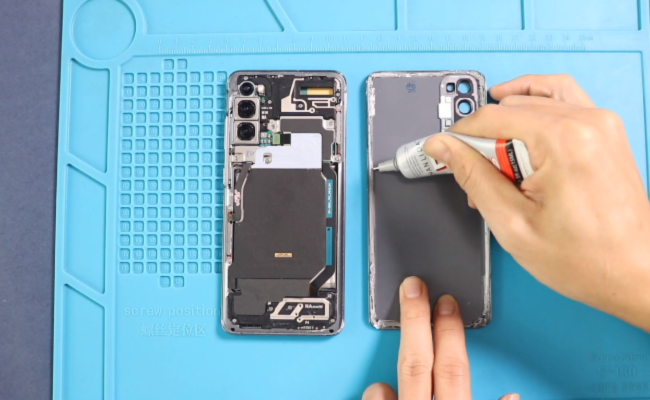
Step 24 Apply Adhesives Around Corners
- Remove old damaged adhesives from all around the edges of the back cover.
- Apply high-quality adhesive glue on all four sides of the back cover.
Step 25 Attach the Back Cover
- Lastly, hold the back cover in your fingers and, with keen attention, attach it to the frame of the Samsung Galaxy S20.
- Keep in mind, adhesive glue will take some time to stick to the back cover with the body of the phone.
Conclusion:
Replacing the charging port on your Samsung Galaxy S20 can solve issues such as slow charging, difficulty in connecting the charger, or a non-responsive charging port. By following the step-by-step process and gathering the necessary tools, you can restore the charging functionality of your device. This cost-effective solution saves you from buying a new phone. Don’t let a faulty charging port hold you back from enjoying your Samsung Galaxy S20. Take action and get it replaced to power up your device again.
