Are you looking for a guide to replace your Google Pixel 8 logic board? Then you have reached the right place. Follow our step-by-step guide to replace the faulty logic board of your Google Pixel 8.
Here is a step-by-step guide to replace the logic board of your Pixel 8.
Step 1 Gather Tools For Pixel 8 Disassembly
Collect all these necessary tools to disassemble your Pixel 8:
*Heat gun or Hair Dryer
*A Suction Cup
*SIM tray ejecting tool
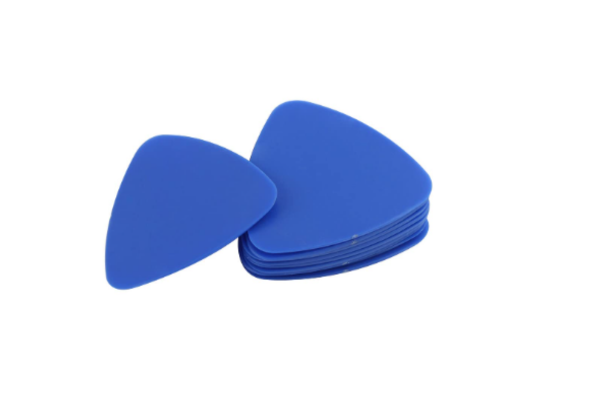
*An Opening Pick
*A set of screwdrivers (Phillips or Torx)
*Spudger
*A pair of tweezers
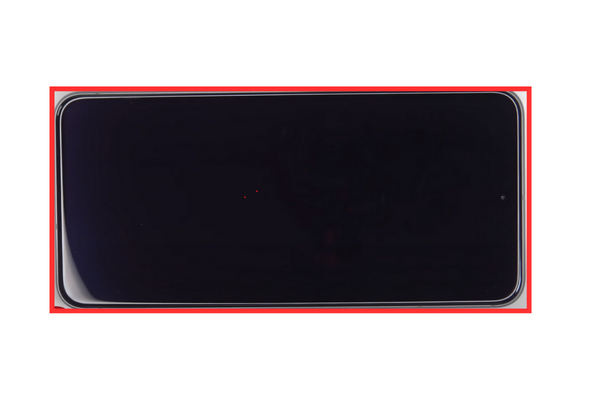
Step 2 Power Off The Google Pixel 8
*Remove all the cables from the phone
*Press the volume up and the power button together
*A shutdown menu will appear on the screen
*Select the power-off option
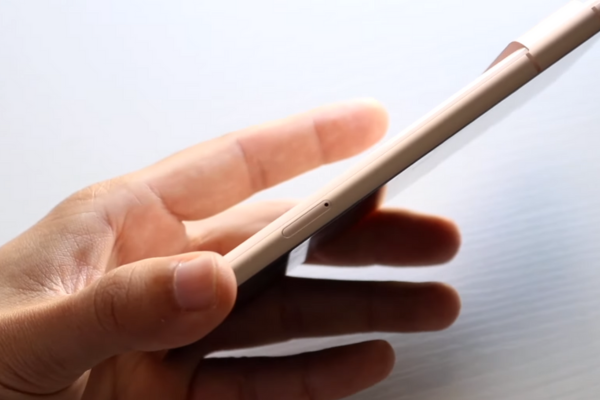
Step 3 Eject The SIM Tray
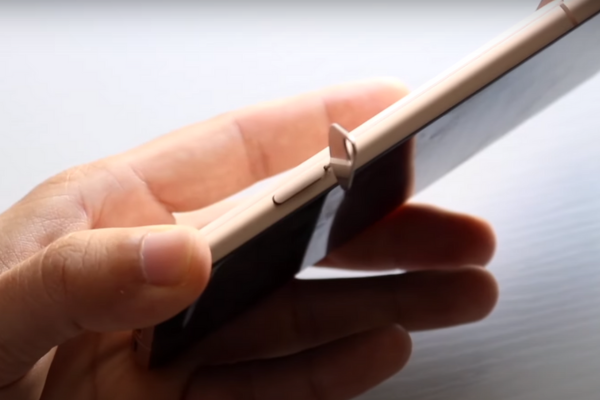
*Inject the SIM ejecting tool in the hole located near the SIM Tray.
*Push the ejecting tool inside the hole.
*SIM Tray will come out.
*Remove it with the help of your fingers.
Step 4 Heat All The Sides
*Take a heat gun or a hair dryer.
*Adjust the medium heat setting on the hot gun or hair dryer.
*Heat all the four sides of the phone for 5 to 10 minutes.
*Do not overheat the phone.
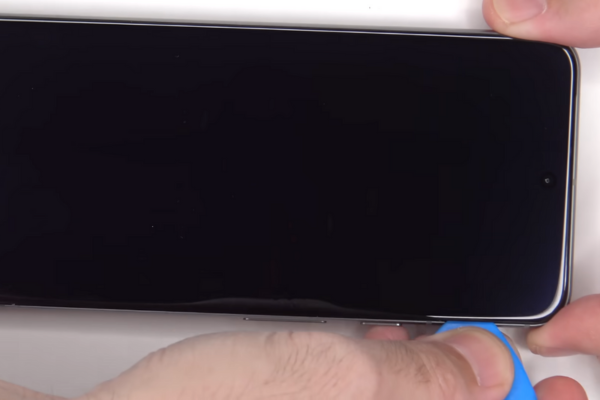
Step 5 Attach A Suction Cup
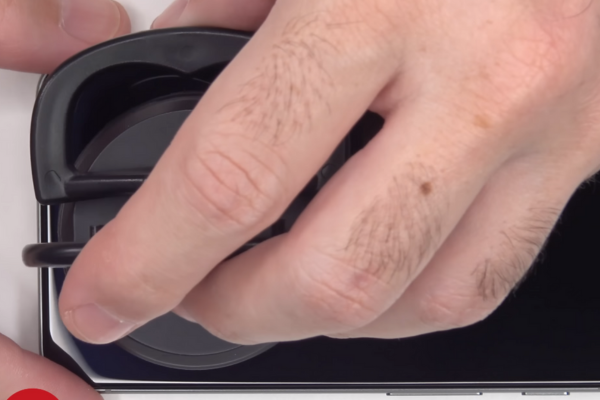
*Take a suction cup of the appropriate size.
*Attach a suction cup at the bottom of the phone screen.
*Gently pull the suction cup.
*A gap will appear between the screen and the phone frame.
Step 6 Insert An Opening Pick
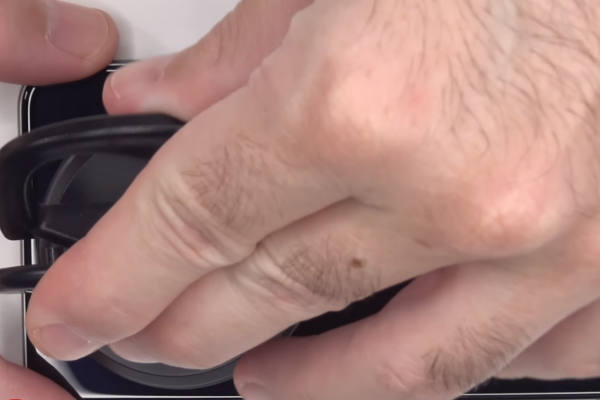
*Take a plastic opening tool or pick.
*Mark 3mm on the opening pick.
*Insert the opening pick in the gap up to 3mm.
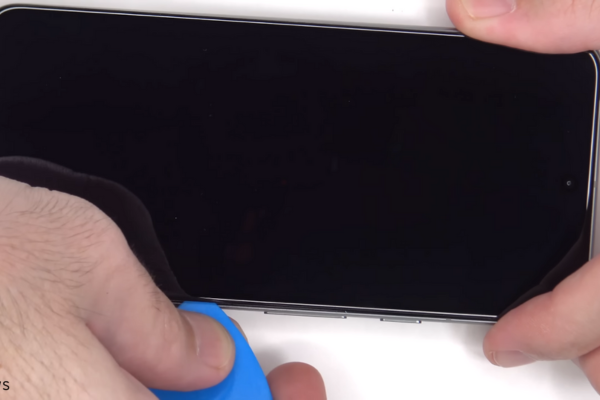
Step 7 Remove the Bottom Adhesive
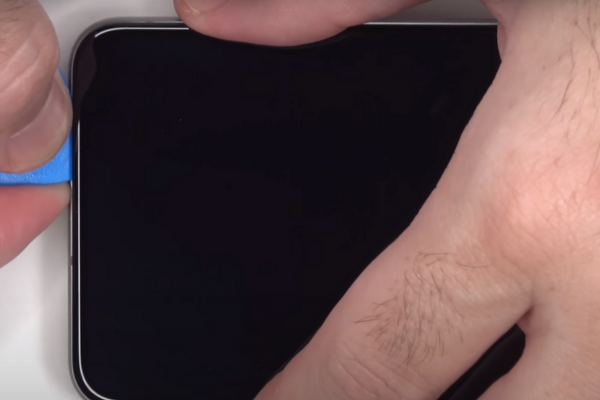
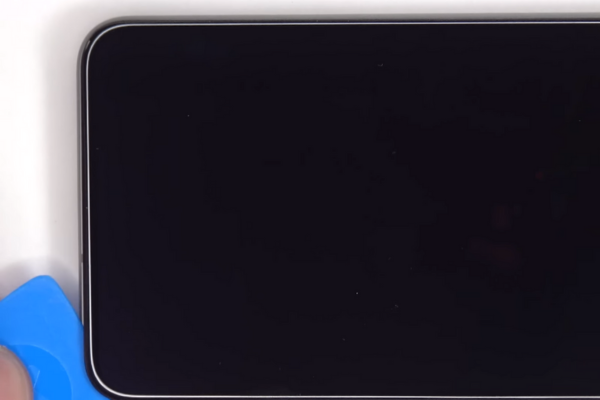
*Slide the opening pick from the lower right corner of the phone to the lower left corner.
*To cut the bottom adhesive glue, repeat this movement 2 to 3 times.
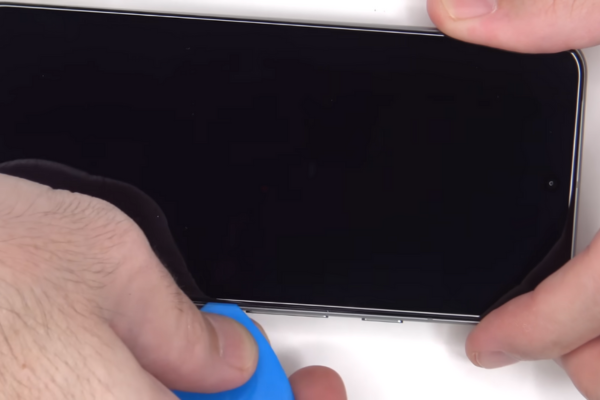
Step 8 Cut Left Adhesive
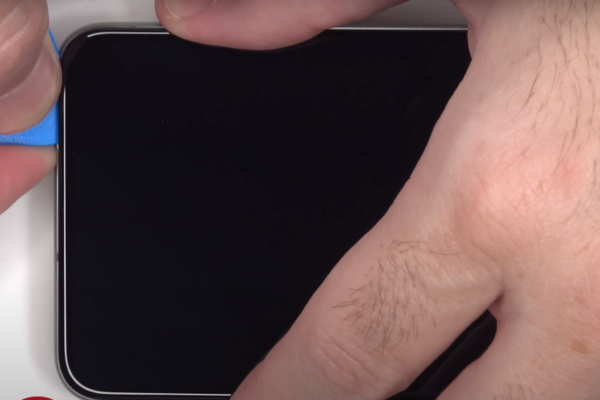
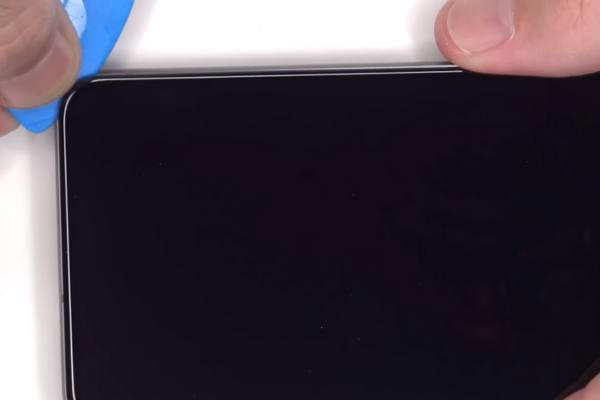
*Move the pick from the lower left corner to the upper left corner at least two times.
*Do not insert the pick more than 3mm inside the phone, since the screen cable is on the left side.
Step 9 Remove Upper Edge Adhesive
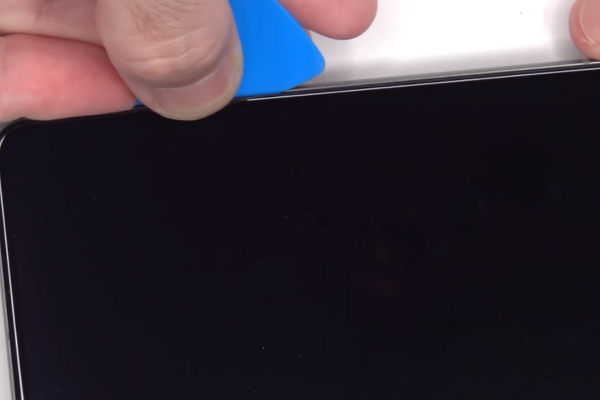
*Keep moving the pick from the upper left corner of the phone to the upper right corner.
*It will remove the upper edge adhesive.
Step 10 Cut Right Side Adhesive
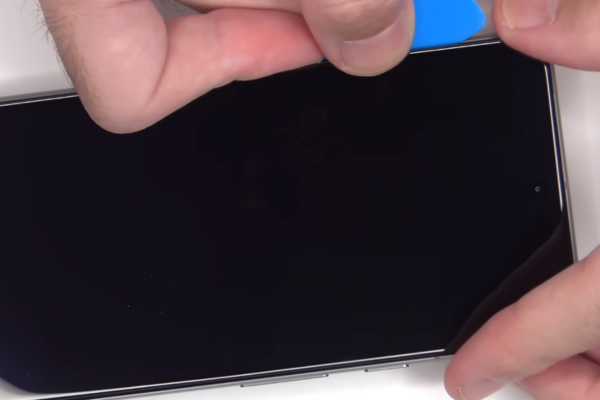
*Move the pick from the upper right corner to the lower right corner.
*Repeat this sliding motion twice to cut the right side adhesive glue.
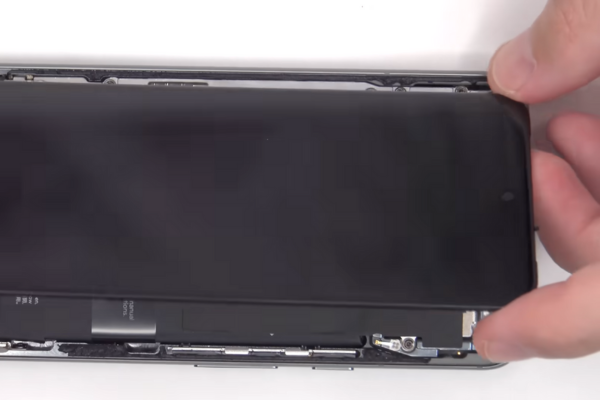
Step 11 Prop Up the Screen
*Hold the screen cover with your fingertips after cutting the adhesive from all four sides.
*Gently prop up the screen.
Step 12 Disconnect The Screen Cable Cover
*Hold the screen in a vertical position.
*Disconnect the screen cable cover with a spudger.
Step 13 Disconnect The Screen
*Pry up the screen connector with a spudger.
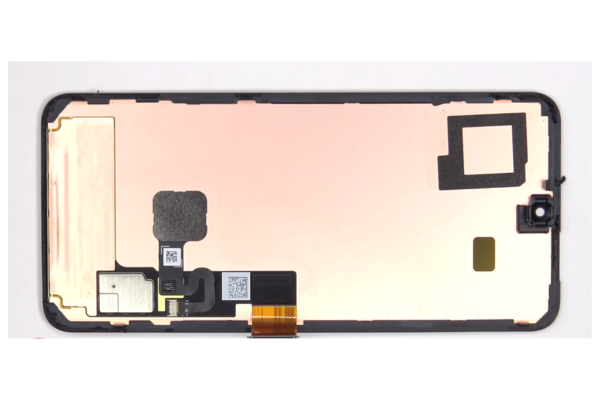
Step 14 Remove The Screen
*After disconnecting the screen from the phone frame, remove the screen.
*Keep it in a safe place.
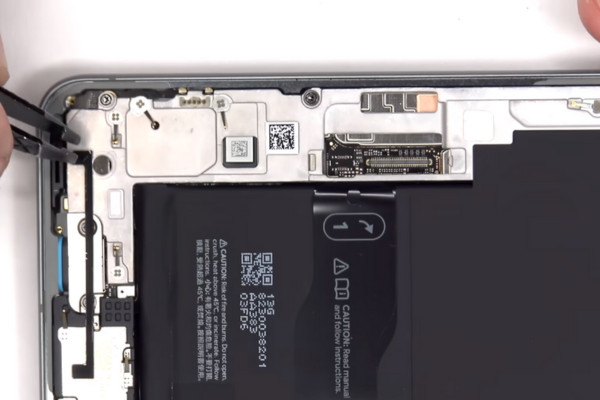
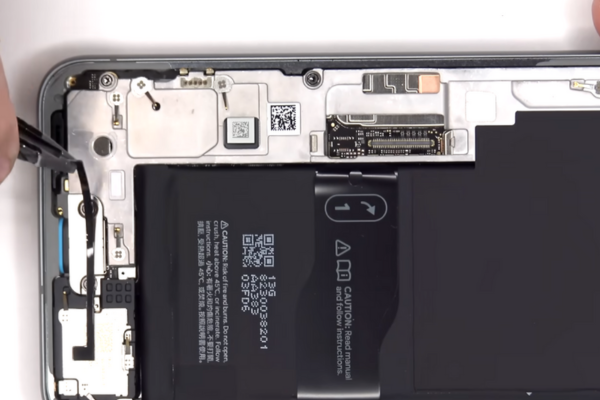
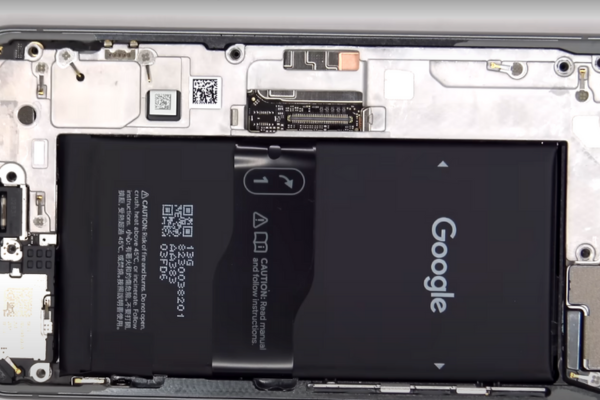
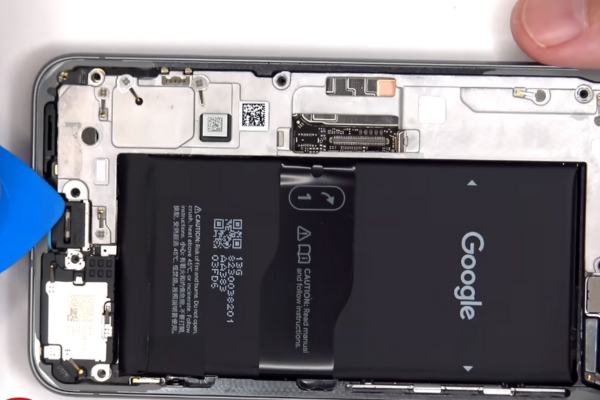
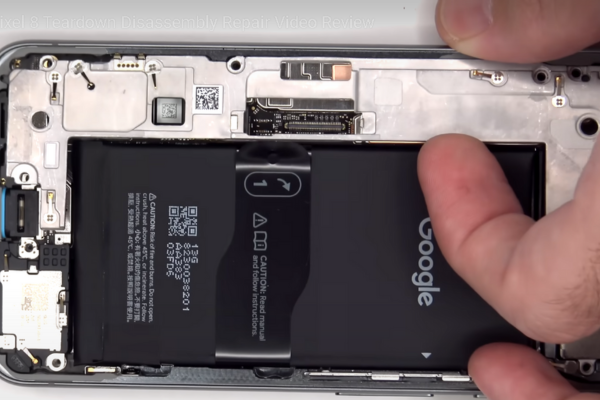
Step 15 Remove The Plastic Buffer
*Use a spudger or opening pick to pry up the plastic buffer.
*Now, use a pair of tweezers or your fingertips to peel off the plastic buffer.
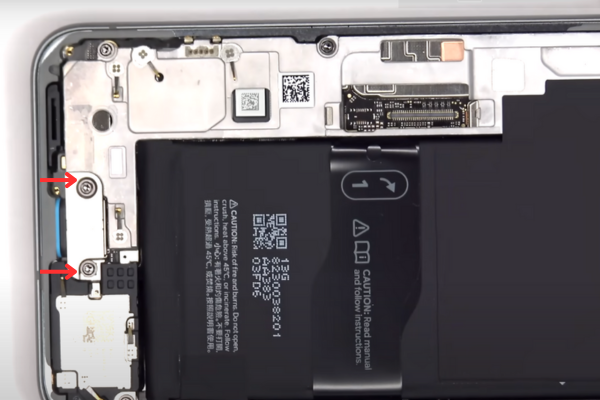
Step 16 Unfasten The USB-C Port Bracket
*Two 5 mm long screws are securing the USB-C Port Bracket.
*Unfasten these two screws and keep them aside, as you will need them while reassembling.
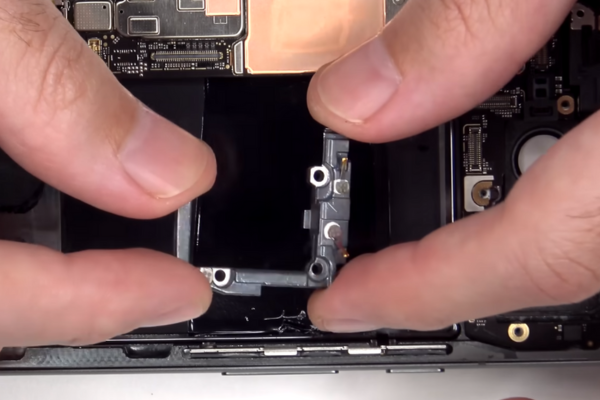
Step 17 Remove The USB-C Port Bracket
*Use a pair of tweezers or your fingertips to hold and remove the USB- C Port Bracket.
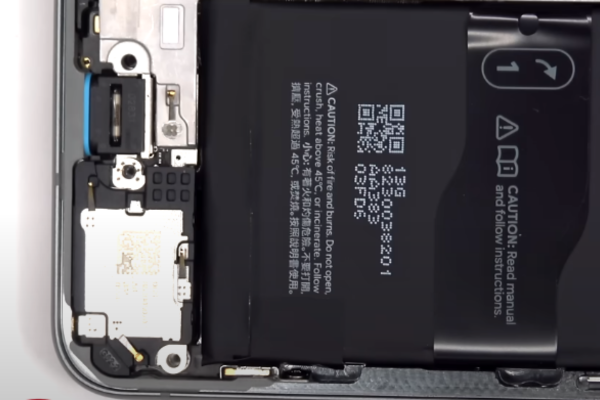
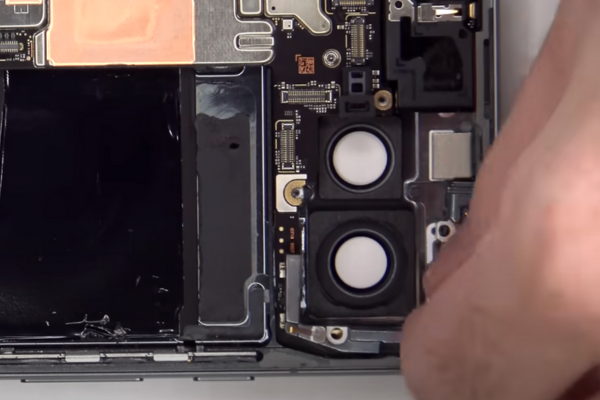
Step 18 Unfasten The Bottom Speaker
*Unscrew the one 5mm long screw of the bottom speaker.
Step 19 Remove The Bottom Speaker
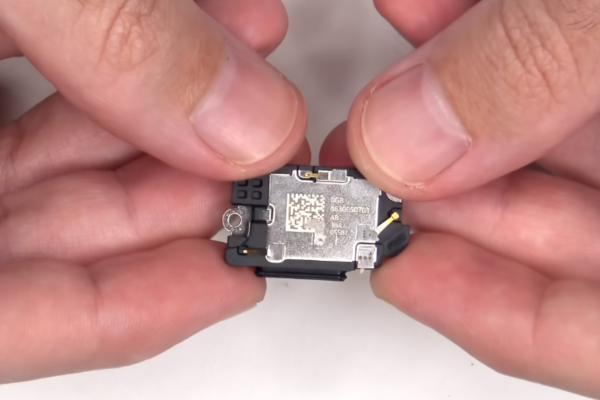
*Pry up the bottom speaker with a spudger and hold it in your fingers.
*Remove the bottom speaker.
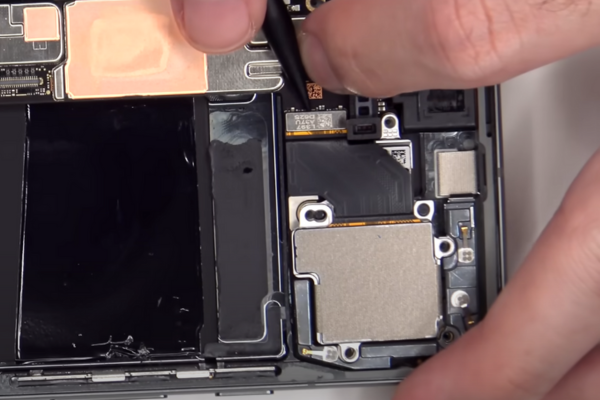
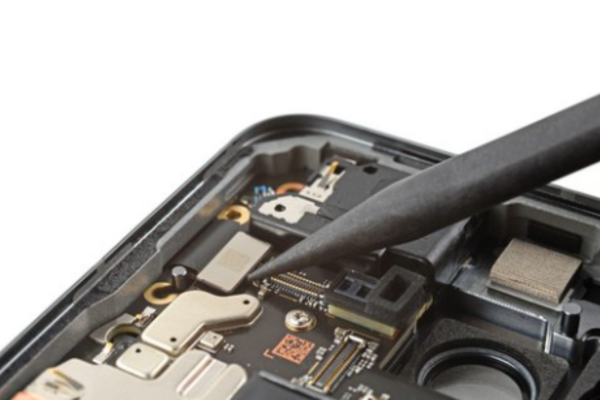
Step 20 Disconnect The 5G mmWave Antenna.
*Disconnect the 5G mmWave antenna cable from the logic board.
*Strong glue is present at the 5G mmWave Antenna Cable.
*Heat it for 2 to 3 minutes to melt the adhesive.
*Use an opening pick to cut the adhesive.
*Move the antenna cable so it will not come in the way during disassembly.
Step 21 Remove The Graphite Black Sheet
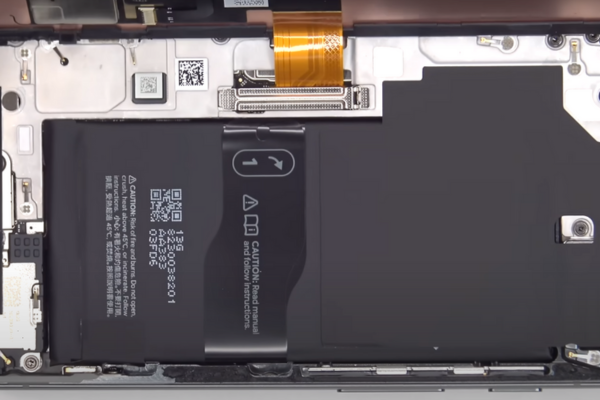
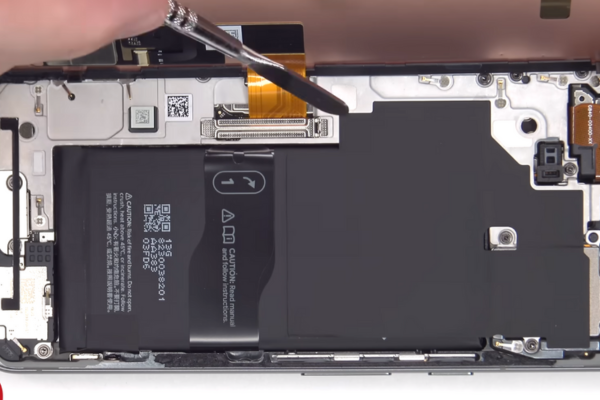
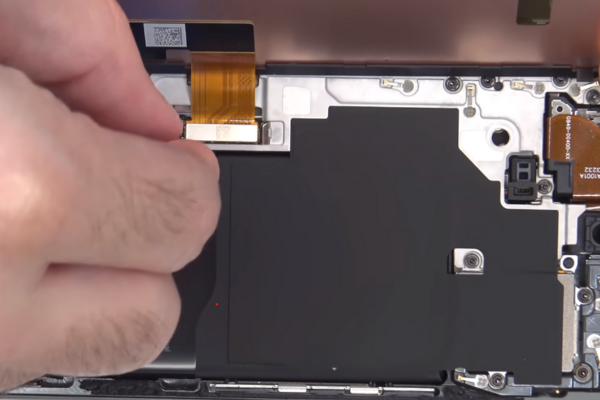
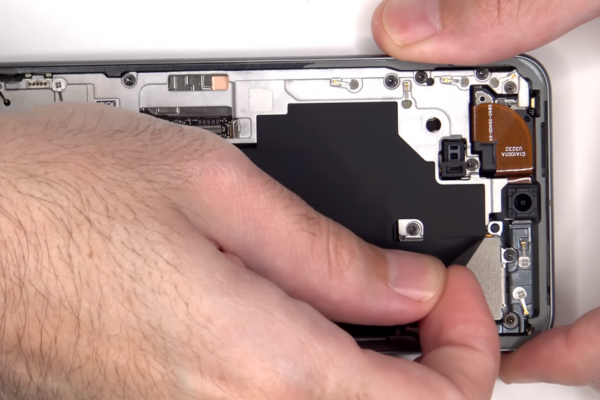
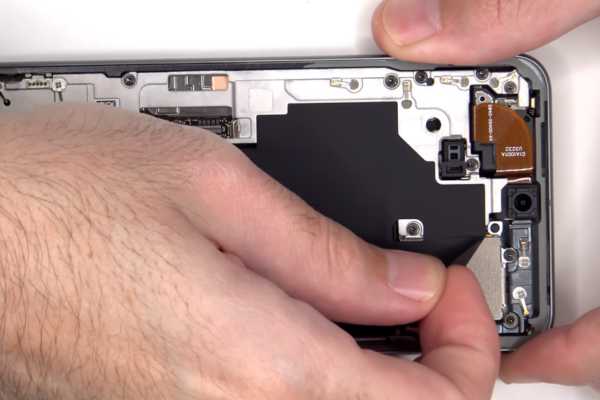
*Insert the spudger under the upper right corner of the black graphite sheet. Gently pull it up.
*Hold the right corner of the sheet in your fingers.
*Smoothly peel off the black graphite sheet. You have to replace this sheet while reassembling the phone.
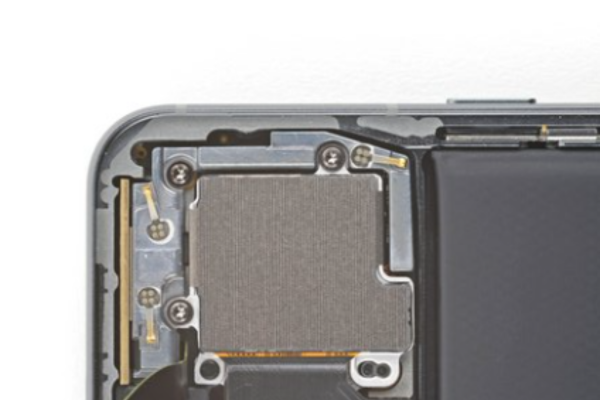
Step 22 Unfasten The Midframe
*Take a screwdriver to unscrew the eight 5.1mm long screws of the midframe.
Step 23 Remove The Midframe
*Use a pair of tweezers or your fingers to pry up and remove the midframe.
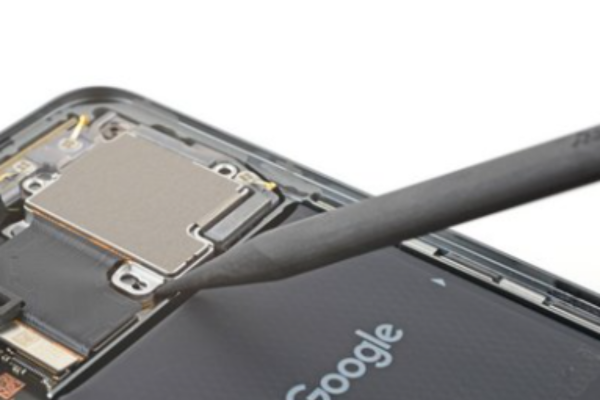
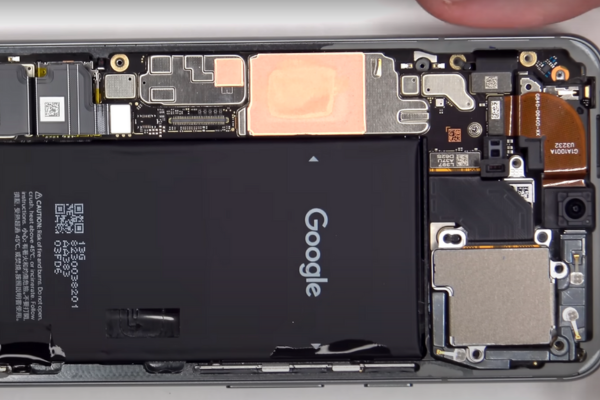
Step 24 Disconnect The Battery
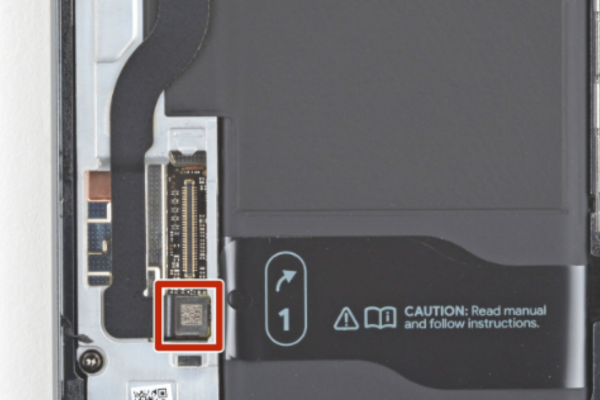
*Take a spudger to pry up the battery connector.
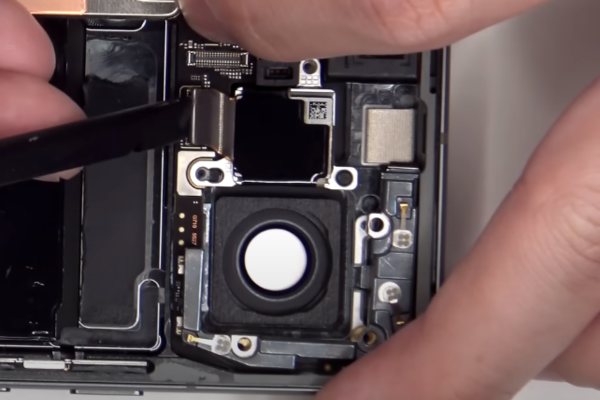
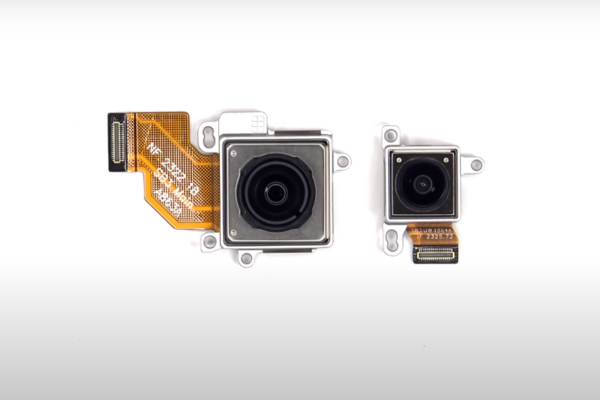
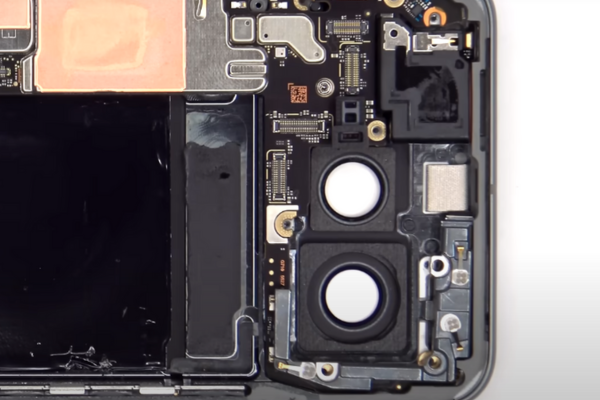
Step 25 Disconnect The Wide Rear Camera
*Take a spudger to pry up the wide rear camera press connector.
Step 26 Unfasten The Wide Rear Camera
*Unscrew the two 5.1mm long screws securing the Wide Rear Camera.
Step 27 Remove The Wide Rear Camera
*Pry up the wide Rear Camera with a spudger to remove it.
Step 28 Disconnect Ultrawide Back camera
*Pry up the press connector of the ultrawide back camera to disconnect it from the logic board.
Step 29 Remove Ultra Wide Back camera
*Use the spudger to lift the camera.
*Remove it with the help of your fingers or a pair of tweezers.
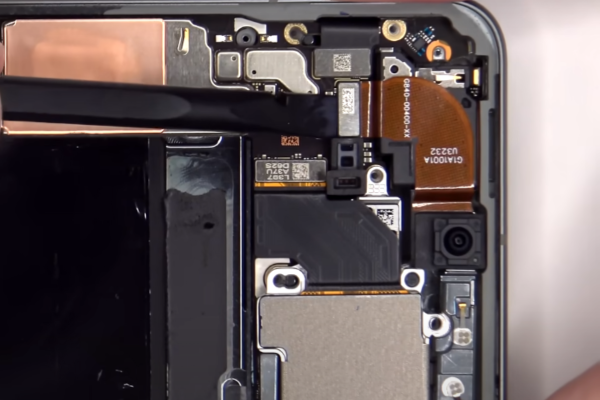
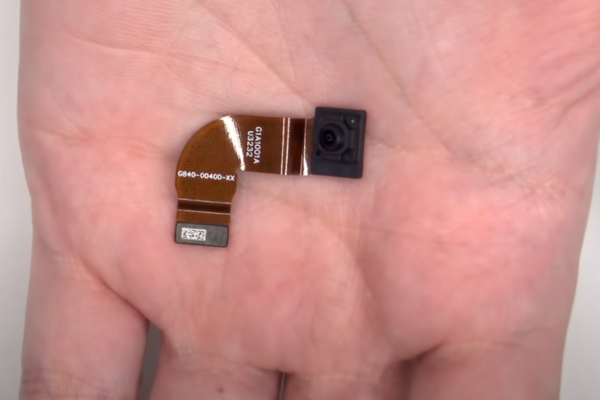
Step 30 Disconnect The Front Camera
*Pry up the press connector of the front camera with a spudger
*Disconnect the front camera from the logic board.
Step 31 Remove The Front Camera
*Move the 5G mmWave antenna cable toward the right of the phone.
*Remove the front camera.
Step 32 Unfasten The 5G mmWave Antenna Bracket
* Remove the 5.1 mm‑long screw securing the 5G mmWave antenna bracket.
Step 33 Remove The Antenna Bracket
*Pry up the antenna bracket from the frame.
*Use your fingers or a pair of tweezers to remove it.
Step 34 Remove The Antenna
*Gently pull the antenna and its cable to remove it.
Step 35 Disconnect The Interconnect Cable
*Pry up and disconnect the interconnect cable press connector with a spudger.
Step 36 Heat The Phone Back
*Adhesive glue secures the top and bottom edge of the battery to the phone frame.
*Heat the back of the phone with a hot gun or hair dryer to melt the adhesive.
*Now, you can easily remove the battery.
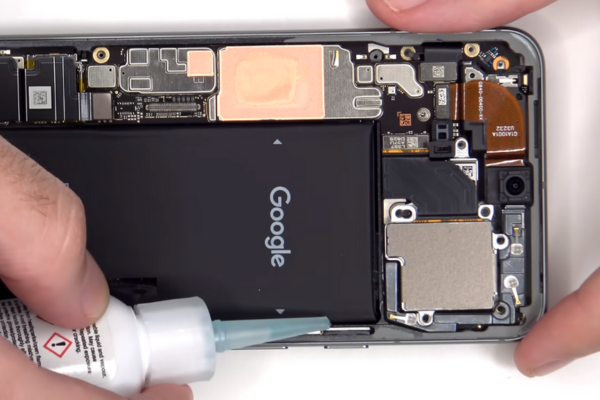
Step 37 Apply Isopropyl Alcohol
*Pour a few drops of isopropyl alcohol (>90%) along the right edge of the Pixel 8 battery.
Step 38 Tilt Your Phone
*Tilt Your Phone.
*The alcohol will flow to the left side of the battery.
*Wait for at least 2 minutes.
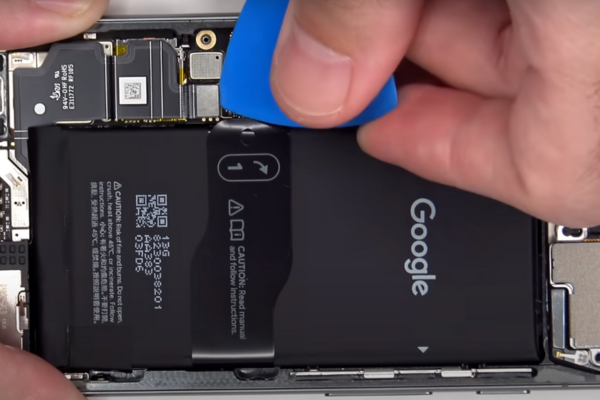
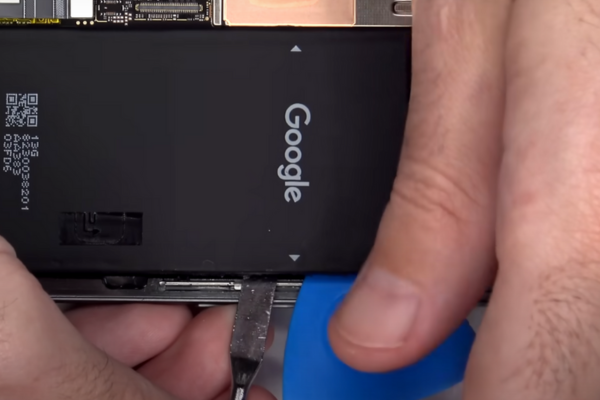
Step 39 Separate The Battery Adhesive
*Insert the flat side of an Opening Pick in the gap between the right side of the battery and the phone frame.
Step 40 Separate The Battery
*Use the pick to pry up the battery.
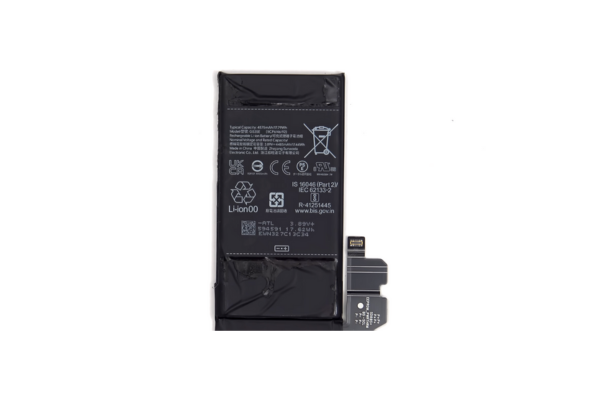
*Remove the battery.
Step 41 Unfasten The Grounding Bracket
*Remove the 2.5 mm‑long screws securing the grounding bracket to the bottom right edge of your Pixel 8.
*Hold the Grounding Bracket with a pair of tweezers.
*Remove the bracket.
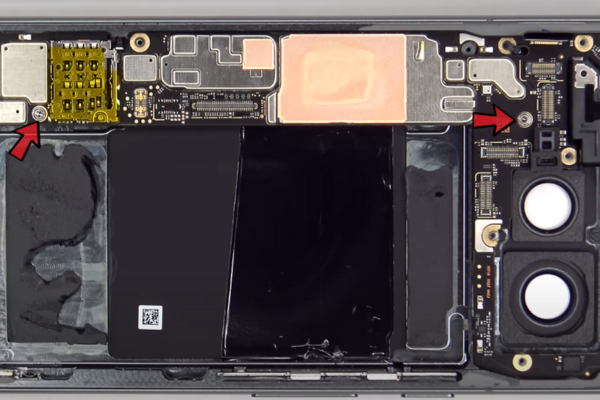
Step 42 Unfasten The Logic Board
*Unscrew the two 3.5 mm‑long screws securing the logic board.
*Use your fingertips to move the interconnect cable away from the frame.
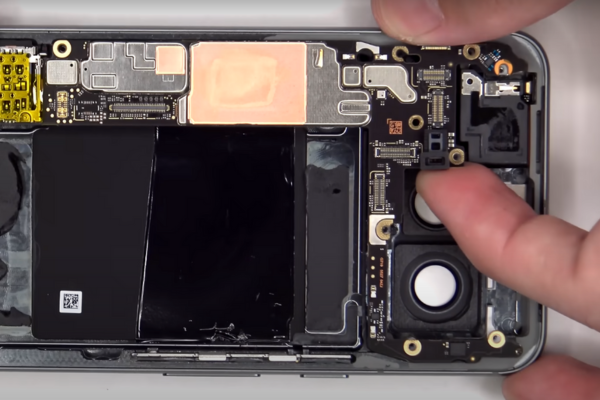
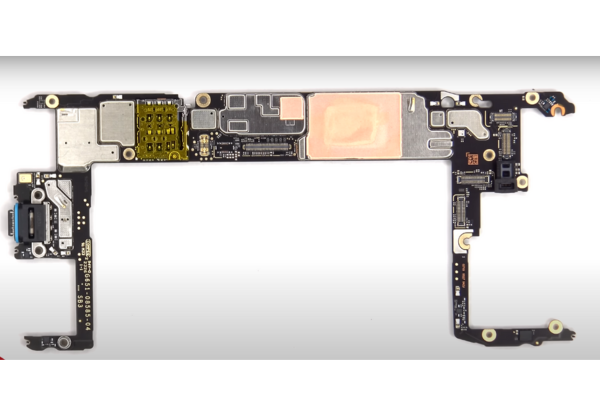
Step 43 Remove The Logic Board
*With the flat end of the spudger, pry up the top edge of the logic board.
Step 44 Insert New Logic Board
*Place the new logic board in the phone frame.
Step 45 Reassembly Of The Pixel 8
*To reassemble your Google Pixel 8, follow the above steps in reverse order.
Bottom Line
Congratulations! You have successfully replaced the faulty logic board of your laptop. Power on your Google Pixel 8 and experience its high processing performance.
