Has the bottom speaker on your Google Pixel 8 stopped working? Follow our step-by-step easy guide to replace the defective bottom speaker of your Google Pixel 8.
Here is a step-by-step guide to replace the bottom speaker of your Google Pixel 8.
Step 1 Gather Necessary Tools
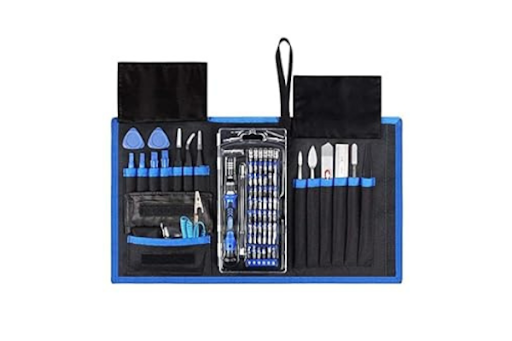
Collect all these tools to disassemble your Pixel 8:
- Heat gun or Hair Dryer
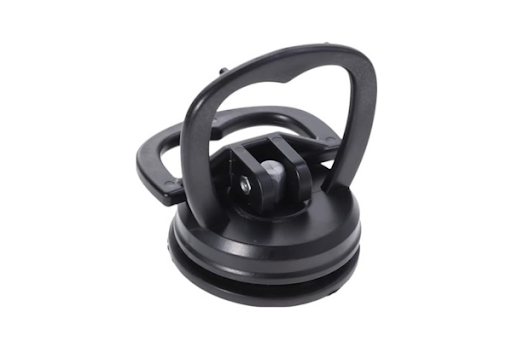
- A Suction Cup
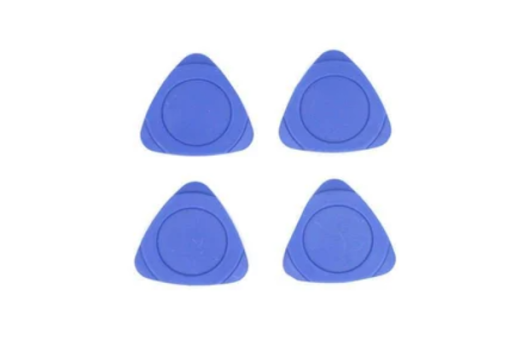
- An Opening Pick
- A set of screwdrivers (Phillips or Torx)
- Spudger
- A pair of tweezers
Step 2 Turn Off Your Pixel 8 For Disassembly
Unplug all cables and turn off your Pixel 8 for disassembly.
- Press the power and volume up button.
- A menu will appear on the screen.
- Tap on the power off option.
Step 3 Heat All Sides Of Your Pixel 8
- Heat the phone with a heat gun or hair dryer for 5 to 10 minutes.
- Heat will melt the adhesives present around all the sides of your Pixel 8.
- You can also use a Hot plate to heat your phone.
- Do not overheat your phone, as it may damage your phone parts.
Step 4 Use A Suction Cup
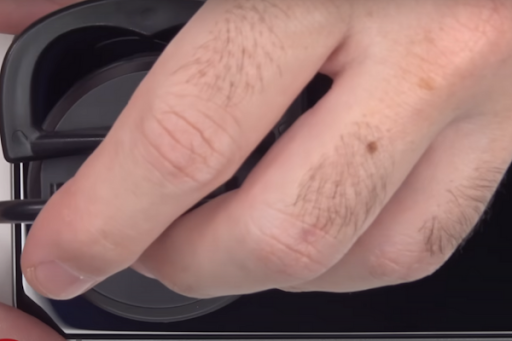
- Attach a suction cup to the bottom side of your Pixel 8 screen.
- Gently push it to create a small gap between the screen and the phone frame.
Step 5 Insert An Opening Pick
- Take a plastic opening pick.
- Mark 3mm on the opening pick.
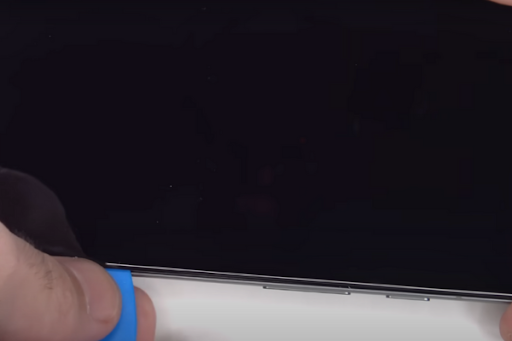
- Insert the opening pick into the gap only up to 3mm.
- Do not insert the pick more than 3mm inside the phone as it can damage the screen cover cable present on the left side of the phone.
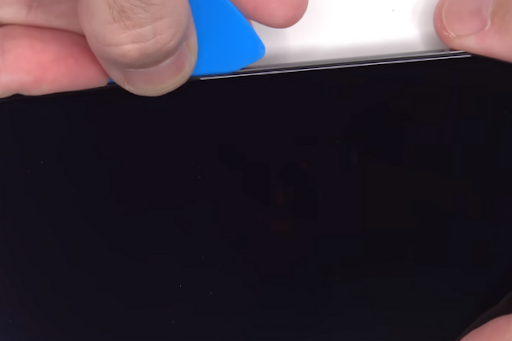
Step 6 Cut Bottom Adhesives
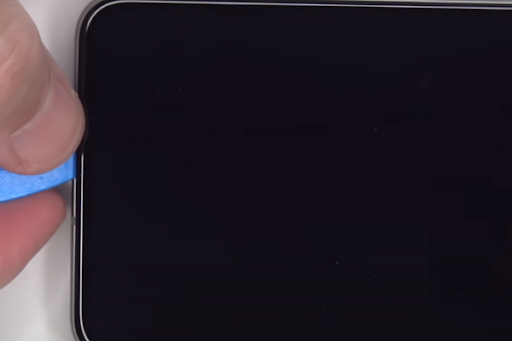
- To cut the bottom adhesive, move the opening pick from the lower right corner to the lower left corner.
- If you cannot cut the adhesive, heat the phone again for 3 to 5 minutes to soften the adhesive glue.
Step 7 Remove Left Side Adhesive
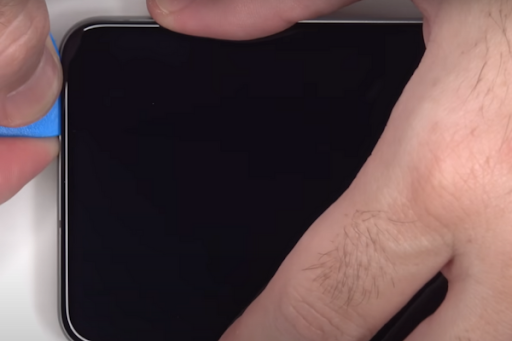
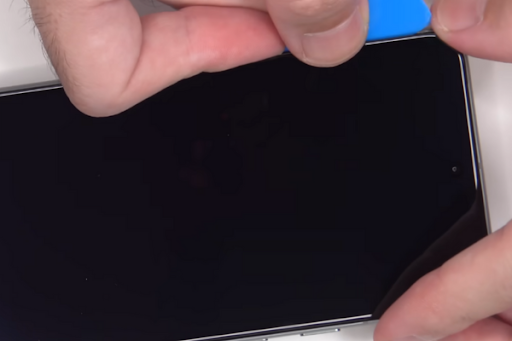
- Slide the opening pick from the lower left corner to the upper left corner.
- Repeat this movement 2 to 3 times to cut left side adhesive.
Step 8 Cut Upper Edge Adhesive
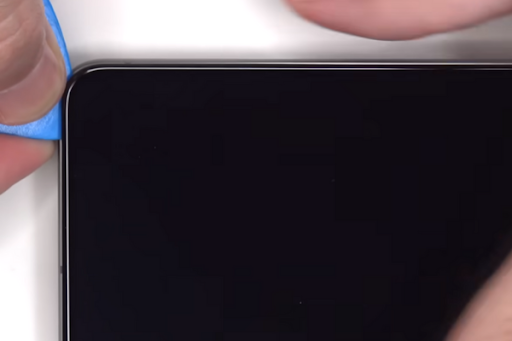
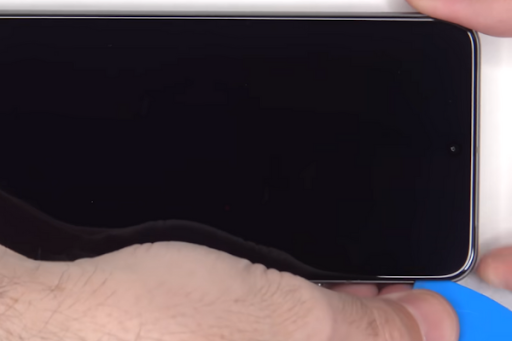
- Keep moving the opening pick from the upper left to the upper right corner. It will cut upper-edge adhesives.
Step 9 Remove Right Side Adhesive
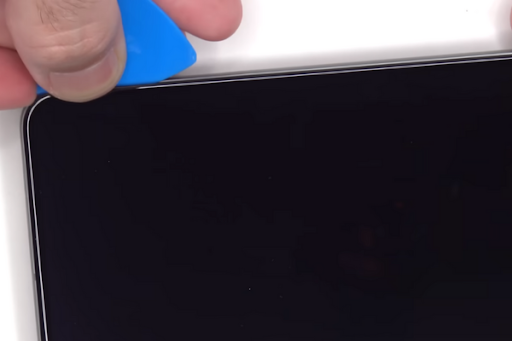
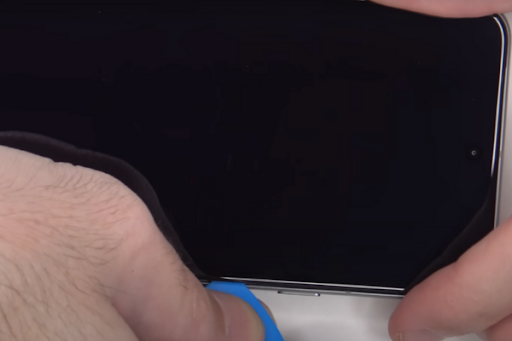
- Cut the adhesive on the right side by moving the opening pick from the upper right corner to the lower right corner.
Step 10 Prop Up The Screen
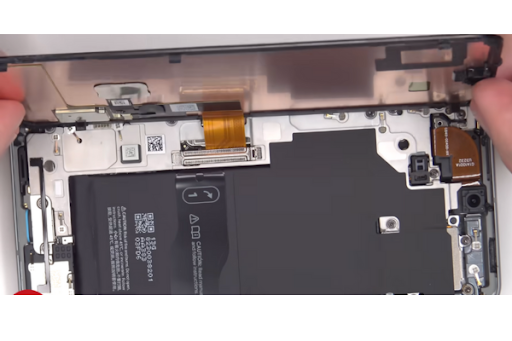
- After cutting adhesive from all sides, prop up the screen with your fingers.
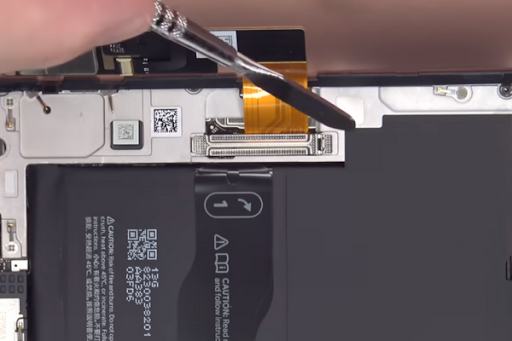
Step 11 Remove The Screen Cable Cover
- Hold the screen cover in the upright position.
- Use a spudger to pry up the screen cable cover.
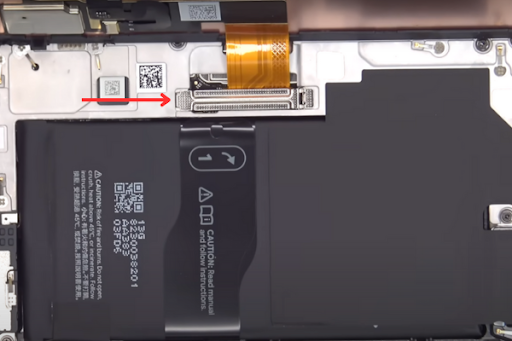
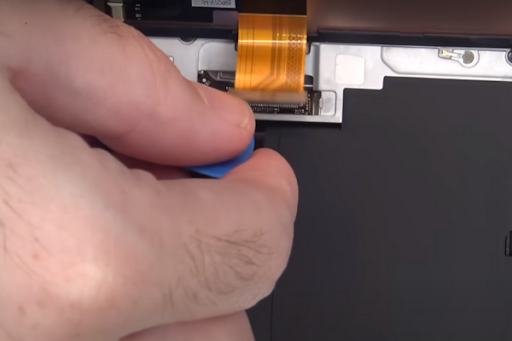
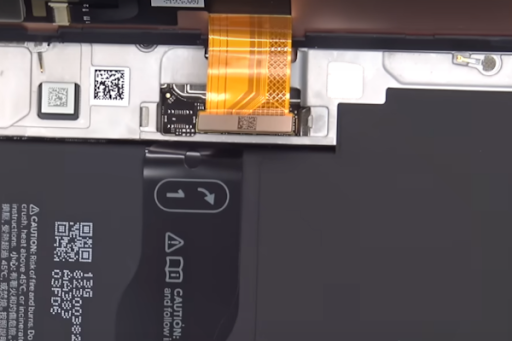
Step 12 Disconnect The Screen
- Use a spudger to pry up the screen press connector.
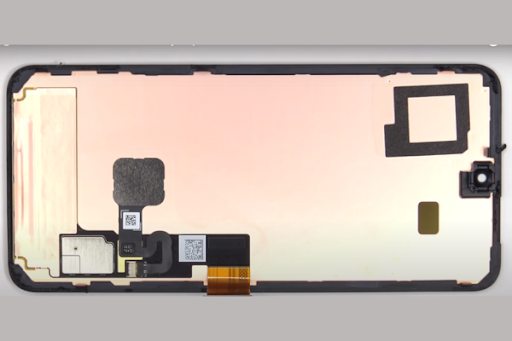
Step 13 Separate The Screen
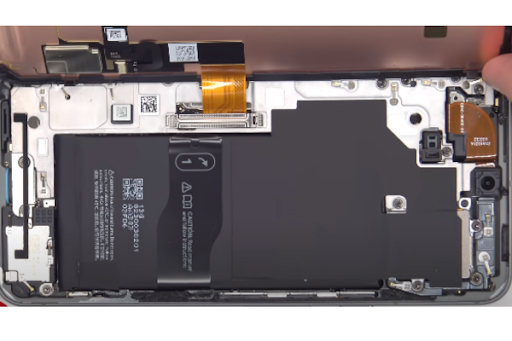
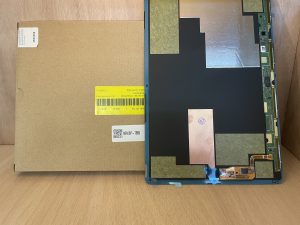
- After disconnecting the screen, remove the screen and keep it in a safe place.
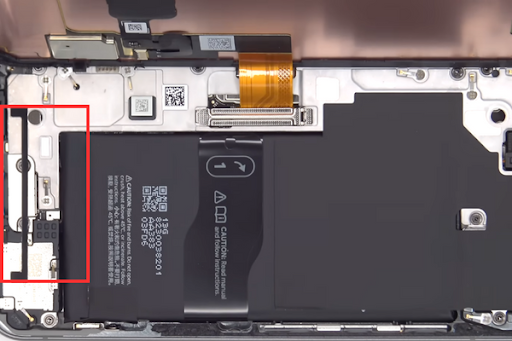
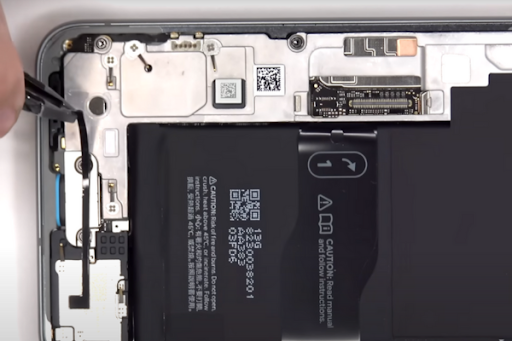
Step 14 Remove The Plastic Buffer
- Slide the plastic pick under the plastic buffer.
- Use a pair of tweezers or your fingers to peel it.
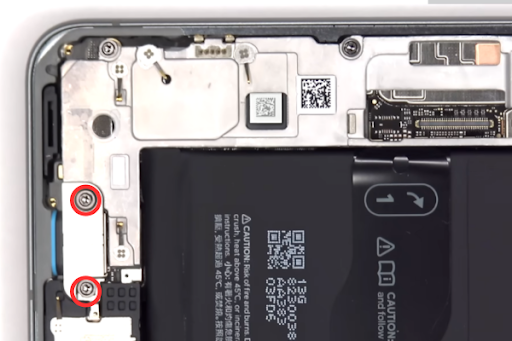
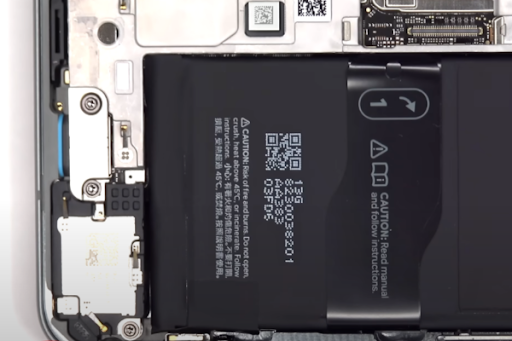
Step 15 Unfasten The USB-C Port Bracket
- Unscrew the two 5mm-long screws, securing the USB-C Port.
- Keep these screws in a safe place.
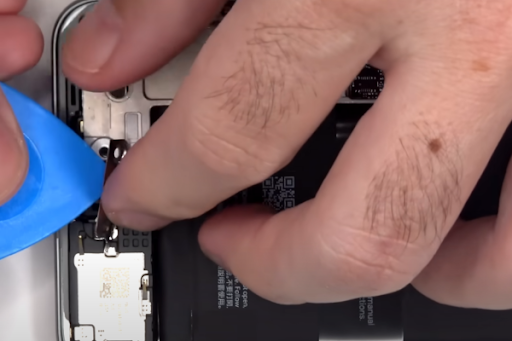
Step 16 Remove The USB-C Port Bracket
- Separate the USB-C Port Bracket with a pair of tweezers or your fingers.
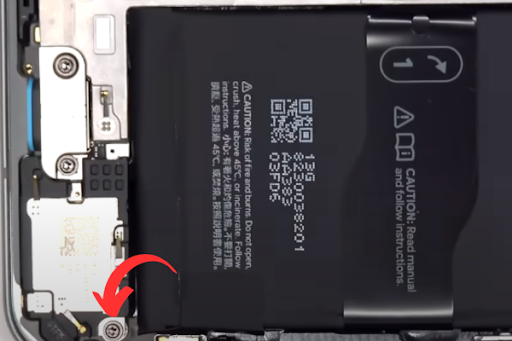
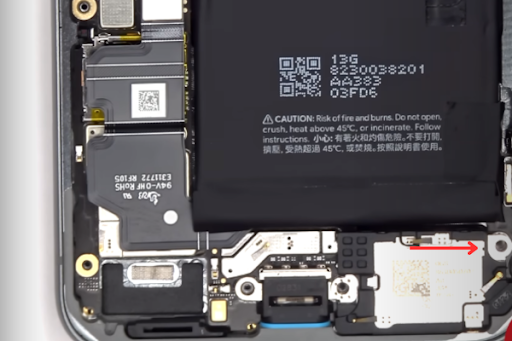
Step 17 Unscrew The Bottom Speaker
- Unscrew the 5mm-long screw of the bottom speaker.
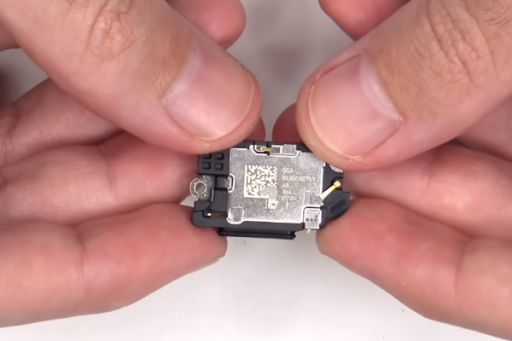
Step 18 Remove The Bottom Speaker
- Pry up and remove the bottom speaker with a spudger.
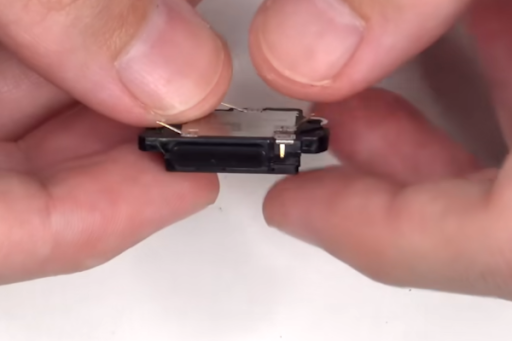
Step 19 Fasten The New Speaker
- Use your fingers or a pair of tweezers to place the new bottom speaker into the frame.
- Fasten the 5mm-long screw to secure the bottom speaker.
Step 20 Reassemble Your Pixel 8
- To reassemble your Pixel 8, follow all the steps in reverse order.
- Turn on your Pixel 8 to test its bottom speaker.
Conclusion
Excellent work! You have successfully replaced the bottom speaker on your Google Pixel 8 with our step-by-step guidelines. Enjoy your restored audio experience on your Pixel 8!
