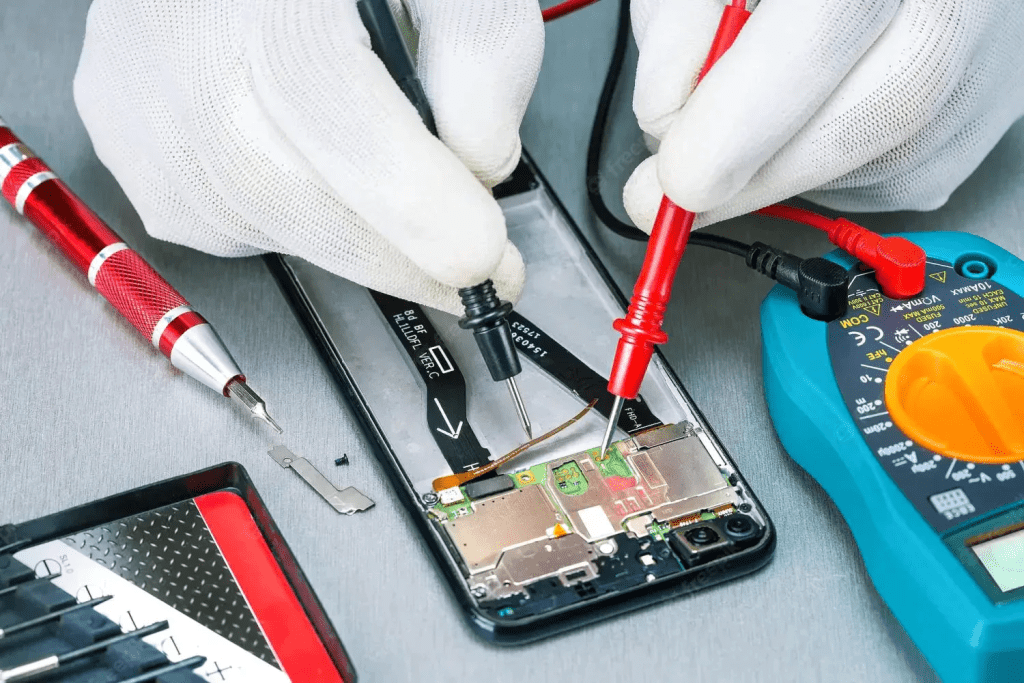
Is your iPad 10’s USB port and charging board acting up? No worries! We present a step-by-step guide to help you fix your USB port charging board issue. We know that these parts are super important for charging your iPad and transferring data. If they are not working right it can be tough to keep your iPad powered up or connect it to other devices.
However before we dive into fixing it you should know your options. The number one thing you can opt for is to ask Apple Center for support, the second is to visit a reliable repair shop, or lastly you can try fixing it yourself. But avoid DIY repairs if you don’t have the right tools. Also remember that Apple might not cover the costs unless you have special AppleCare+ insurance. So think about how much it will cost, how long it will take, and how good the service is.
Let’s jump into our simple Guide for iPad 10 USB Port And Charging Board Replacement.
iPad 10 USB Port And Charging Board Replacement
Certainly before you start replacing the USB port and charging board on your iPad 10, you need to know some important things. As you know these parts are really important for charging your iPad and connecting it to other devices. However when you don’t follow these steps correctly you could lose your expensive tablet or it will not work properly anymore. So it’s really important to be careful and pay attention to each step. This guide will show you exactly what to do step by step so you can safely replace these parts on your iPad 10.
Set a Place for the Replacement of the iPad 10 USB Port and Charging Board.
First, you must choose the right place to perform the iPad 10 USB Port And Charging Board Replacement. Here are some important suggestions for selecting the right area for the repairing tasks. So here we go.
*Select a well-lit area.
*Avoid choosing a suffocated or windy area, as it may cause inconvenience during the repair/replacement process.
*Make sure that an electric socket is nearby for easy access.
Gather All The Helpful Tools
Another thing you must remember before you start is to ensure you have everything you need. Here is the list of what you will need.
*A replacement USB port and charging board suitable for your iPad 10.
*Small tools with fine points.
*Heat gun or hairdryer.
*Suction cups.
*Plastic opening tool.
*Wristband
*Safety glasses.
However having these tools ready will make replacing the USB port and charging board on your iPad 10 easier and safer. Now let’s get started with the step-by-step guide.
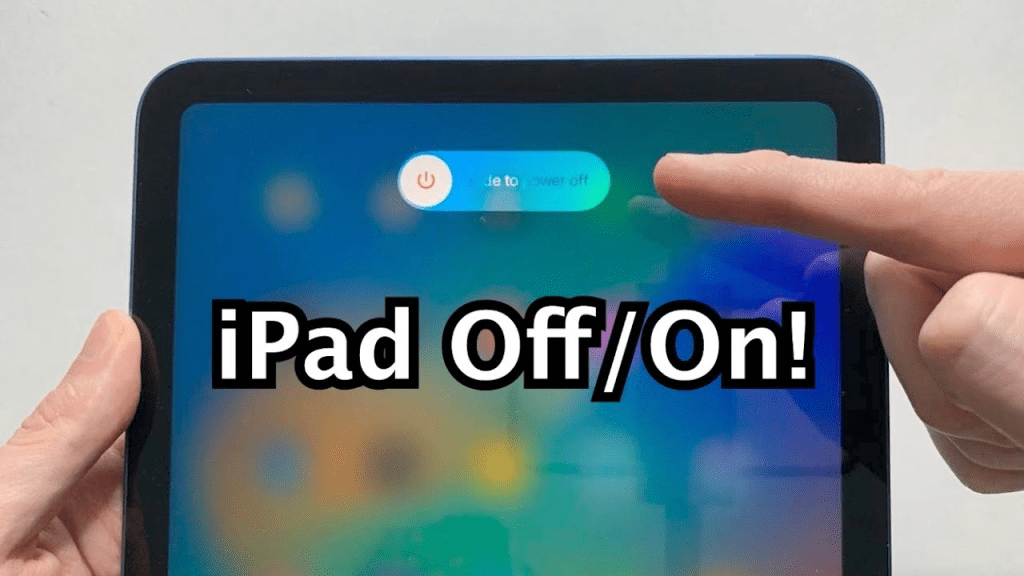
Step #1. Turn Off The iPad 10 For USB port and charging board Replacement
So the first step is to turn off your iPad 10. It is very important to avoid any problems. Here is how you can turn off the iPad 10.
*There are buttons on the side of youriPad 10.
*You need to calmly Press and hold the power button and the volume down button together.
*Keep holding until you see a slider appear on the screen.
*Slide the slider to the right to turn off your iPad 10
*Now, youriPad 10 is safely powered off and ready for the next steps in replacing the USB port and charging board.
Let’s continue with the guide.
Step #2. Cover The Cracked Glass With A Tape
Conversely it happens that sometimes the screen is badly damaged and there is a huge risk of sharding glass particles. So during this repair when you have to remove the glass screen you can cover it entirely with the transparent tape. Follow the steps.
*First of all cover the entire screen with the packing tape. Overlap the strips until the whole is covered.
*This step will protect you from sharding glass.
*And it will help keep your eyes protected if you wear safety glasses.
Step #3. Give Heat To The Eadegs of The iPad 10
Now is the time to give heat to all edges of your iPad 10. Please be sure you do not provide heat at any edge for more than two minutes. Otherwise your iPad may get damaged.
*Well you can use either a hairdryer or a heat gun. Heat the tool and apply it to the edges of the iPad. This helps loosen the glue.
*Now place suction cups on the corners of the screen and gently pull to create a gap.
*Insert an opening pick into the gap.
*Slide a plastic tool carefully and pry the screen away from the frame.
*Take your time to avoid breaking anything. If needed apply more heat.
*Once the glue loosens carefully lift it off the screen from the iPad 10.
Step #4. Slide The Opening Pick and Pull Up The Screen
Now it’s time to ensure the screen is entirely loose and separated from all sides before lifting it.
*Please check the screen to make sure that it is not sticking from anywhere.
*Then lift the screen up but still at this stage if you feel difficulty while removing the screen leave it right here. Give heat for two minutes and try again.
*Hold the screen gently between your thumb and index finger.
*Don’t separate the screen completely because its display connections are still connected.
Step #5. Support The Glass Screen
Thus you have to hold the glass screen with both hands carefully. Actually as you see in this picture the screen connect is still attached. So that you can not leave your screen unsupported. You can use a box or anything safe for the electric device to support the glass screen.
Step #6. Unfastening The Screws
Now you will see screws that are holding the display. However these crews are with the edges line and you can locate them quickly after removing the glass screen.
*First of all choose the correct screwdriver to open the display module.
*You will locate the screws in the edge lines of the iPad 10.
*Gently unfasten all the screws and remove them.
*Please make sure that you are keeping the screws safely for reusing it for reassembling.
Step #7. Separate The Display Module
However double-check the screws that all are unfastened and have been removed. Now pick a spudger and gently pry up the display module.
*The correct thing is to pry the display up from the screw side so that you can not gamage frame and display assembly.
*The display module is always fragile and needs a gentle touch. So be careful at this step.
*Well be calm. The display module can take time to come out. But please don’t apply pressure.
Step #8. Lift The Display Module
When you can successfully lift a corner of the display module you can gradually lift all the edges.
*Be very careful and don’t apply pressure.
*Now again don’t try to remove the display module when when it is complete came out.
*The display module is still connected to the display and other cables.
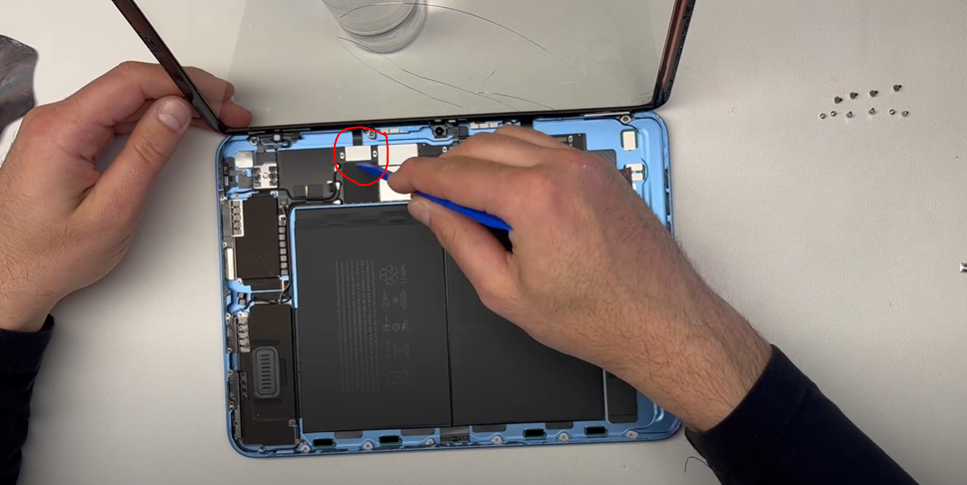
Step #9. Battery Connection Sheild Removal
Nevertheless it is right that disconnecting the battery first can prevent further damage. So we will disconnect the battery first before disconnecting the display cables.
*First, you need to remove the steel shield covering the battery connection.
*Next, unscrew the screw holding the shield in place on the battery cable.
*Once the screw is out you can lift the shield away with your fingers and set it aside.
Step #10. Disconnect the iPad 10 Battery Connector
Now let’s disconnect the iPad 10’s battery connector.
*However you will need a flat and thin tool like a spudger or you can use your fingernail.
*Carefully insert the tool or your fingernail into the connection point and apply gentle pressure to disconnect the battery.
Step #11. Detach the Motherboard Connection With the Display
However the display connections are covered with a shield. So that you have to unfasten the screws securing the display connection sheild.
*Pick the right screwdriver and open the shield screws.
*Now separate the shield covering the connections.
*It’s time to disconnect the display cable connections.
*Here these connections are attached to the motherboard.
*Now the happy moment is when you can finally separate the display module for the iPad 10’s Body. After this there is no longer a need to keep holding the display and working with just one hand.
Step #12. Disconnect The Display Assembly of The Glass Screen
There are three cables connecting the display to the iPad’s logic board.
*However these cables control the Digitizer, Ambient Light Sensor, and Display Data.
*You must remove the shield covering the connection points to disconnect them.
*Unscrew the screws holding the shield in place and set them aside.
*Carefully remove the shield using tweezers.
*Under the connection you will see the connection points.
*Use a plastic tool to detach each cable from the logic board gently.
*Handle the cables with care to avoid damage.
*Make sure all three cables are completely disconnected before continuing with the repair.
Step #13. Stretch The Connections And Separate the Screen
At this stage you can remove the glass screen of the iPad 10.
*Pull the glass screen to separate the connection cables from the frame.
*Gently remove the screen and safely keep them aside.
Step #14. Clean the Remaining Adhesive
*However removing the old particles from the adhesive is crucial.
*Well the glass screen and display are not here. So that it is effortless to remove the remaining adhesive.
Step #15. Accessing The Charging Port and Board of The iPad 10
*To access the charging port and board of the iPad 10. You need to remove the logic board.
*To remove the logic board you must detach all the connections.
*Don’t worry. It’s a simple process! Just follow the steps carefully.
Step #16. Detach the Front-Facing Camera
Now you can access the front-facing camera. Disconnect it from the logic board.
*Pry the connection and detect it from the logicboard
*When the connection is detached you can grip the camera with your finger and thumb and keep it aside. However you can pick up this front camera with the help of a tweezer.
Step #17. Detach the Touch ID
Remove the Touch ID. It is connected to the logic board.
*The touch ID is under the shield.
*You have to open the screws securing the logic board.
*Keep the shield aside and then approach the touch ID connection.
*Disconnect the touch ID.
Step #18. Disconnect the Rear Camera
*Pick a spudger and pry up the rear Camera connection.
*Now remove the rear camera.
Step #19. Unfastening the Screws of the USB-C port
Finally the awaited component is here. We need to remove the charging port from the logic board. For this we have to open two screws securing the USB-C port.
Step #20. Detach the Stereo Speaker Cables
With the help of Spudger disconnect the stereo Connection cable.
Step #21. Disconnecting Antennas
Careful disconnect the antennas. You will need to use a spudger and apply gentle pressure.
Step #22. Separate the Logic Board
You can remove the logic board after disconnecting all the cables and connections.
*Be careful while pulling it out and do it gently.
*The USB-C port is connected to the logic board so that it will come out with it.
*Be gentle and cautious to avoid any damage.
*Make sure to double-check that all connections are removed before proceeding.
Step #23. Separate The USB-C Port From The Logic Board
The iPad 10 is a highly repairable device. The removal of the USB-C port is effortless.
Hold the logic in your hands and the USB-C port will be connected to the left side of the logic board. Separate it.
Step #24. iPad 10 Charging Port And USB-C Port Replacement
The next step is to install the new charging board. If the USB-C port is malfunctioning replace it too.
Step #25. Place The Logic Board
*Carefully place the logic board back into the iPad frame.
*Make sure it fits correctly and aligns with the connectors and screw holes including those of the USB-C port.
*Reconnect all the cables you disconnected earlier.
*Use the screws to secure the logic board in place.
*Double-check that everything is securely fastened before proceeding.
Step #26. Place the Front-Facing and Rear-Facing Camera#
*Carefully place the front-facing camera and rear camera. Be sure the cameras are set correctly in their places.
*Connect the connection cables.
Step #27. Reinstall the Glass Screen
Now make sure you have connected all the antennas and cables to this point.
Now it is time to install a glass screen cable.
*Reconnect the screen to the iPad’s logic board.
*Ensure the connections are secure and aligned correctly.
*Carefully place the screen back onto the iPad.
*Press down on the screen edges to ensure it sticks well to the frame.
*Take your time and ensure the screen is firmly attached before proceeding to the next step.
Step #28. Check the Screen Responsiveness
*Reconnect the screen to the iPad’s logic board.
*Ensure the connections are secure and aligned correctly.
*Carefully place the screen back onto the iPad.
*Press down on the screen edges to ensure it sticks well to the frame.
*Take your time and ensure the screen is firmly attached before proceeding to the next step.
Step #29. Seal the iPad 10 Screen
*Check if the screen is working correctly.
*Press gently on the iPad edges to secure the adhesive.
*Make sure the screen is firmly attached to the frame.
*Take your time to seal it properly for lasting results.
*Once satisfied your iPad 10 charging port and USB-C port replacement are done and ready to use.
Wrapping Up
Congratulations you have done a great job! We hope everything goes smoothly with the replacement of the iPad 10 USB port and charging board as planned. This step-by-step guide shows you all the steps in visual format too. Follow every step and be cautious. Your cautiousness can protect your beloved iPad 10 tablet. However if you have any questions or suggestions please leave them in the comment section below. We will make sure to respond to your comments promptly. Stay tuned for our next guide!
