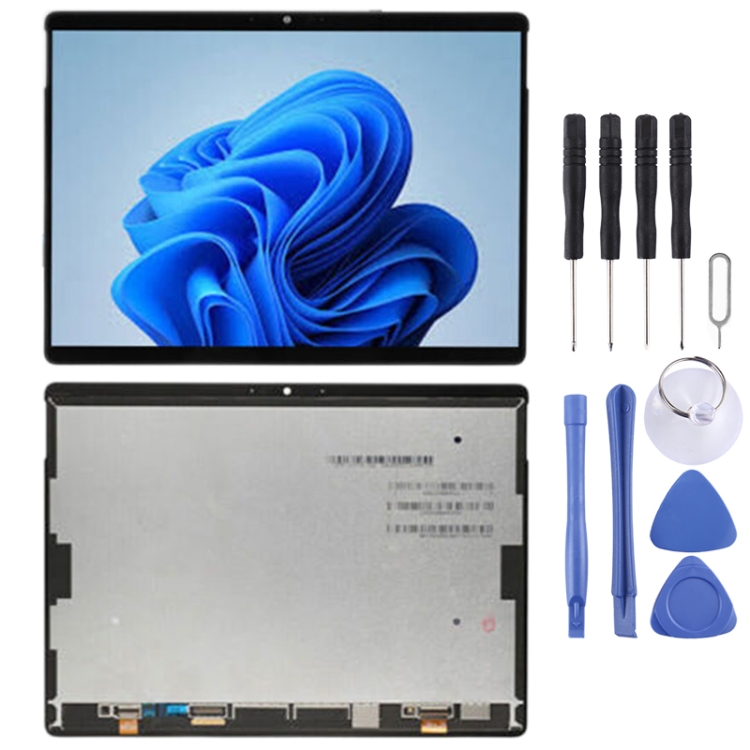
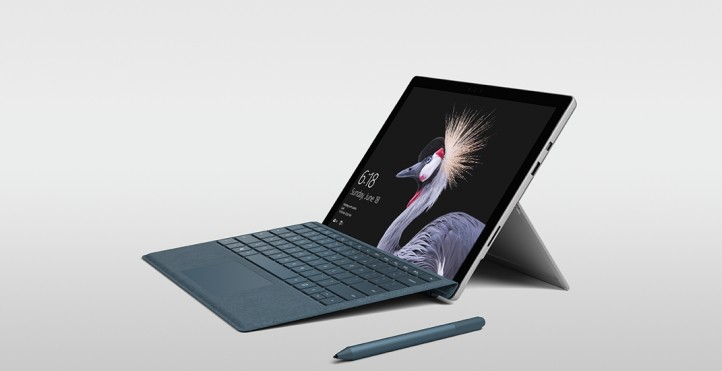
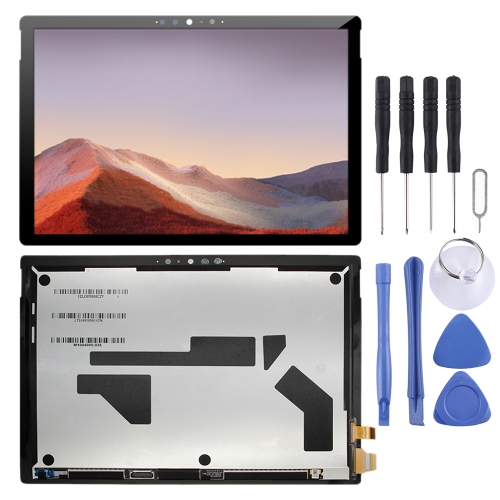
Are you dealing with screen issues on your Microsoft Surface Pro 9? Accidents can happen and even with the utmost care your beloved Surface Pro 9 may end up with a broken screen.
However the good news is that repairing or replacing the glass screen on the Microsoft Surface Pro 9 is surprisingly easy. This comprehensive step-by-step guide for replacing the LCD of the Surface Pro 9 is designed to be easily manageable. Follow the step-by-step instructions and take precautions correctly. So, let’s not waste any time and proceed with the Surface Pro 9 LED Screen Replacement/Repair.
How To Repair/Replace Microsoft Surface Pro 9 Glass Screen?
Before moving toward replacing or repairing the Surface Pro 9 LED Screen:
*Make sure the battery is drained or lower than 25%. Because a charged battery can catch fire if accidentally damaged.
*In case you find a swollen battery be very careful and follow the extra precautions.
*Double-check the tools you need for the Surface Pro 9 LED Screen Replacement.
*Read instructions for Surface Pro 9 Screen Replacement or repair at https://www.microsoft.com.
*Avoid wearing any metal jewelry like rings, bangles, etc.
Step #1. Clean Surface For Microsoft Surface Pro 9 Glass Screen Replacement Or Repairing
However before starting the Surface Pro 9 LCD screen repair and replacement please make sure a clean and tidy place. Here is some guidance for selecting a good place for a Microsoft Surface Pro 9 glass screen replacement or repair.
*Go for a smooth surface that should be dust and lint-free.
*The repairing area should be ventilated, neither windy nor suffocated.
*Enough space for easy placement of the required tools and instruments. Thats it!
Step #2. Gather All The Tools
Start the Surface Pro 9 Screen Replacement with a well-prepared mind. It means you should have all the required tools at your easy access. So collect all the necessary things at once before starting. Note the list below of what you are going to use.
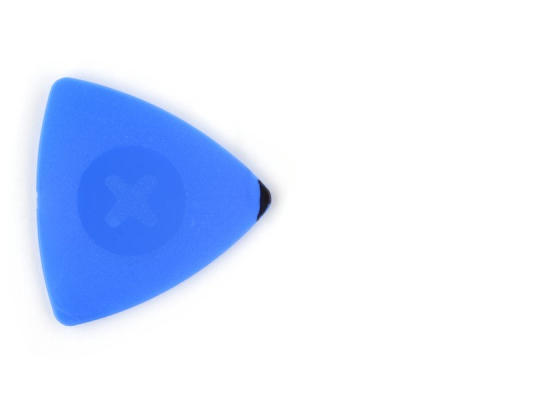
*4 To 5 Opening Picks
*Suction Tool
*Tweezers
*Plastic Spudger
*Screw (3ip Torx-Plus) Driver
*Anti-Static Wrist Strap (1 Mohm Resistance)
*Microfiber/Lint-Free Cloth
*Glass/LED Screen Originally Manufactured For Surface Pro 9 Tablet
*A metal ruler
However gathering all the tools before starting the Surface Pro 9 glass screen replacement will make your task much easier and keep the repairing journey smooth.
Step #3. Mark Opening Pick
To prepare your opening picks for Surface Pro 9 LED screen replacement/repair follow these simple steps. Take a ruler and place it on the opening pick marking it at 3mm. This mark is for the left, right, and bottom sides. Additionally make another mark at 8mm for the top of the Surface Pro 9. These measurements are crucial to avoid inserting the opening pick too far into the screen during repair. It will also prevent damage to internal components and connections. This step is important for a successful and safe Surface Pro 9 glass screen replacement process.
Step #4. Power Off The Microsoft Surface Screen Pro 9 For Disassembling
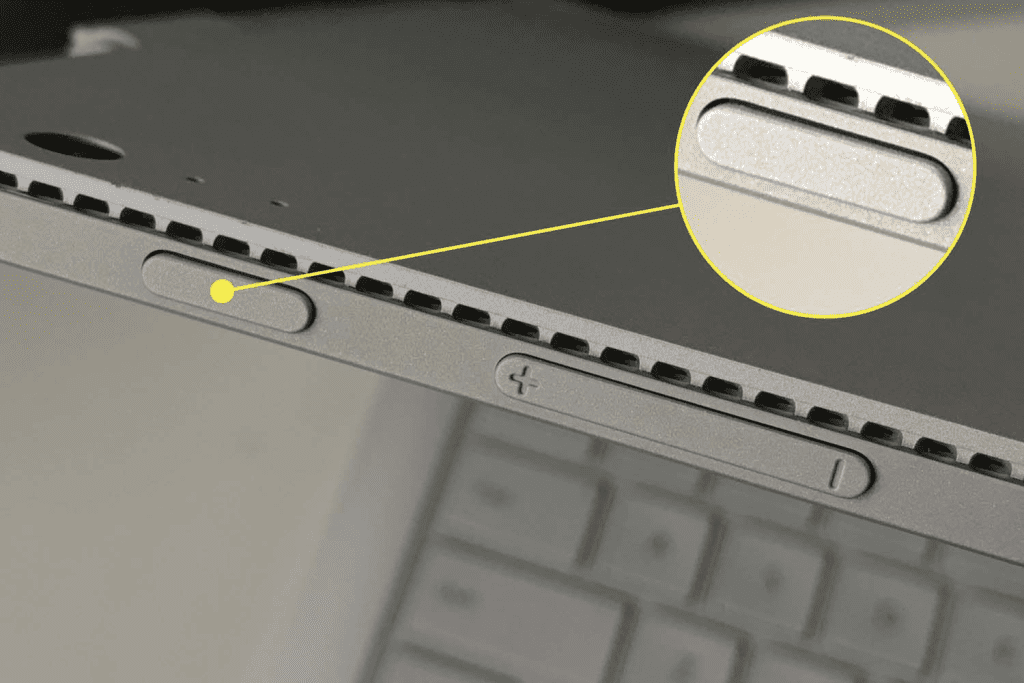
*Make sure your Surface Pro 9 is turned off and placed with the screen facing down on a soft surface.
*Go to Start
*Then Power
*And then click on “Shut down.”
However we have another way to power off the Surface Pro 9 which is.
*Hold down the power button for 4 seconds then swipe down. If that doesn’t do the trick, press and hold the power button until the screen turns off (approximately 10 seconds), and then release the power button.
*Before you start any repairs be sure to remove the SSD after turning off your device. This not only disconnects the battery but also prevents any potential damage to your device.
Step #5. Open Kickstand
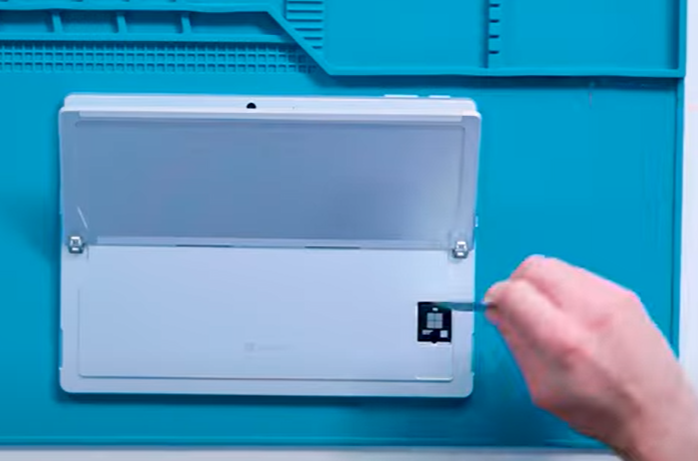
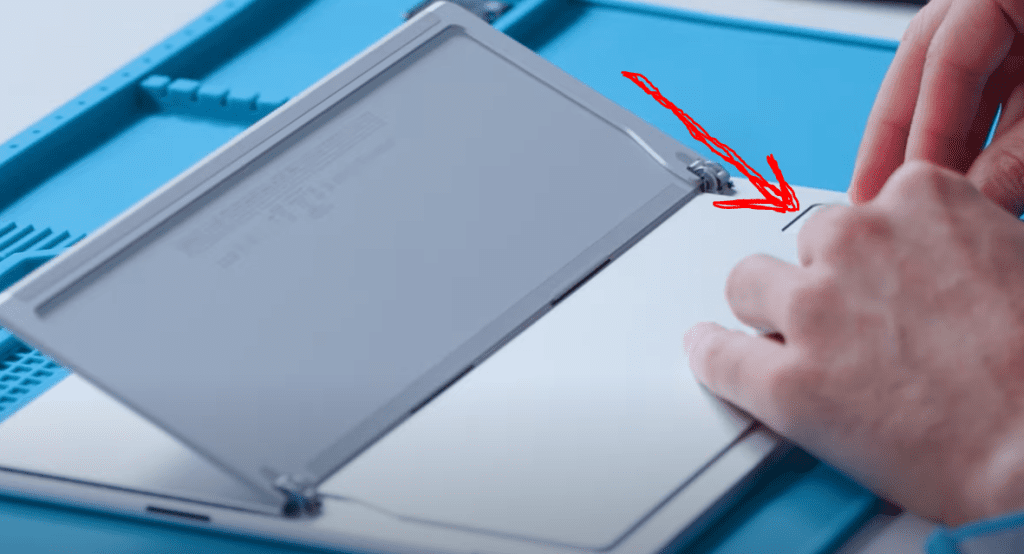
Lift the kickstand to a 90° angle and make it perpendicular to the Surface screen. The more you open the hinge the simpler it becomes to reach the SSD and SIM card door.
Step #6. Pop Up The SSD and SIM card Door
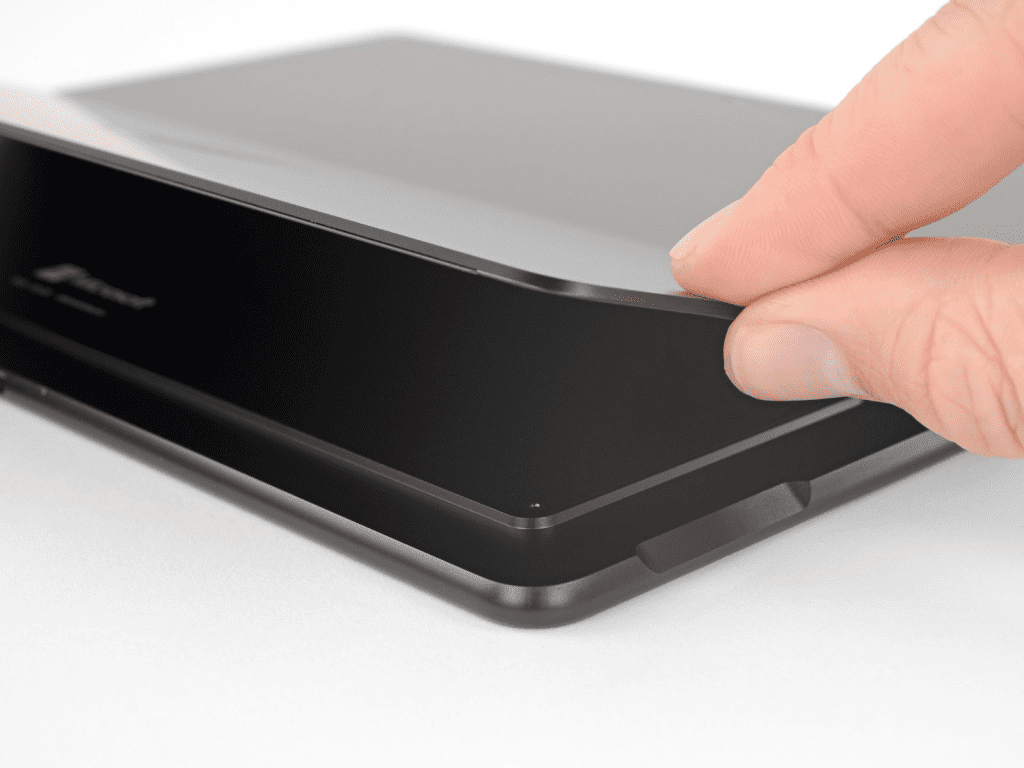
Press the SSD and SIM card door with the help of your finger until it pops up
Step #7. Remove The SSD and SIM card Door
Separate the SSd card door to make visible the screw securing the SDD card.
Step #8. Open SSD Card Screw
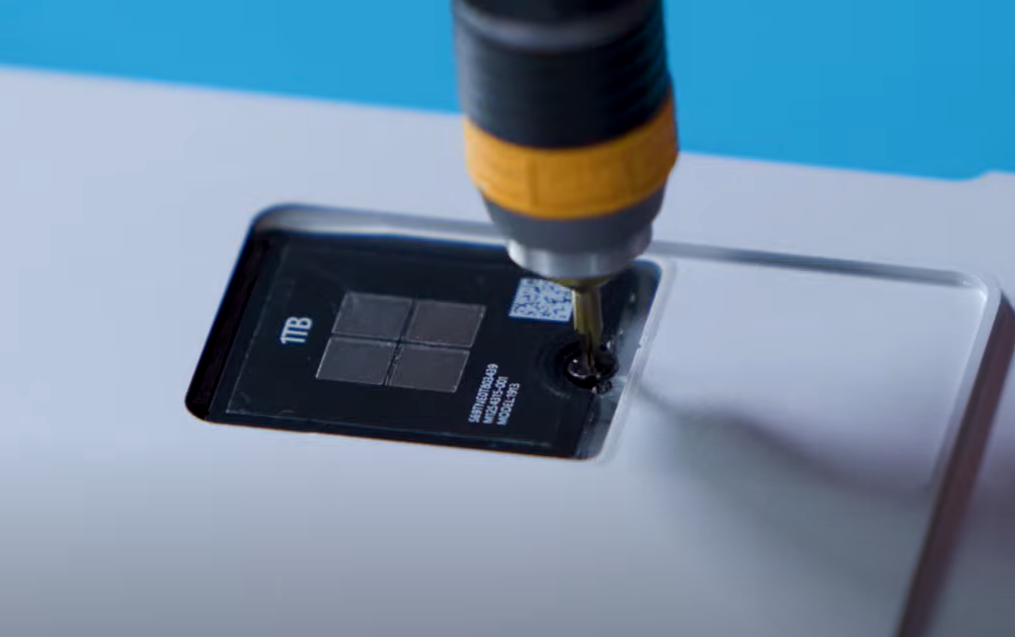
Now take a 3IP (Torx-plus) screwdriver and open the screw securing the SSD and SIM card.
Be very careful with the crew. Because you are going to reuse the same screw for reinstallation of the SSD card.
Step #9. Remove SSD Card
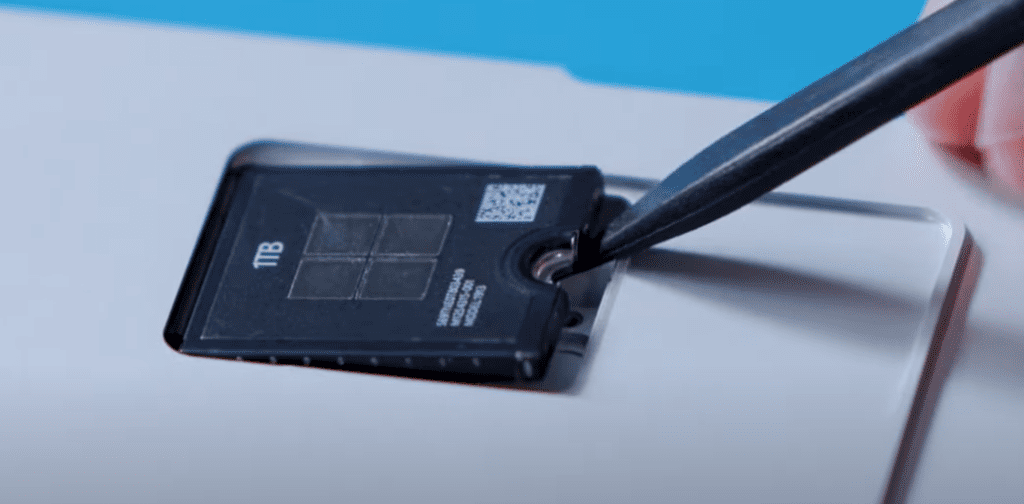
Once the screw is out the SSD should lift about 15 degrees using the spudger or your finger. Carefully hold the sides of the SSD case and pull it out of the mainboard socket at the same 15-degree angle.
Step #10. Tape The Entire Screen
*Remember to wear safety glasses to protect your eyes and carefully handle the LCD screen.
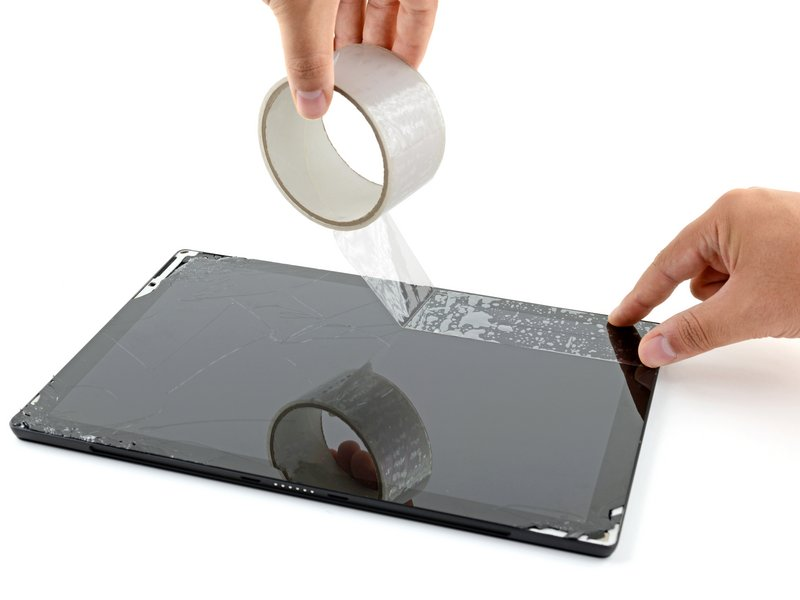
*If the Surface Pro 9 display glass is cracked, take precautions to prevent further breakage and injury during your repair. Use clear packing tape to cover the entire face of the Surface Pro 9 and apply overlapping strips.
*This tape layer helps keep the glass joined and held adding structural support during the prying and lifting.
*Please follow all further instructions mentioned in this guide. However if the glass continues to crack, you may need to use a metal prying tool to remove the broken glass carefully.
Step #11. Apply A Suction Cup To The Screen
Now it is time to apply a suction tool to the glass screen of the Surface Pro 9. But here you have to follow some safety precautions even if the glass screen is already not broken.
*Wear safety glasses when removing the screen to shield your eyes in case of glass breakage.
*Be cautious of the delicate display panel. You have to work slowly and carefully when cutting through the adhesive.
*Place your Surface Pro 9 on the work surface with the screen facing up.
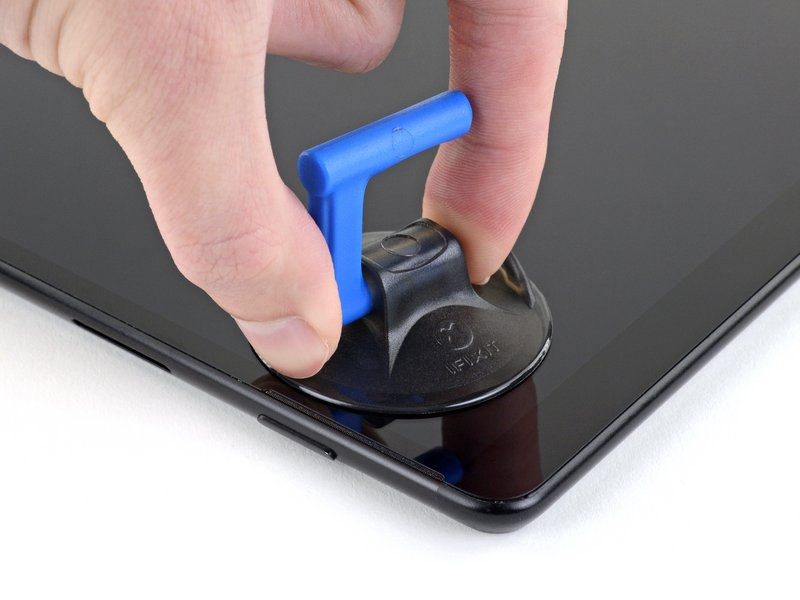
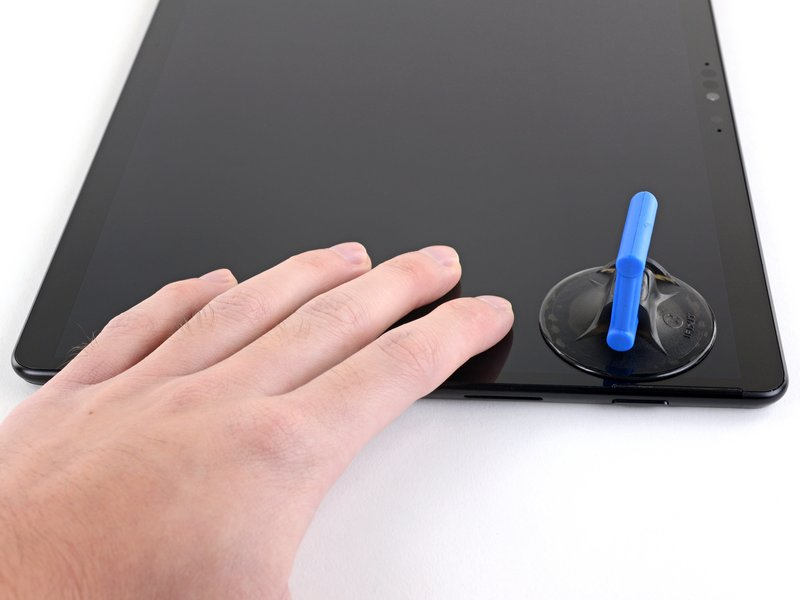
*Use a suction cup on the screen and position it next to the suitable speaker grille for a secure hold.
Step #12. Insert Opening Pick
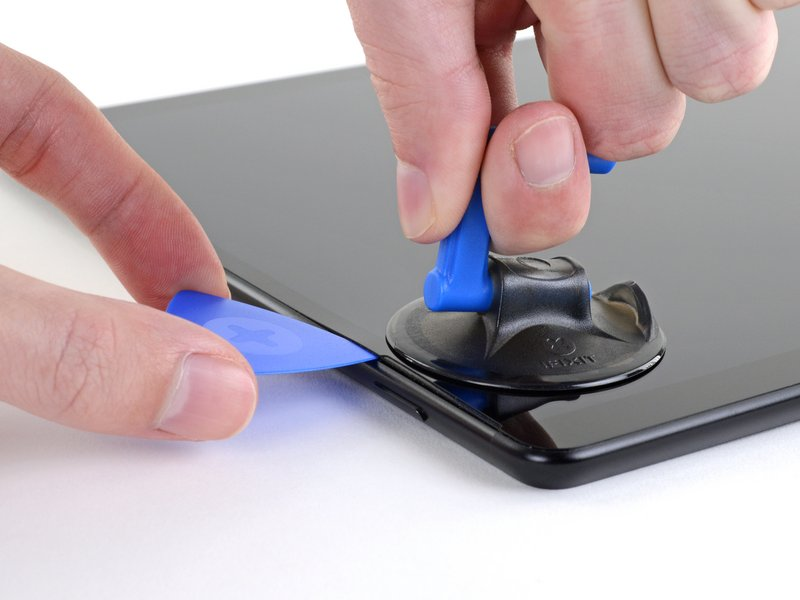
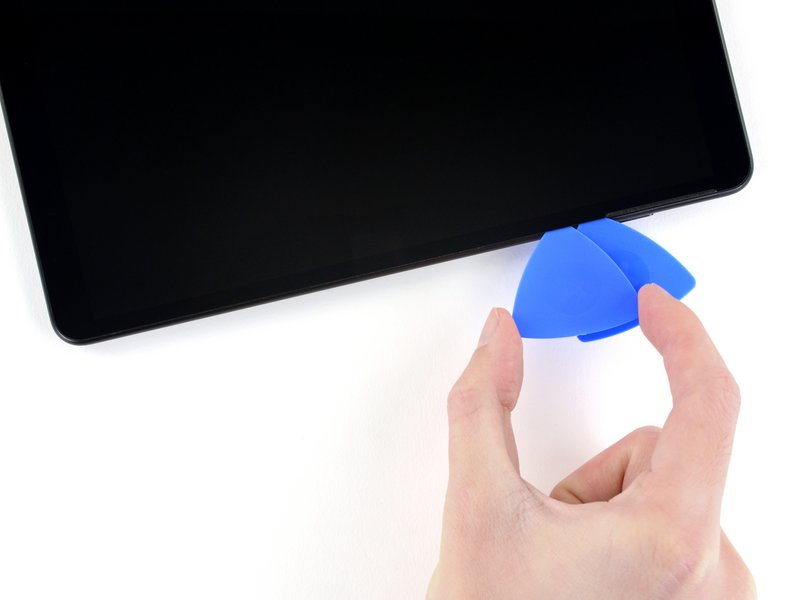
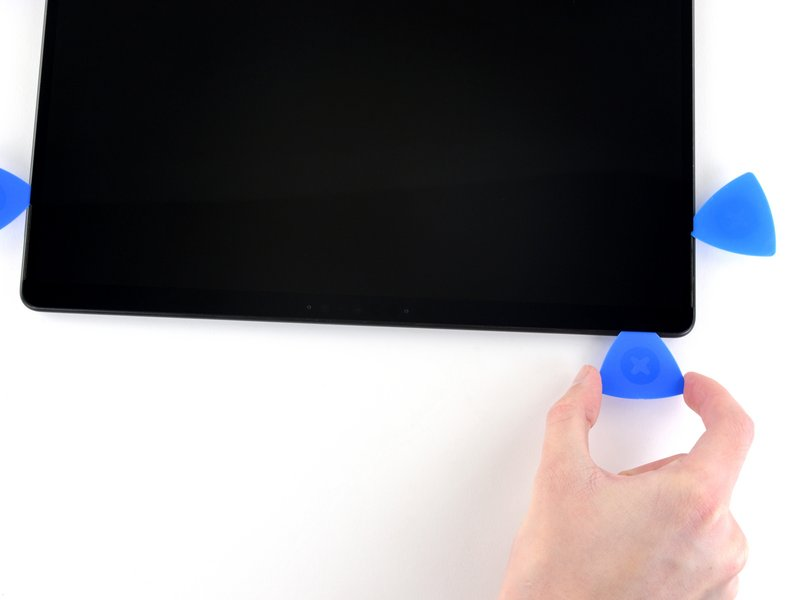
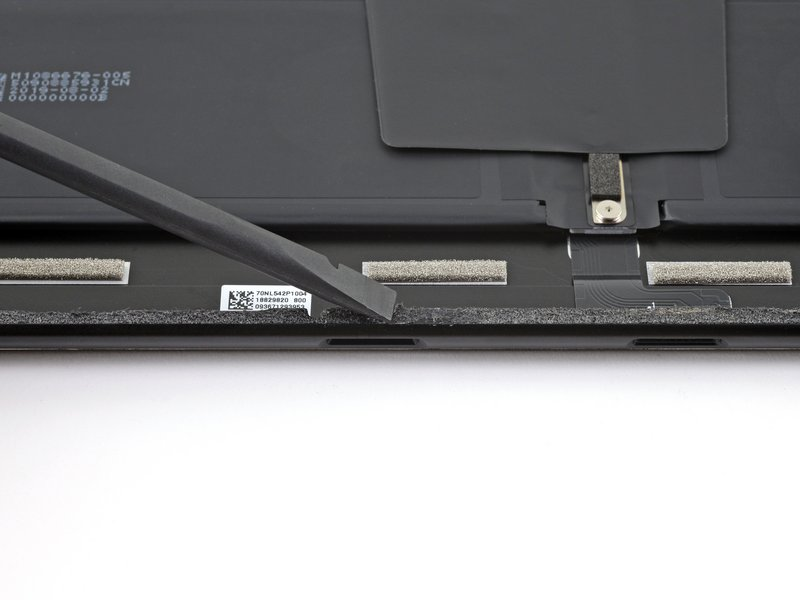
*Please don’t insert the opening pick in more than 3 mm while cutting through the adhesive on the right, bottom, and left edges.
*Lift up the suction cup to create a gap between the screen and the frame.
*But be careful. The gap must only be wide enough for an opening pick to slide in.
*Insert an opening pick about 2 mm into the gap and leave it there to prevent the glass from sealing again.
Step #13. Support The Screen With Your Hand
Secure the Surface by placing your hand next to the suction cup as you lift up the screen.
Step #14. Separate The Surface Pro 9 Screen Adhesive
*Insert another opening pick into the created gap between the screen and frame.
*Now slide it down to separate the glass screen of the Surface Pro 9.
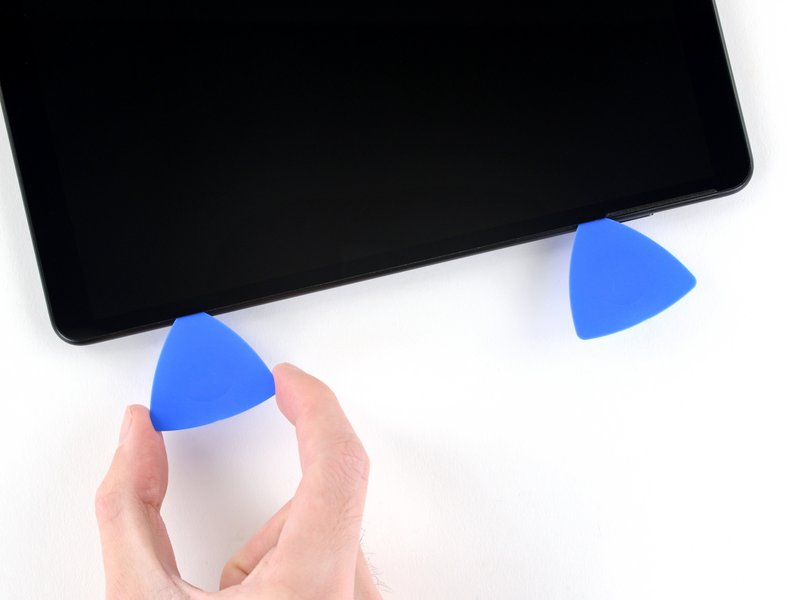
*Leave the opening pick here at the side of the right edge.
Step #15. Slide the Second Opening Pick
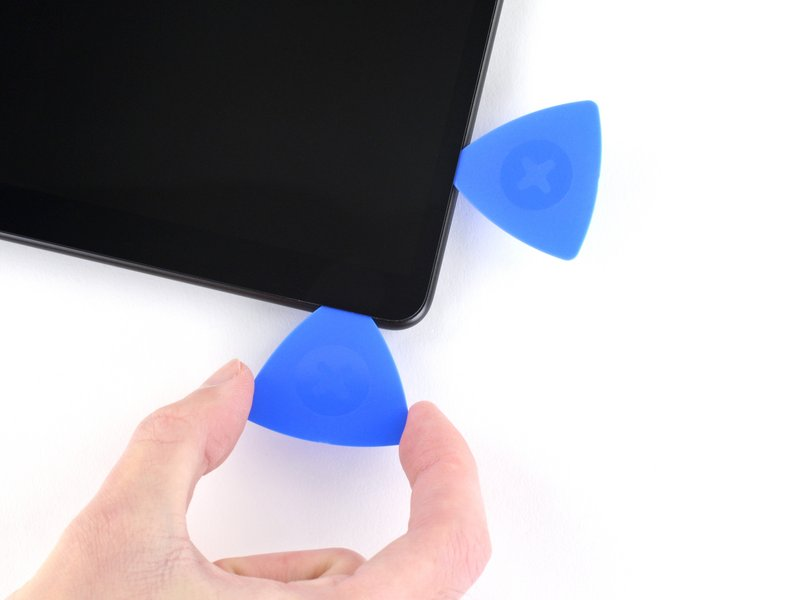
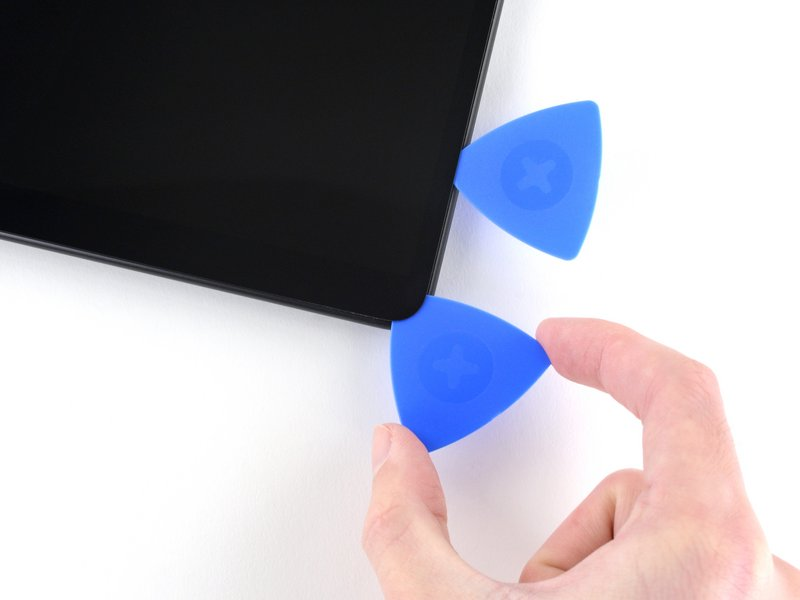
Slide the opening pick into the bottom right corner and move it around the corner toward the bottom edge.
Step #16. Slide And Leave The Opening Pick
Slide the pick along the bottom edge of the Surface Pro 9 to cut through the screen adhesive. Keep this pick on the bottom edge to prevent the adhesive from resealing.
Step #17. Insert Third And Fourth Openings Pick
Insert a fourth opening pick into the bottom left corner and slide it around the corner toward the left edge. Continue sliding the pick along the left edge to cut through the screen adhesive. Leave this pick on the left edge to prevent the adhesive from resealing.
Step #17(a). Insert Opening Pick For Releasing Top Screen Adhesive
*Insert a fifth opening pick into the top left corner and slide it around the corner toward the top edge. Continue sliding the pick along the top edge of the Surface to cut through the screen adhesive.
*Avoid inserting the opening pick more than 8 mm when cutting through the adhesive on the top edge. Be careful while inserting the opening pick around the grill speaker. Not to insert it more than 3 mm.
Step #18. Open The Surface Pro 9 Display
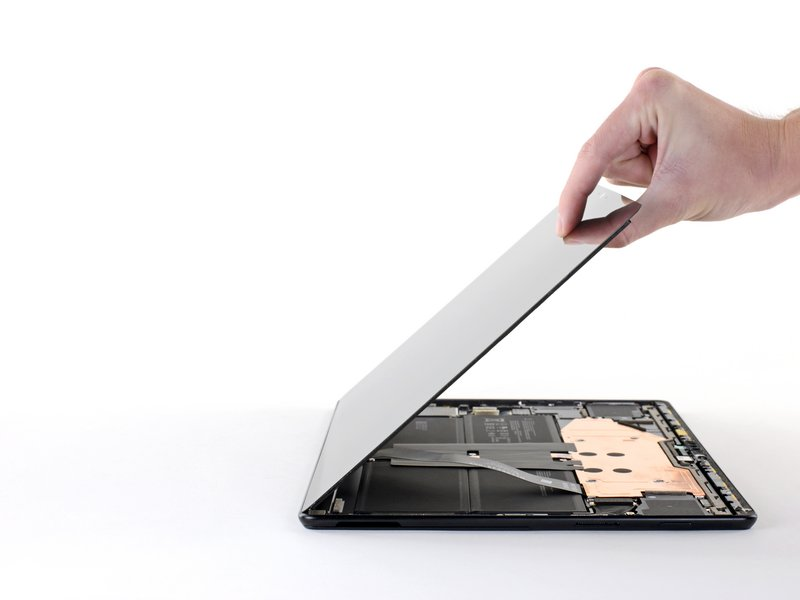
*Lift the top of the screen to a 30° angle with the frame. If you find it stuck or tough to open check for remaining adhesive and use a pick if needed.
*Rotate the screen
*Placing its bottom edge in the frame’s center.
*Keep it perpendicular.
*Now, turn the screen 90° facing it down
*And set it on the frame.
Step #19. Place The Screen On The Surface Facing Down
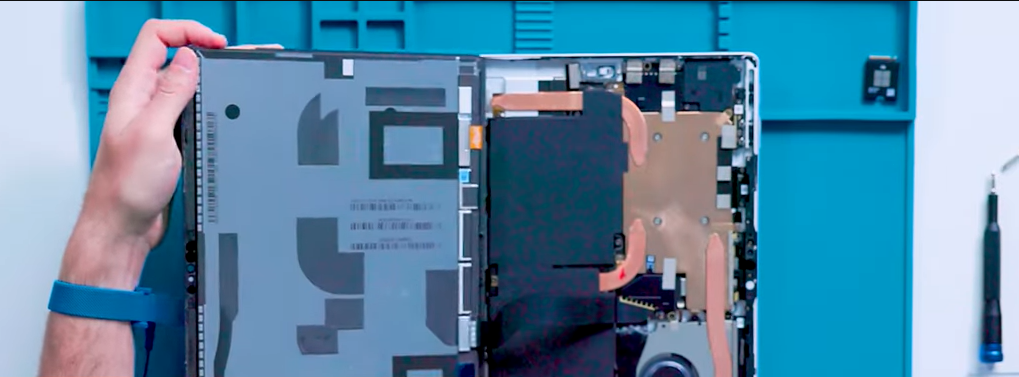
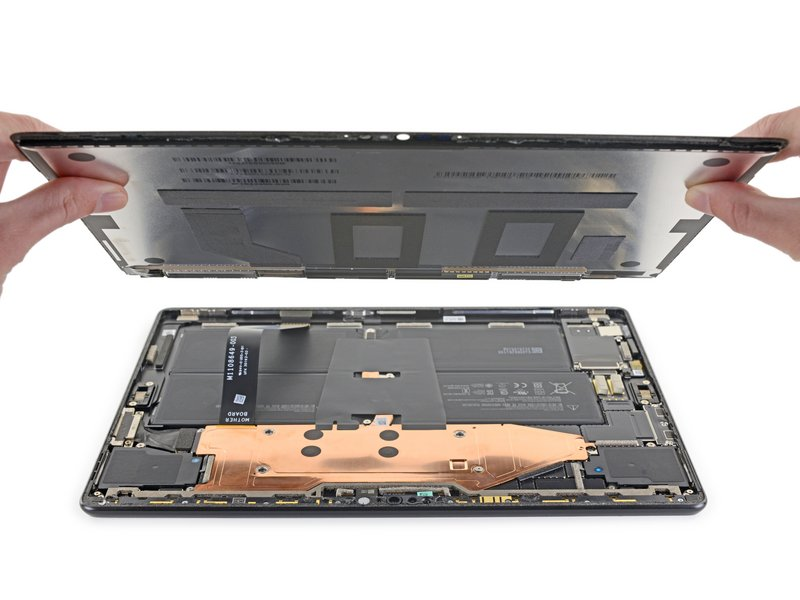
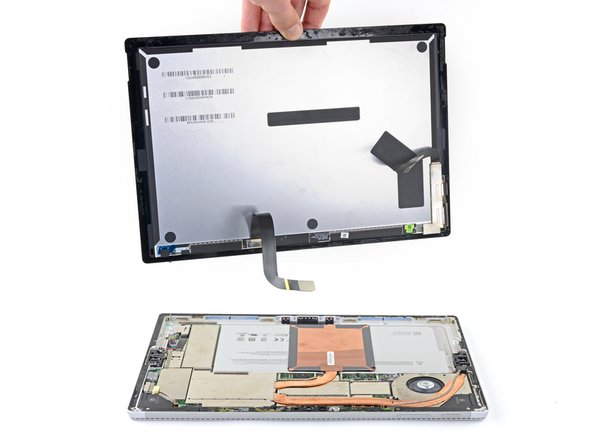
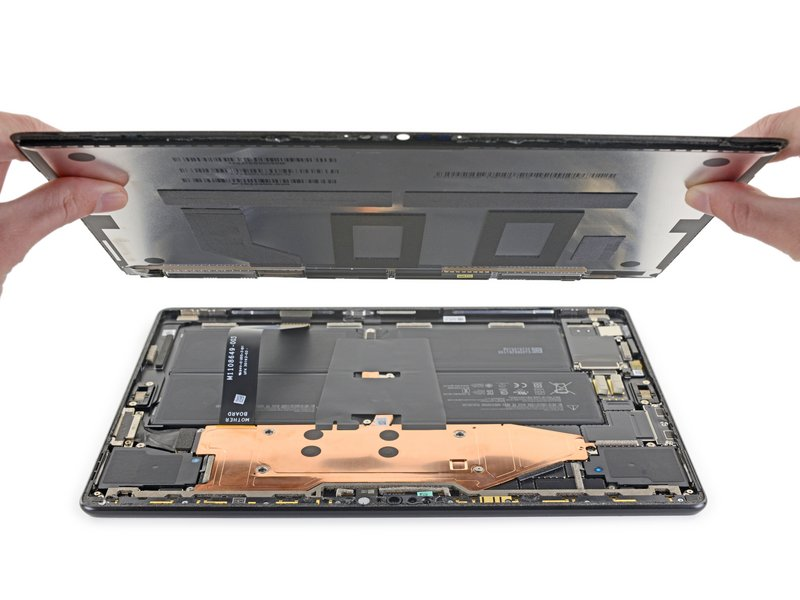
*Face down the screen on the surface but don’t remove the screen yet. It’s still connected to the motherboard by the display cable. Keep the screen close to the Surface’s frame to avoid straining the display cable.
*Be careful not to hit the battery with the screen. A damaged battery may leak chemicals or cause a thermal event.
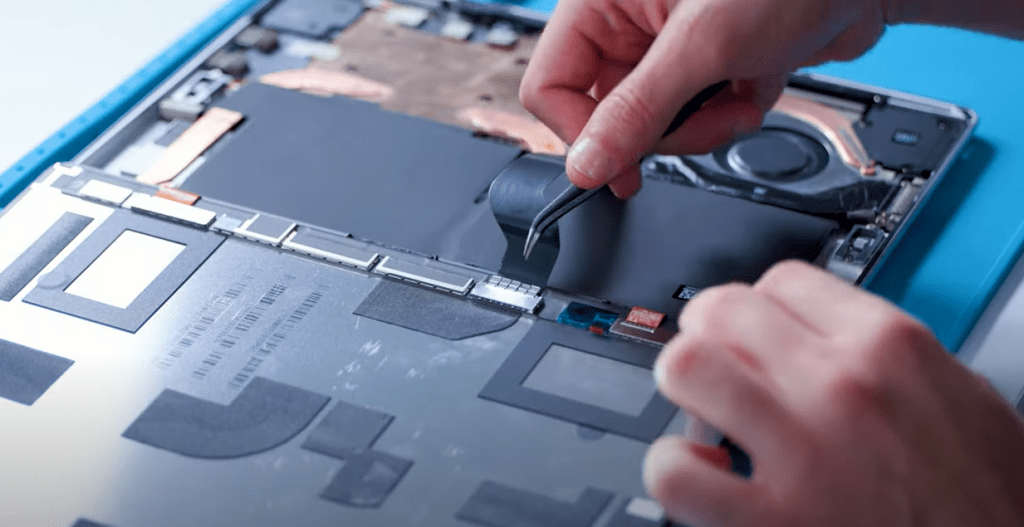
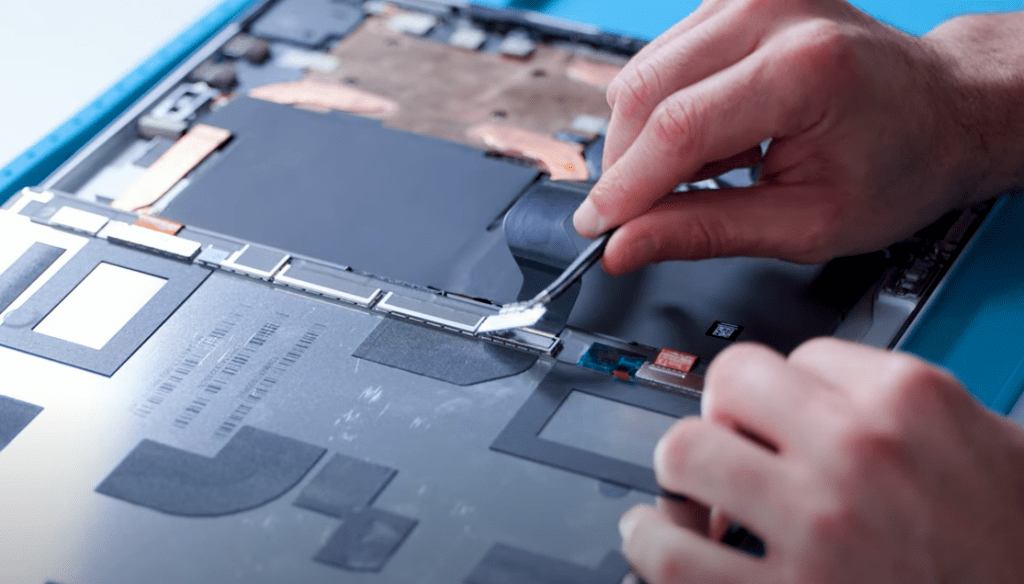
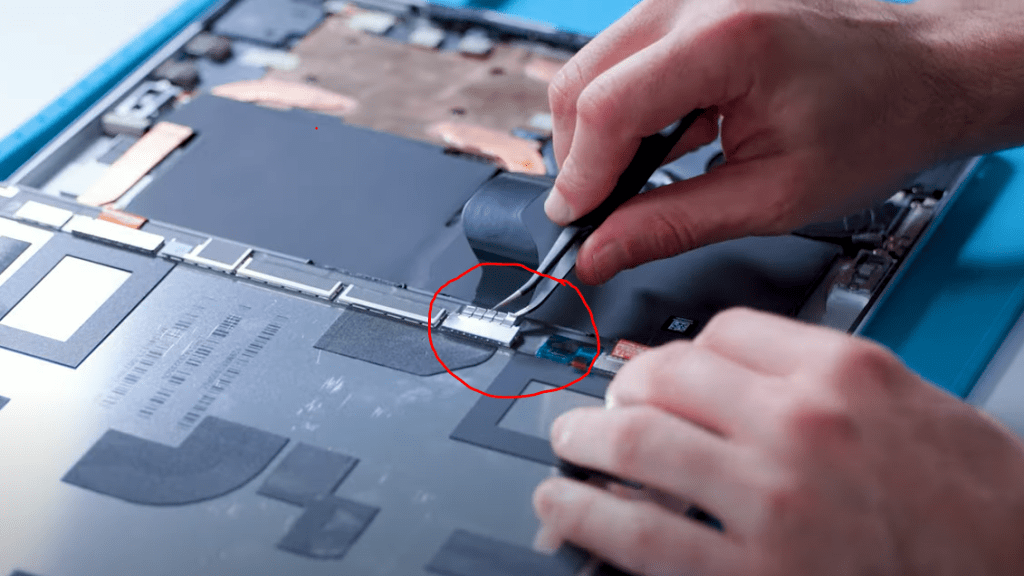
Step #20. Remove The Display Cable Shield
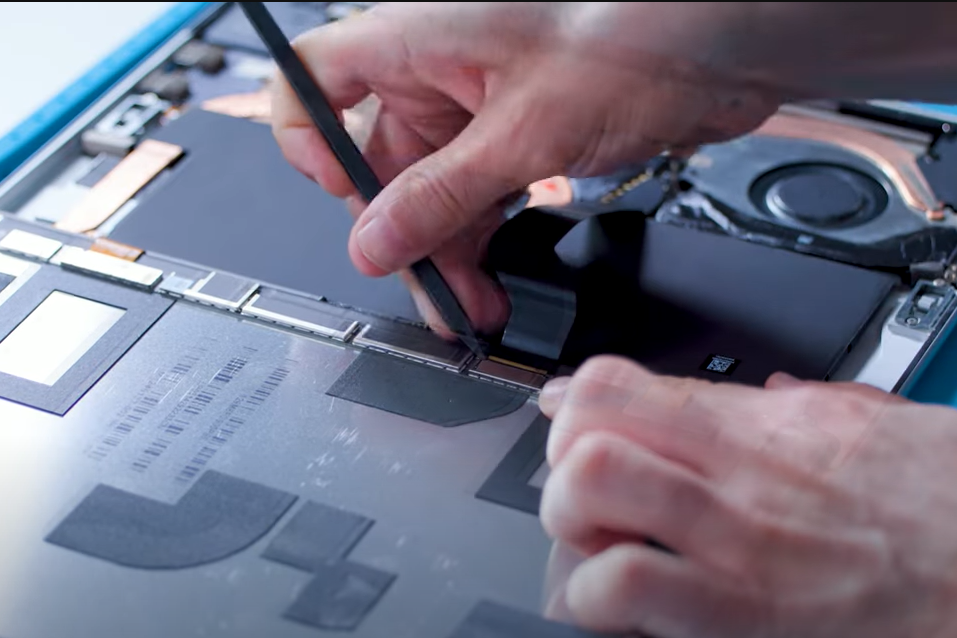
*Use tweezers to remove the metallic tape from the shield lid.
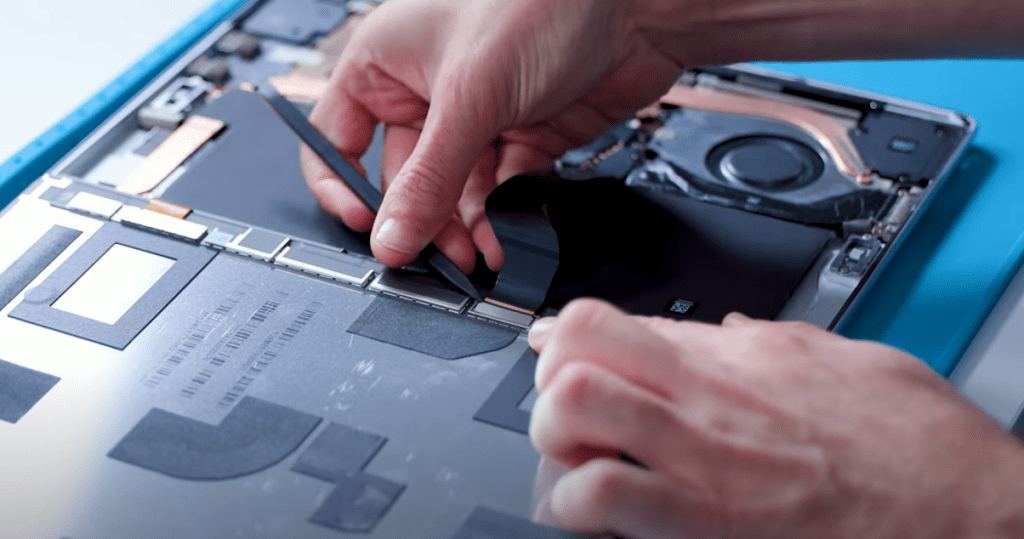
*Lift off the shield lid on the display connector by inserting the pointed end of a spudger or tweezers under the inner edge and gently pulling upwards.
Step #21. Disconnect The Screen
*Disconnect the display connector using the pointed end of a spudger.
*Avoid tugging on the flexible printed circuit(FPC) Connections when disconnecting the display.
Step #22. Separate The Screen
Now separate the glass screen of the Surface Pro 9 from the frame.
Information For Screen Adhesive
For screen adhesive replacement follow these instructions:
*Apply a few drops of isopropyl alcohol (90% or higher concentration) on the adhesive.
*Use a cotton swab or the flat side of a spudger to remove the adhesive.
*Wipe off any lingering adhesive using a lint-free cloth or you can use a coffee filter.
*Make sure the surface is entirely dry before applying the replacement adhesive.
*Apply new adhesive strips or pre-cut adhesive onto the frame in the previous screen adhesive position.
Step #23. Install The New Surface Pro 9 Display/Glass Screen
Finally install the new Surface Pro 9 glass screen.
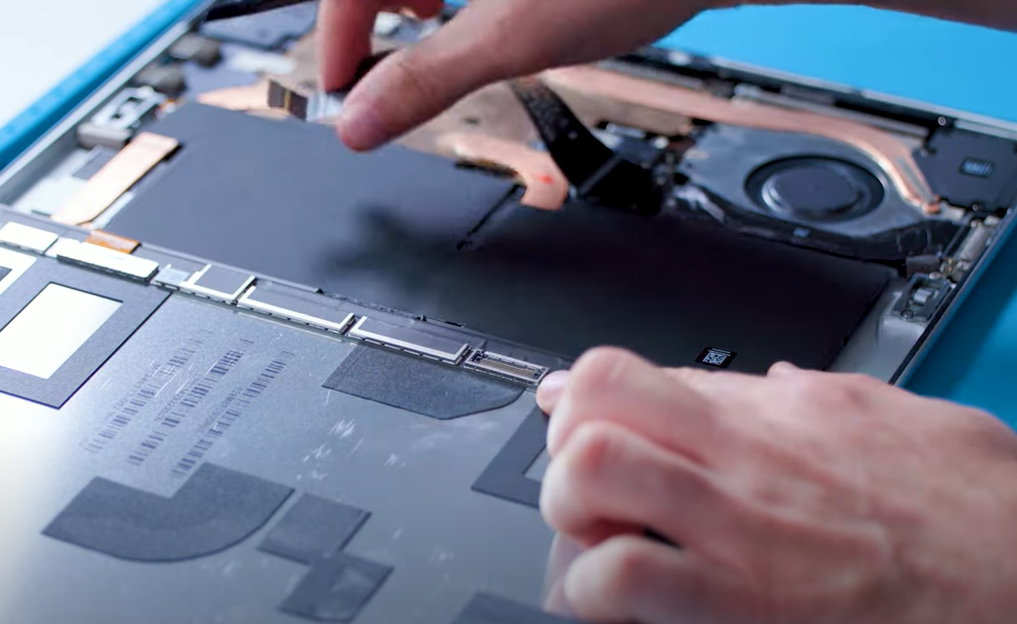
Step #24. Connect The Screen Cable
While holding the display with one hand, firmly connect the Display flexible printed circuit(FPC) by pressing it into the corresponding connector on the motherboard.
Step #25. Place The Screen Cable Sheild
Install a new shield over the Display flexible printed circuit(FPC). Make sure all edges securely snap into place.
Apply a new metallic tape strip to both the shield and the thermal module for added security.
Step #26. Check Before Fixing The Surface Pro 9 New Screen
However this is the best time to check whether the Surface Pro 9 screen replacement is done correctly or not. Thus you can power on the tablet and check if the screen is working normally. Thats it!
Step #27. Set The Perfect Alignment For The Surface Pro 9 Screen Installation
*While holding the display, peel off the Pressure Sensitive Adhesive(PSA) Liners to reveal the adhesive.
*Turn the display over and carefully position it onto the frame.
*Begin by aligning the top edge (Toe-in) and gradually lower the display after achieving proper alignment.
*Make sure the glass sits seamlessly within the chassis and doesn’t rest on top of any frame lip.
Step #28. Install SSD
*Insert the replacement door and firmly press it down.
*Connect the rSSD by inserting its connector end into the rSSD connector on the main board at approximately a 15-degree angle.
*Use a 3IP (Torx-plus) driver to install a new SSD screw. Tighten the screw until it is snug and seated, then turn it an additional 45 degrees (1/8 turn) or until fully fastened.
*Lastly insert the door and press it down securely.
Conclusion
Finally it’s time for celebration. You have successfully done with the Surface Pro 9 glass/LED screen Replacement. We hope that this entire guide has helped you at every stage and play its full to make your Surface Pro 9 screen replacement easier.
Now you can enjoy the best display of the Surface Pro 9 again. Feel free to ask us what’s going on in your mind regarding Surface Pro 9 repair or screen replacement. It’s an honor for us to resolve your issue. That’s it for this guide. See you at the next one!
