Hello, my passionate techies! Did your Galaxy S23 Ultra get damaged unexpectedly? But you don’t want to spend money on a professional repair service?
We’ve got your back, so don’t worry! This guide will go through each Galaxy S23 Ultra replacement process step. Let’s start now!

Tools You’ll Need
Let’s first gather the necessary tools. Here’s a quick rundown:
- Philips Screwdriver: Your weapon for most electronics replacements, especially screen repairs.
- Tweezers: Handy for dealing with small screws and cables.
- Spudger: This is a non-conductive pry tool to disconnect connectors and remove components.
- Heat gun: Needed to loosen the adhesive.
- Plastic opening tools: To avoid any unwanted scratches.
- SIM Card Eject Tool: You probably got one with your phone.
- ESD-Safe Tweezers: For safe handling of electronic components.
- Opening Picks: Super helpful for prying open the phone casing.
Step-By-Step Guide

Before we start, a word of caution: this tutorial is intended for users comfortable with DIY tinkering. If you’re not, we recommend taking your phone to a professional replacement service. Also, remember that improper Galaxy S23 Ultra repairs and replacements can void your warranty.
Step 1: Power Down Your Device
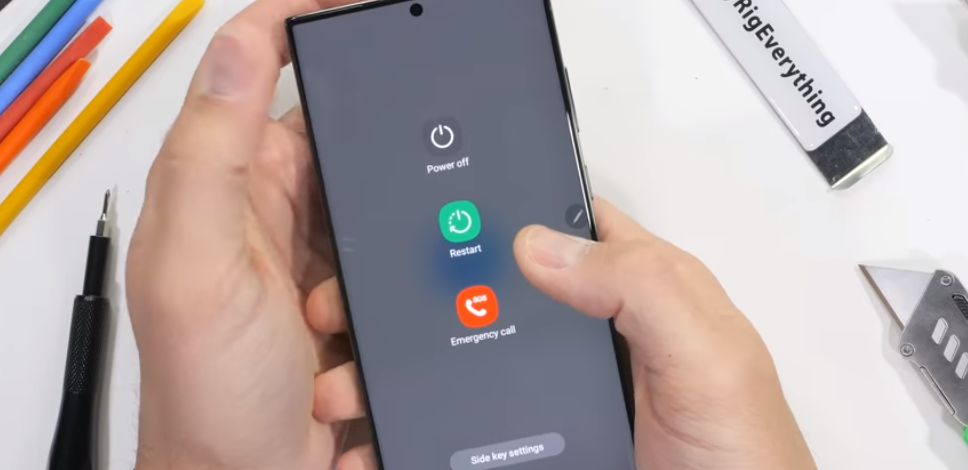
Before beginning any replacements, ensure your Galaxy S23 Ultra is powered off. This will prevent short-circuiting any components during the replacement.
Step 2: Remove the SIM Card Tray
Using your SIM card eject tool, gently push into the small hole on the SIM card tray. The tray should pop out easily. Pull it out and put it in a safe place.

Step 3: Heat Up the Back Cover
The back cover of the Galaxy S23 Ultra is secured with adhesive. To soften this adhesive, use your heat gun, moving it around the phone’s edges. Be careful not to heat one spot for too long to prevent damaging the internals.

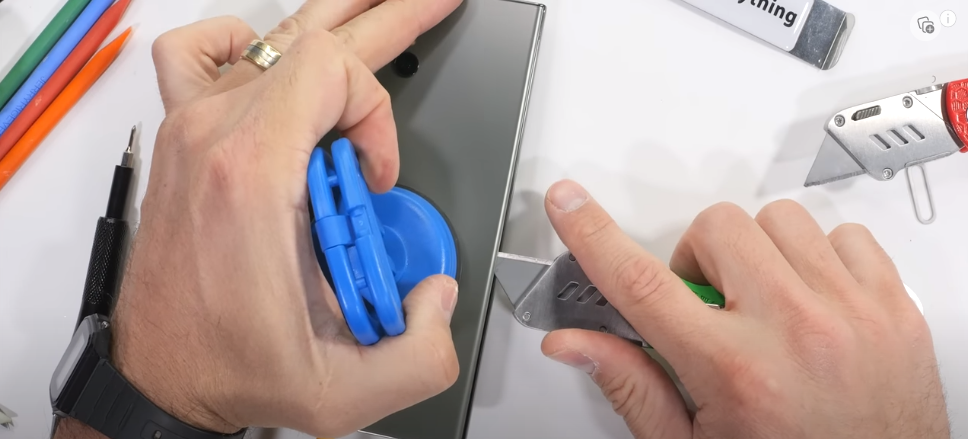
Step 4: Lift the Back Cover
After heating the adhesive, gently use an opening pick to pry up the back cover. Start from the bottom edge and work your way around the phone. Take it slow and gentle; you don’t want to break the glass cover or damage the wireless charging pad underneath.
Step 5: Remove the Back Cover
Once the back cover is loose, remove it from the charging port side. There are still cables attached, so be careful.

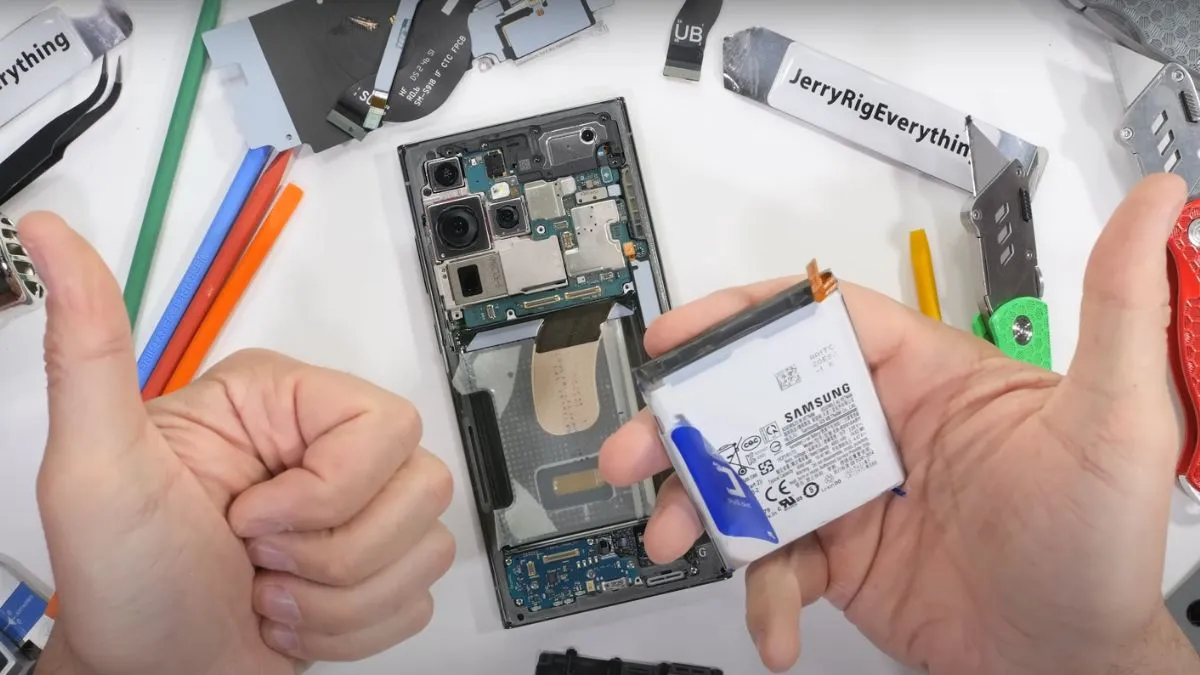
Step 6: Disconnect the Battery Connector
Next, we want to disconnect the battery to ensure no electricity is running through the phone while working on it. Use your ESD-safe tweezers to lift the battery connector from its socket gently.

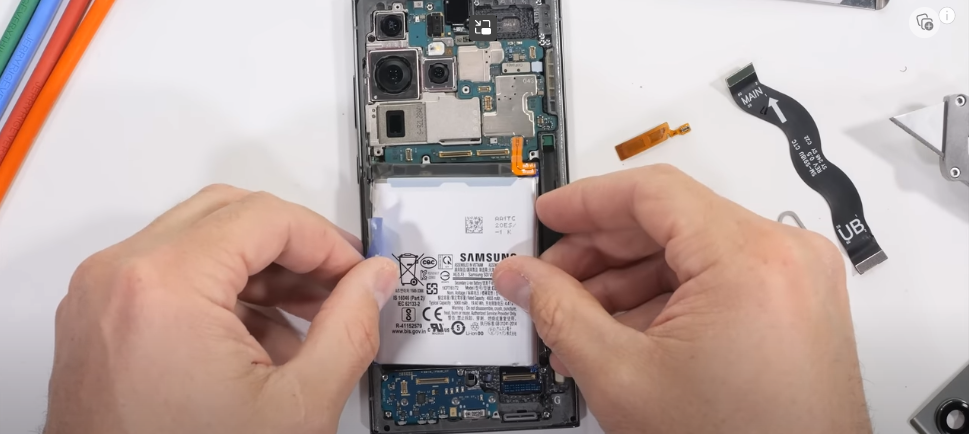
Step 7: Remove the Battery
The battery is glued in, and this is where the real challenge lies. Heat the front of the device gently to loosen the adhesive. Then, use your plastic card or opening picks to slowly and carefully pry the battery free. Be patient – forcing it could puncture the Galaxy S23 Ultra battery, which you want to avoid.

Step 8: Remove the Wireless Charging Pad
Now it’s time to remove the wireless charging pad. It’s held in place by light adhesive and a few Phillips screws. Use your screwdriver to remove the screws, and then carefully lift the charging pad using your tweezers or spudger.

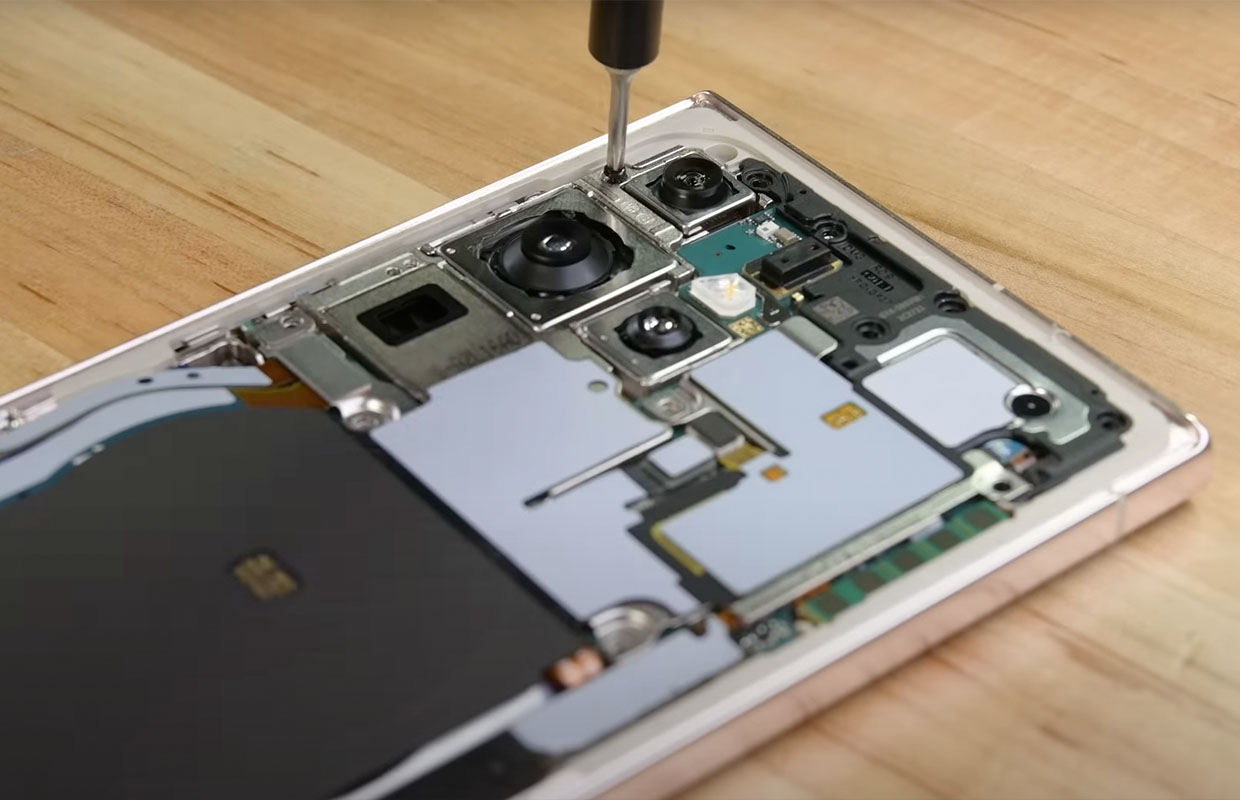
Step 9: Disconnect and Remove the Rear Cameras
The Galaxy S23 Ultra has a complex camera system. Use your tweezers to disconnect the camera connectors carefully, then lift out the module.

Step 10: Disconnect the Front Camera and Sensors
The front camera and sensors are located at the top of the phone. Disconnect the relevant cables and gently remove the components.

Step 11: Remove the Motherboard
Now we’re going to remove the motherboard. This may seem daunting, but don’t worry; it’s easier than it sounds! Begin by unscrewing the Phillips screws holding it in place.

Remember to store these safely, as they are tiny and easy to lose. Once you’ve done this, use your spudger or tweezers to lift the motherboard out of the phone casing carefully.
Step 12: Replace the Desired Component
Now that your Galaxy S23 Ultra is fully disassembled, you can replace the component causing trouble. Whether it’s the battery, the motherboard, or a camera replacement, carefully install the new component, ensuring it’s securely and correctly placed.

Step 13: Reassemble the Phone
Once the faulty component has been replaced, it’s time to put your phone back together. Follow the disassembly steps in reverse order. Here’s a quick recap
- Reinstall the battery, ensuring it’s firmly glued in place.
- Carefully reseat the motherboard, screwing it back into place.
- Reconnect and replace the front camera and sensors.
- Replace and reconnect the rear camera module.
- Replace the wireless charging pad and screw it back into place.
- Reconnect the battery.
- Replace the back cover. You may need to apply a new adhesive if the existing one isn’t sticky anymore.
- Finally, reinstall the SIM card tray.
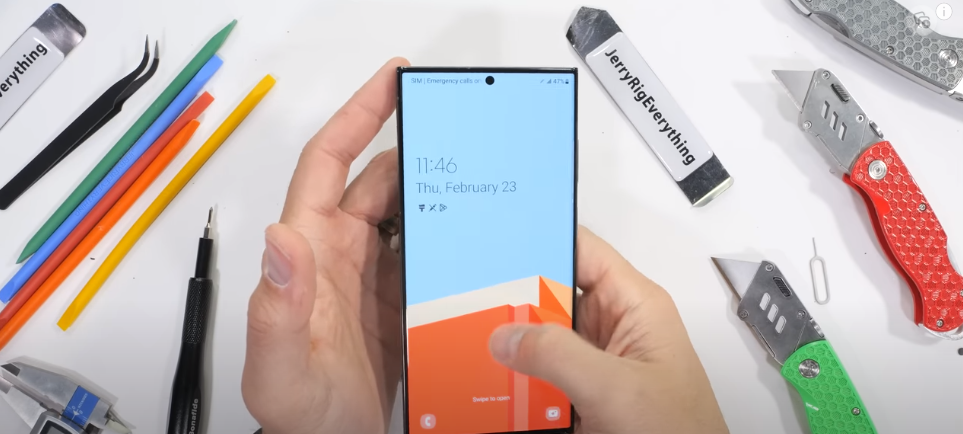
Step 14: Power Up Your Device
With everything back in place, power up your Galaxy S23 Ultra. If it starts up properly, congrats! You’ve successfully performed a DIY replacement on your device.
Galaxy S23 Ultra Component Replacement
So, now we’re getting up close and personal with the ins and outs of the Galaxy S23 Ultra component replacement. Suppose you’ve got a cracked screen, a worn-out battery, or a need to replace miscellaneous parts. Then, here is your one-stop shop for all things repairs and replacements!

Screen Replacement
A cracked or damaged screen can turn your high-tech marvel into a useless brick. But the Galaxy S23 Ultra screen replacement isn’t a piece of cake. Yet, it’s possible with some patience and the right tools.

Start by turning off your device and carefully remove the back panel and battery. Unscrew and remove the motherboard, then disconnect and remove the display connector. Fit your shiny new screen, reverse your steps, and voila! A new, uncracked window to the digital world.
Battery Replacement
Is your Galaxy S23 Ultra struggling to hold a charge? It might be time for a battery replacement. This task can be challenging due to the glued-in battery design.
After removing the back panel, disconnect the battery connector and use heat to loosen the adhesive holding the battery. With a bit of gentle prying, the old battery should come free. Put the new battery in, reassemble the phone, and you’re ready!
Misc. Parts Replacement
The Galaxy S23 Ultra has many tiny parts that may need replacement. It can be the back panel adhesive, charging port, buttons, or camera repair. The process involves careful disassembly, replacing the faulty part, and reassembling. Remember – patience is key!
Important Information
If you are thinking to your Samsung Galaxy S23 Ultra phone repaired. Here we’ll discuss four aspects: troubleshooting, parts availability, design, and components cost.
Troubleshooting
If your Galaxy S23 Ultra is still showing error after your DIY replacement, you can try these steps to figure it out:
- Make sure that the new part is compatible with your phone.
- Make sure that the new part is installed correctly.
- Try restarting your phone.
- If you’re still having problems, you can contact Samsung customer support for help.
Parts Availability
Finding replacement parts for the Galaxy S23 Ultra is easy since it’s one of the top smartphones in the market. Online stores and Samsung service centres sell most parts, including the battery, screen, and rear camera module. Given its complex design, the Galaxy S23 Ultra’s motherboard and periscope-style telephoto lens are hard to get.
Remember, parts availability may differ based on your location. Samsung has a strong supply network, but some parts may not be readily available in certain countries. To confirm part availability, contact Samsung service centres or trusted third-party suppliers.
Design Implications
The Galaxy S23 Ultra is a nicely built phone with a fancy camera. It demonstrates Samsung’s impressive engineering skills. Replacing parts, however, can take some time. It can take 1-3 hours, given your skill level and the part that needs replacement.
Remember that the phone’s delicate internals make disassembling and reassembling difficult. It affects the time frame needed to replace a part. Heating is necessary to remove the phone’s back glass, sealed with adhesive. Also, firmly glued components like the battery make it harder.
Samsung Galaxy S23 Ultra Original Parts Prices
Original Samsung Galaxy S23 Ultra components cost vary by part and repair shop. Some of the most common parts and their prices are:
- Display: $250-$300
- Battery: $100-$150
- Camera: $50-$100
- Motherboard: $500-$600
- Charging port: $50-$100
- Speaker: $25-$50
- Microphone: $25-$50
- Housing: $100-$150
These prices are estimates (from https://fixo.com.au/ ) thus replacement costs may vary. Before replacing your phone part, get a service centre quote.
Wrap Up
And here’s a simple guide to your Galaxy S23 Ultra component replacement! It may seem tricky at first, but it’s an enjoyable task with patience and care. Remember, safety comes first. If you need guidance on a step or feel nervous continuing, don’t hesitate to take your phone to a professional.
Happy DIYing tech lovers! Stay curious, stay adventurous, and never stop learning. Keep an eye on this space for more exciting DIY guides. Until then, keep exploring the galaxy of tech with your Galaxy S23 Ultra!
Disclaimer: This guide is intended for educational purposes only. Proceed at your own risk. The author is not responsible for any damage resulting from following this guide.
Admin


