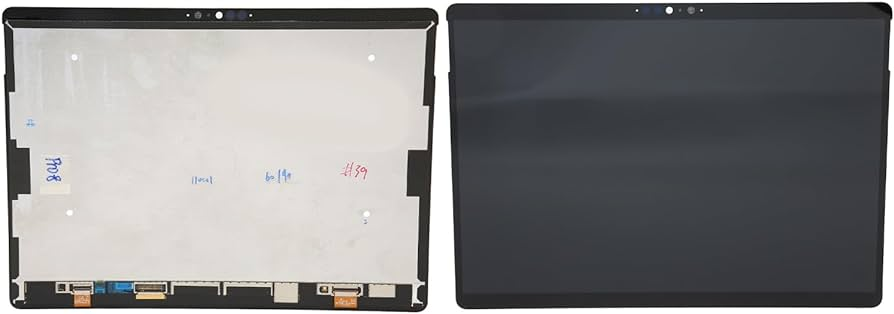
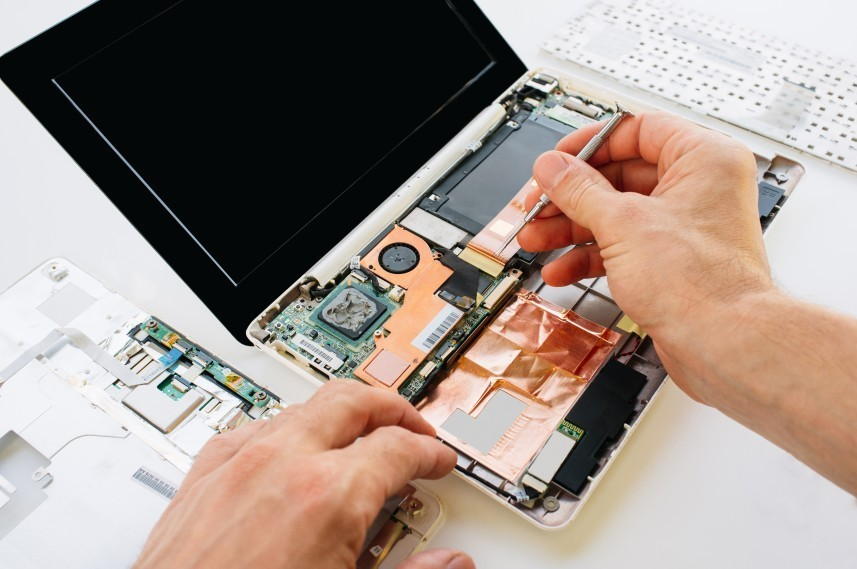
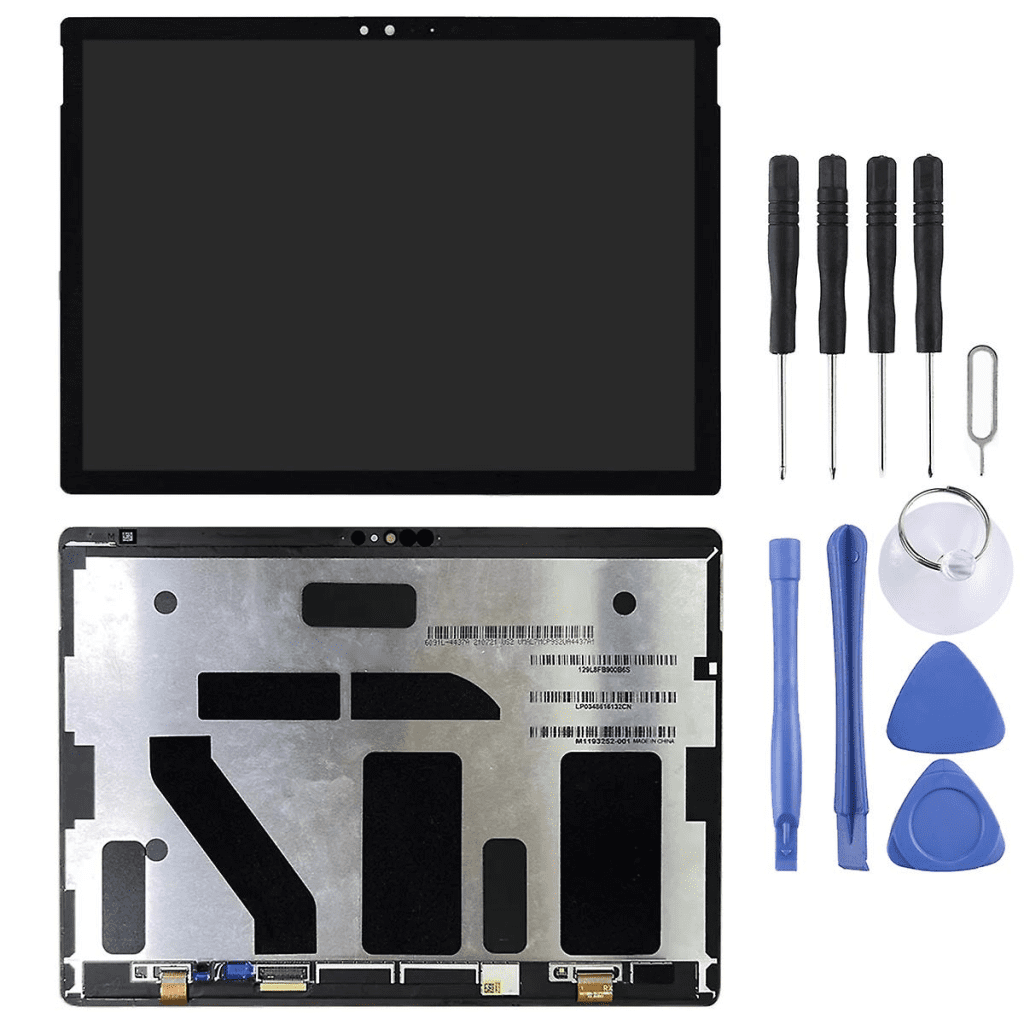
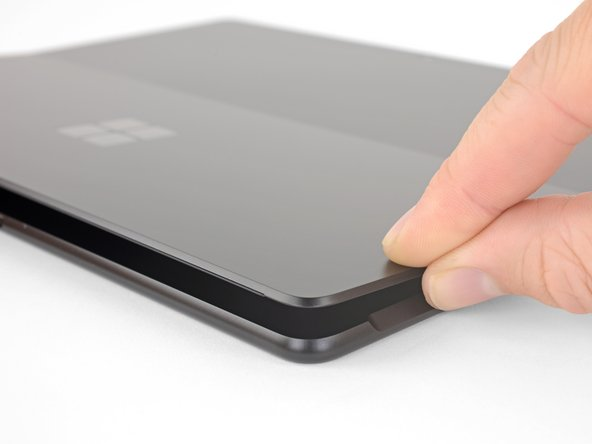
Welcome to our step-by-step guide on Microsoft Surface Pro 8 Screen Replacement. We understand how important this device is to you and we’re here to help you get it working like new again.
However Surface Pro 8 is a fantastic device that can act as your laptop, tablet, and mobile phone. If your Surface Pro 8 screen has broken accidentally there is nothing to worry about. We’ve got you covered! In this guide we’ll walk you through replacing the Surface Pro 8 glass/LED screen and even show you how to open your Surface Pro tablet with security. Let’s start and have your Surface Pro 8 looking and functioning ideally again!
Surface Pro 8 Screen Replacement
However replacing the Surface Pro 8 screen is going to be amazingly easy. Here we are going to explain every step with pictorial illustration. But before jumping to the Surface Pro 8 screen replacement, you should keep some precautions in mind.
*The first point is to make sure your Surface Pro 8 is ready for the screen replacement. To do this, drain your tablet’s battery to less than 25%.
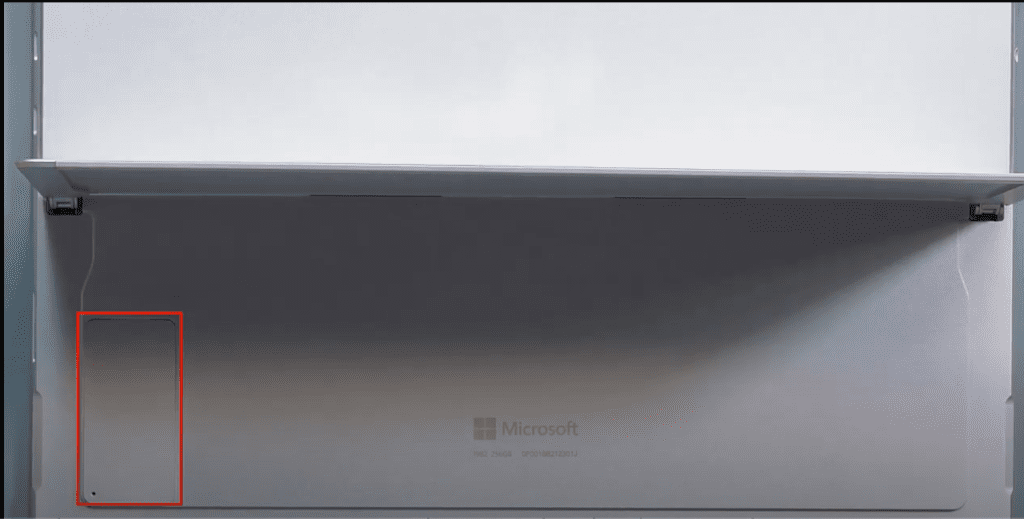
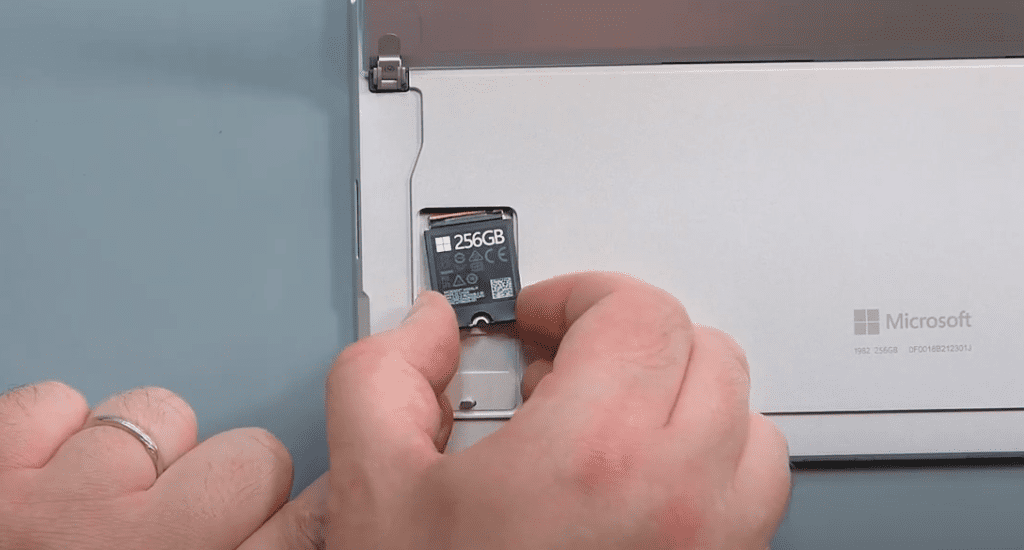
*Secondly remember to remove the SSD from the Surface Pro 8. Otherwise you may suffer severe damage while the Surface Pro 8 screen replacement.
*The third thing is please mark the opening pick for disassembling the Surface Pro 8. Inserting the opening pick too far can damage components and connections.
Step #1. Choose A Clean And Smooth Surface For Replacing The Screen Of The Surface Pro 8
The first and most crucial step is to select the right place or area that can make your repair super smooth.
*Pick a clean and smooth surface.
*Make sure it’s free from dust and lint.
*Avoid places that are stuffy or windy.
Step #2. Gather All the Necessary Tools
Another important step is to ensure you are ready with all the tools you will use. Note the list of required tools.
*Plastic Spudger
*Suction Tool
*Tweezers
*4 to 5 Opening Picks
*Screw (3IP Torx-Plus) Driver
*Metal Ruler
*Anti-static Wrist Strap (1 Mohm Resistance)
*Microfiber/Lint-Free Cloth
*Glass/LED Screen Specifically Designed for Surface Pro 8 Tablet
*SIM eject tool (or equivalent 0.023 in / 0.58 mm diameter paperclip)
*Plastic tray/plate (for safe placement of screws and small components)
However having all these tools at your fingertips can make the Surface Pro 8 screen replacement process easy and smooth.
Step #3. Preparing Opening Picks
Prepare your opening picks for the Surface Pro 8 Glass screen replacement with these easy steps. Use a ruler to mark the opening pick at 3mm for the left, right, and bottom sides. Additionally make an 8mm mark for the top of the Surface Pro 8. These measurements are essential for stopping the opening pick from going too far into the screen. Also it will keep the tablet safe from internal damage. Don’t compromise on this step if you expect a successful and secure Surface Pro 8 glass screen replacement process.
Step #4. Opening the Kickstand
Before taking any action, please ensure your Surface Pro 8 is turned off.
*Click on the Start button in the menu.
*Navigate to Power.
*Select Shut Down.
OR
*Press and hold the power button for 4 seconds.
*Swipe down to shut down.
*If the above doesn’t work, press and hold the power button for about 10 seconds until the screen turns off, then release the power button.
After turning off the Surface Pro 8 you can proceed to the next.
*Removing the SSD is very important if you want a safe Surface Pro 8 Screen replacemen Removing the SSD will disconnect the battery and save the tablet from severe damage.
*Now lay the screen on a soft surface.
*Adjust the kickstand to at least a 90° angle for accessible SSD and SIM card door access.
Step #5. Open And Remove The SSD and SIM Card Door
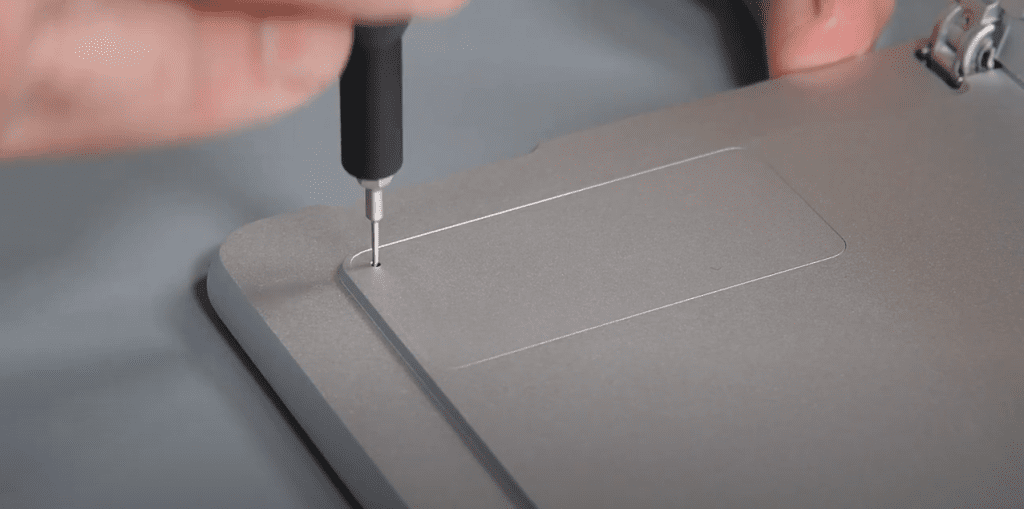
*Use a SIM card eject tool or paperclip to insert it into the small hole at the bottom right corner of the SSD and SIM card door on your Surface Pro 8.
*Apply firm pressure to open the SSD card door. It Will allow you to lift and remove the SSD and SIM card door from your Surface Pro 8.
Step #6. Unfasten The SSD card Screw & Remove SSD
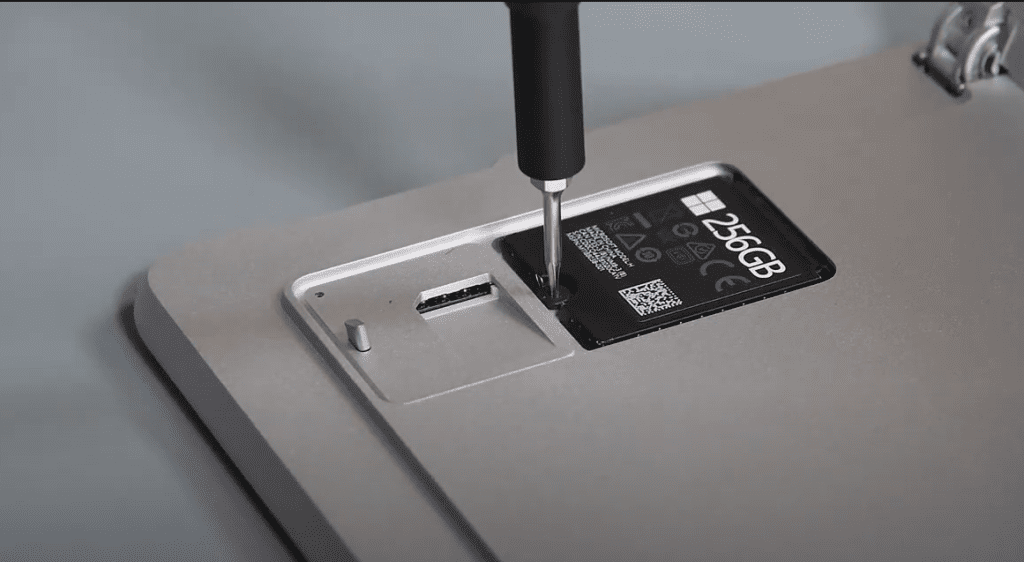
*It’s time to open the screw of the SSD and SIM card slot. Use a T3 Torx screwdriver to remove the 2.4 mm screw that secures the SSD in place.
*Now with the help of your finger or a spudger lift up the SSD slightly. Make sure it clears the edges of its recess.
*Be gentle and careful while lifting the SSD. Extra pressure and over-lifting can lead to damaging the SSD card socket.
*Carefully pull the SSD straight out from its socket.
Step #7. Secure The Screen With Tape
*Protect your eyes with safety glasses and be very careful with the Surface Pro 8 LCD screen.
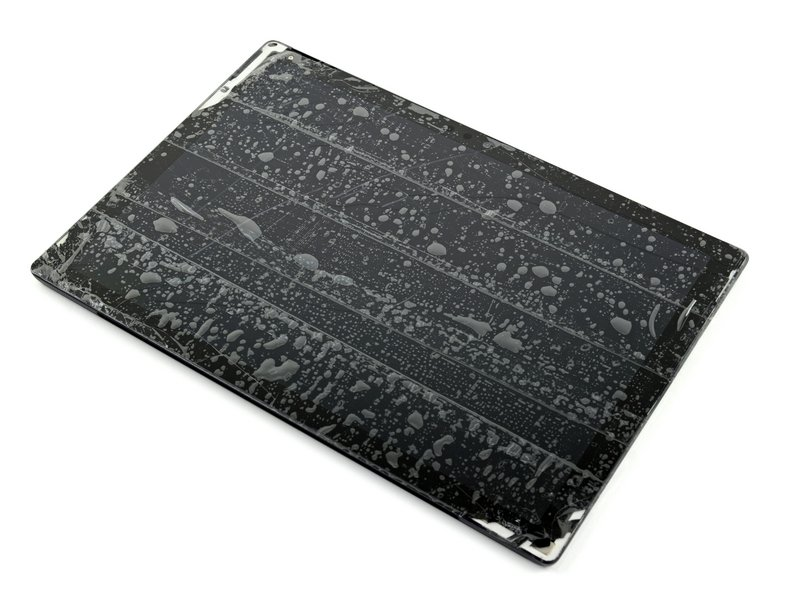
*If the display glass is cracked you can use tape to stop further breakage and prevent injury.
*Cover the entire Surface Pro 8 display with overlapping clear packing tape for shard containment and structural support.
*Follow the guide instructions as closely as possible.
*Please consider using a metal prying tool to remove broken pieces if the glass continues to crack.
Step #8. Place A Suction Tool On The Screen
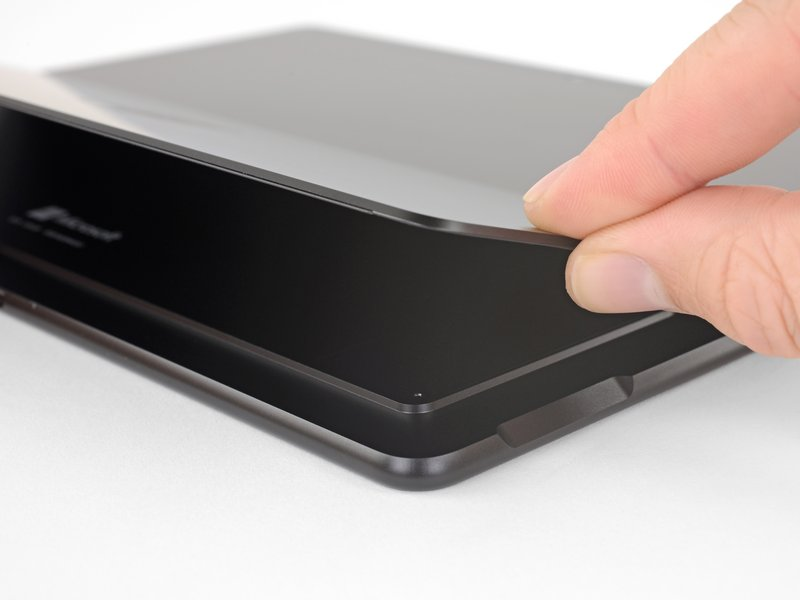
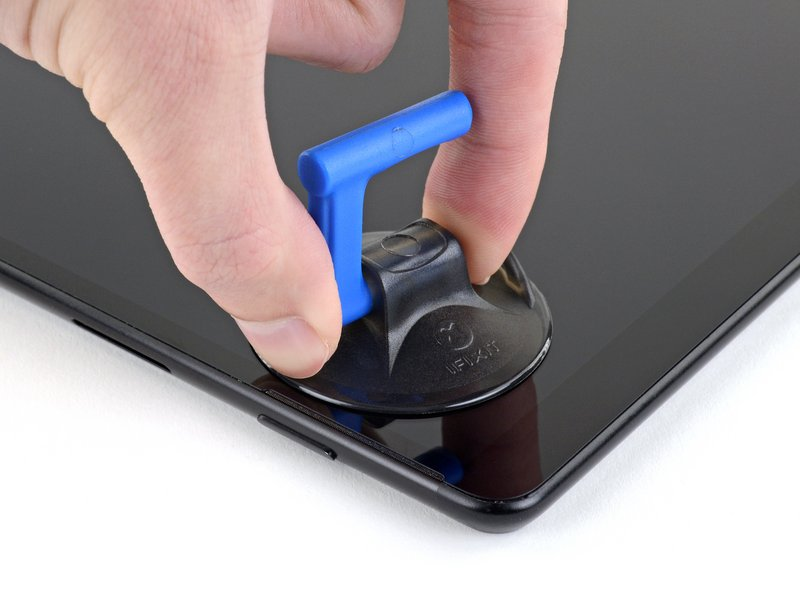
Now you can place a suction tool on the Surface Pro 8 screen. If the glass display of the Surface Pro 8 is not shattered then be careful. There’s a high chance of breaking the fragile display panel during this process. Take your time and be extremely alert while cutting through the adhesive. However for placing a suction tool follow this.
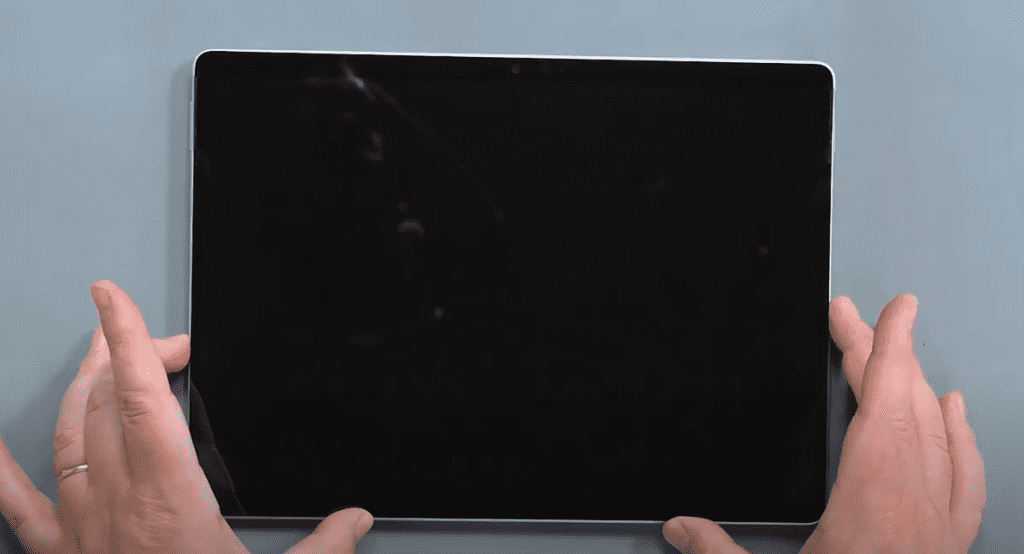
*First place the Surface Pro 8 on a smooth surface facing up.
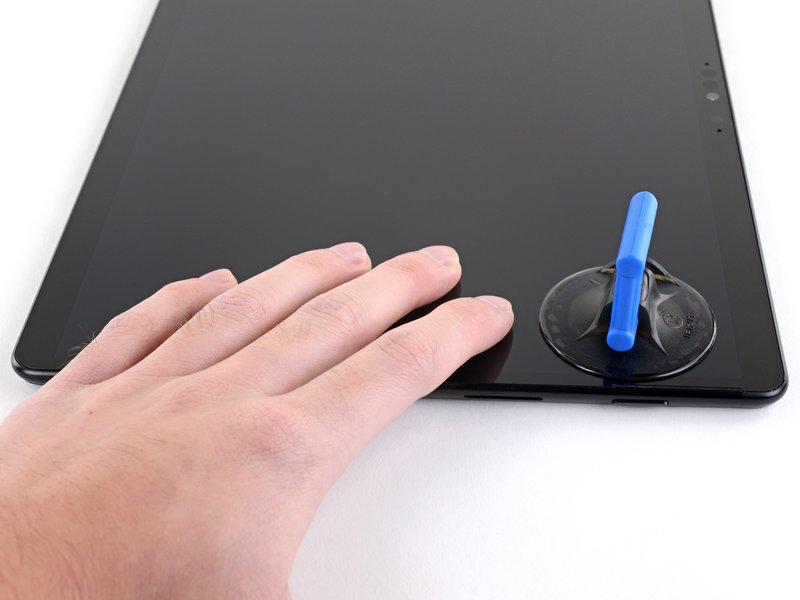
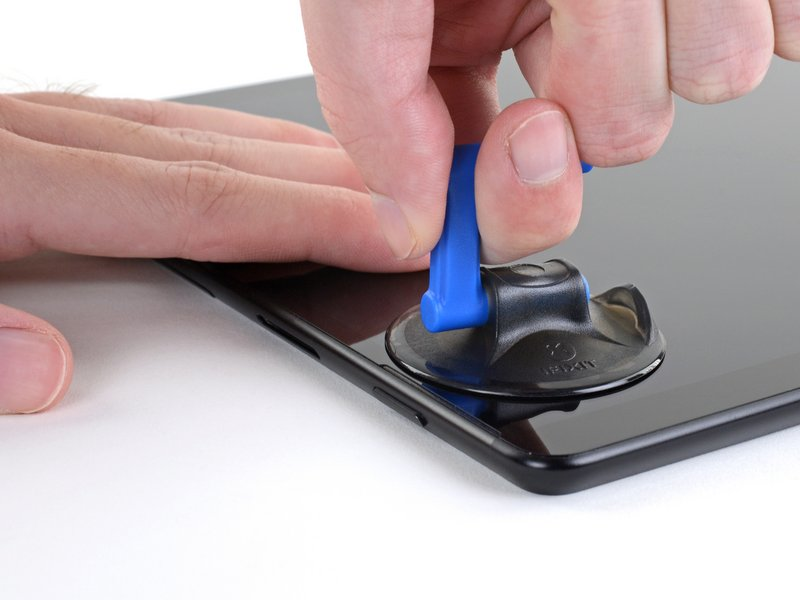
*Place a suction tool on the right ledge next to the speaker grill of the Surface Pro 8.
Step #9. Secure The Tablet With Your Hands
Now put your hand on the screen next to the suction tool. Supporting the Surface Pro 8 screen will prevent further screen damage.
Step #10. Pull Up The Suction Tool To Create A Gap Between The Screen And Frame
*Gently pull the screen with the help of the suction tool’s handle.
*Create the gap between the screen and the frame.
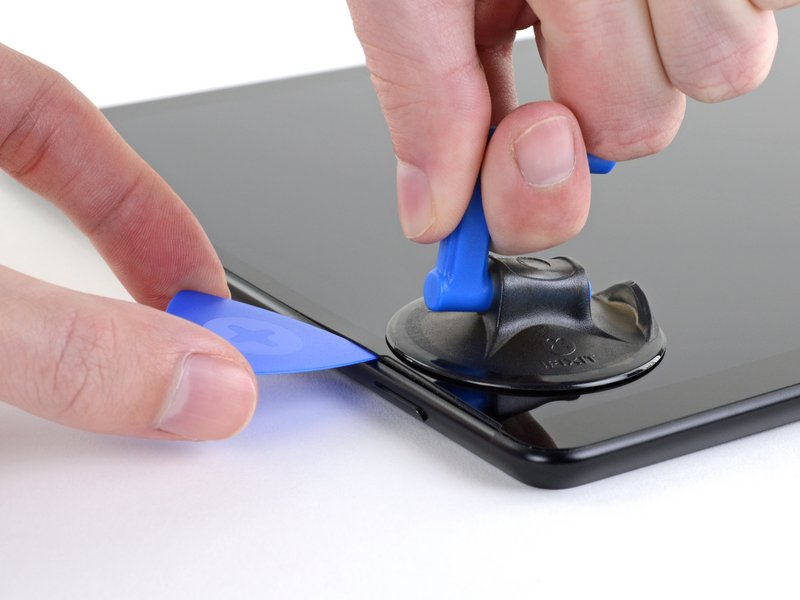
*Please try to create enough gap so that you can slide in an opening pick.
Step #11. Insert An Opening Pick Into The Gap
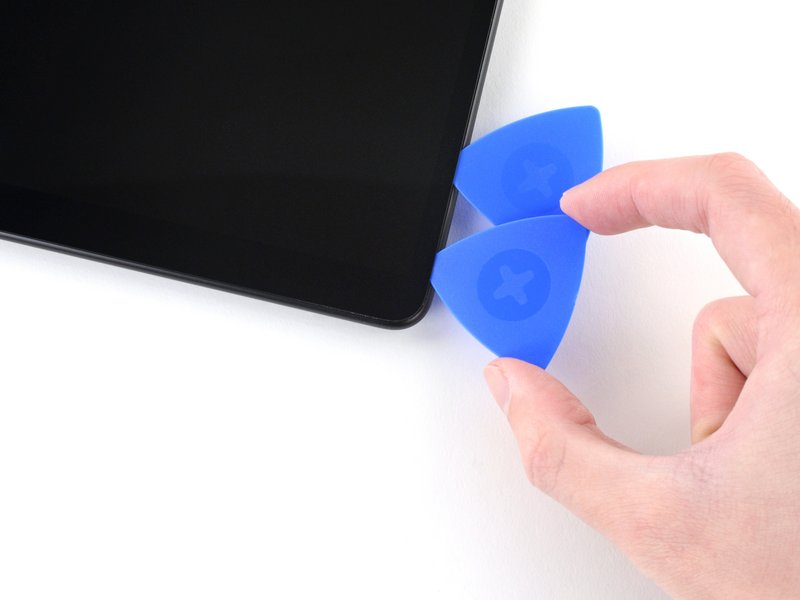
*Now it is time to insert an opening pick into the gap.
*Make sure that you only insert a 2mm opening pick.
*Please avoid inserting the opening pick too far under the screen. It can damage the Surface Pro 8 table
*Leave the opening pick here. It will keep the adhesive from sticking again.
Step #12. Separate The Adhesive With Another Pick
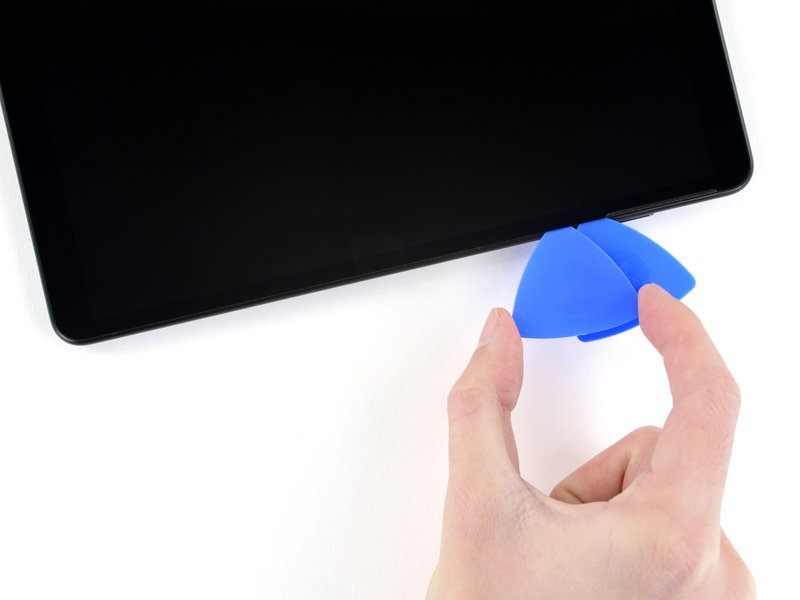
*Insert the second opening pick just from the first opening pick.
*Slide the pick to the bottom side to separate the screen.
*Leave this opening pick at the bottom right edge to prevent the adhesive from resealing.
Step #13. Insert Third Opening Pick
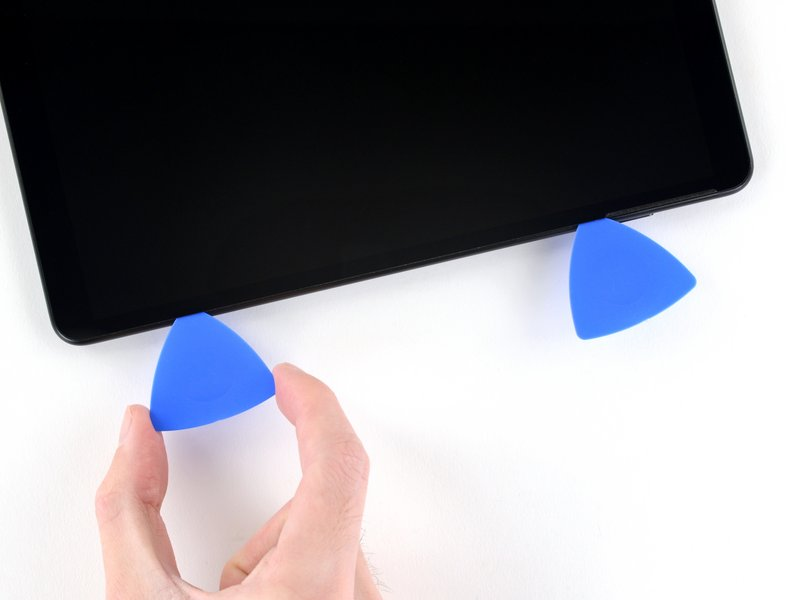
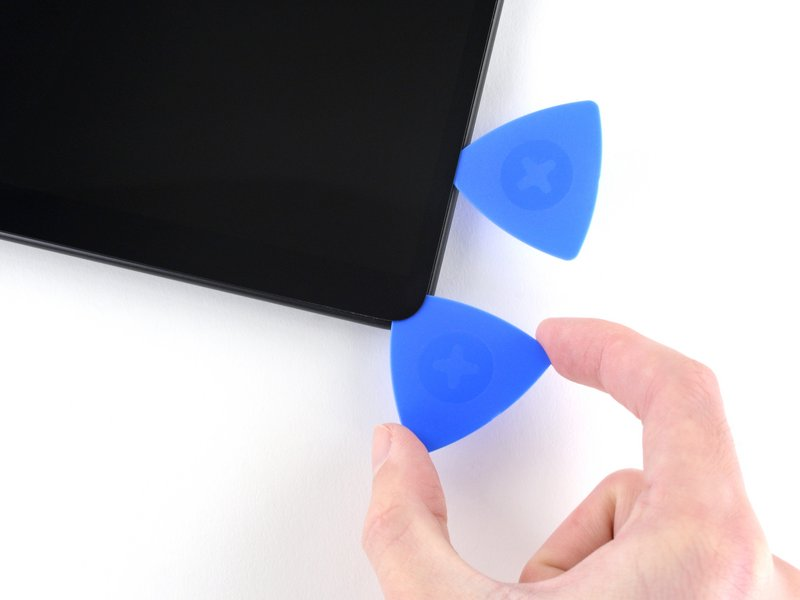
*Slide the third opening pick into the bottom right corner.
Step #14. Slide The Opening Pick Along The Surface Pro 8 Bottom
*Gently move it around the corner toward the lower edge.
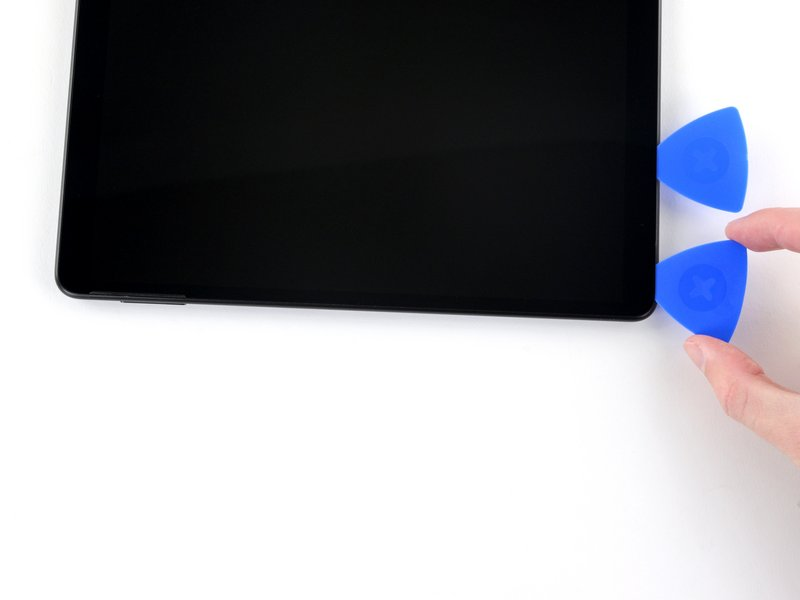
*Now slide the opening pick along the bottom edge to cut through the screen adhesive.
*Keep the pick on the bottom edge to prevent resealing of the adhesive.
Step #15. Insert Forth Openin Pick
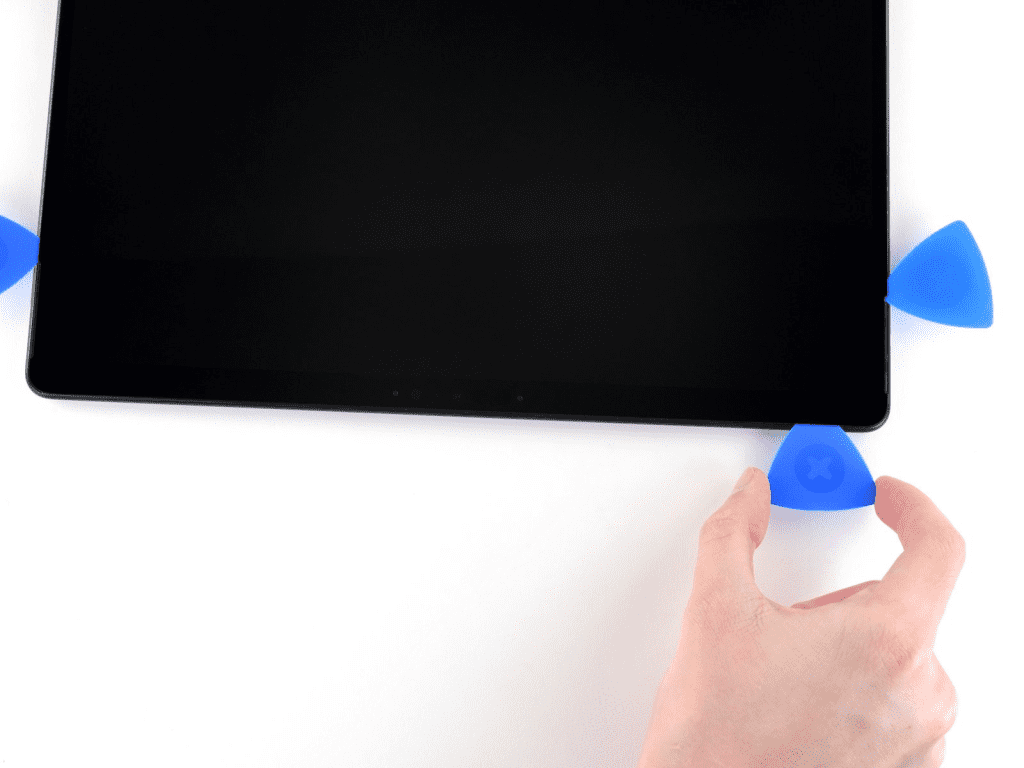
*It’s time to insert the fourth opening pick for separating the left side of the Surface Pro 8.
*Move it around the left corner at the bottom toward the left edge.
*Glide the pick along the left edge to separate the screen adhesive.
*Keep the pick on the left edge to prevent the adhesive from resealing.
Moreover be very cautious while inserting and moving opening picks. Never let the opening pick go in more than 2 mm for all the three sides (right. Bottom, left). Otherwise you may lose the tiny components or connections.
Step #16. Separate The Top Edge Adhesive
*Conversely all the other sides are important and fragile but for the top of the Surface Pro 8 you have to pay more attention.
*Also while cutting through the adhesive on the top edge please avoid inserting the opening pick more than 10 mm.
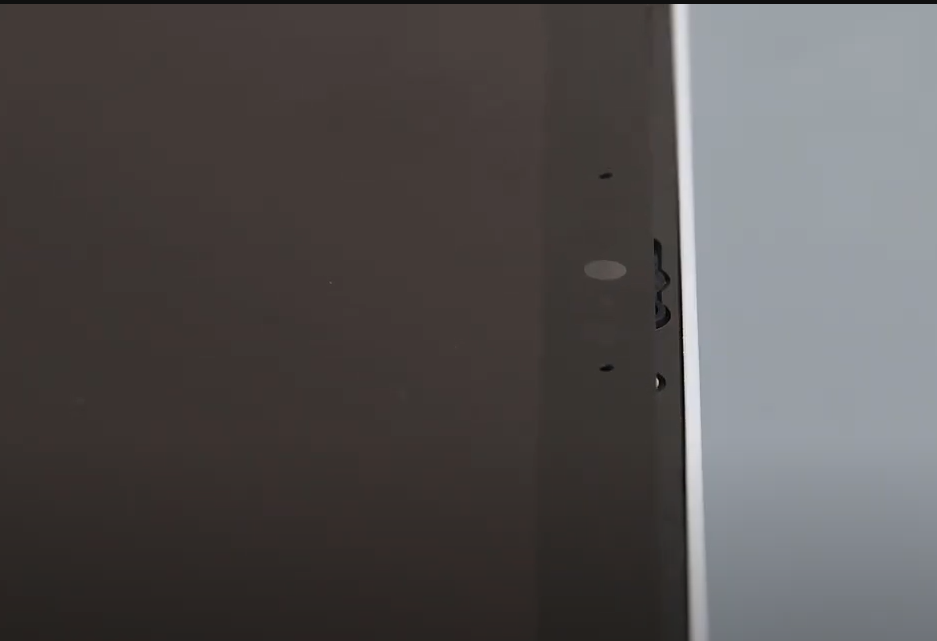
*You have to be more cautious when dealing near the speaker grill. Don’t exceed 3 mm near the speaker grille.
Staying within these limits is crucial to ensure a safe and effective process.
*Insert a fifth pick at the top left corner and slide it along the upper edge to cut through the adhesive.
Leave the pick in place to prevent the adhesive from sealing again.
Step #17. Lift The Surface Pro 8 Screen
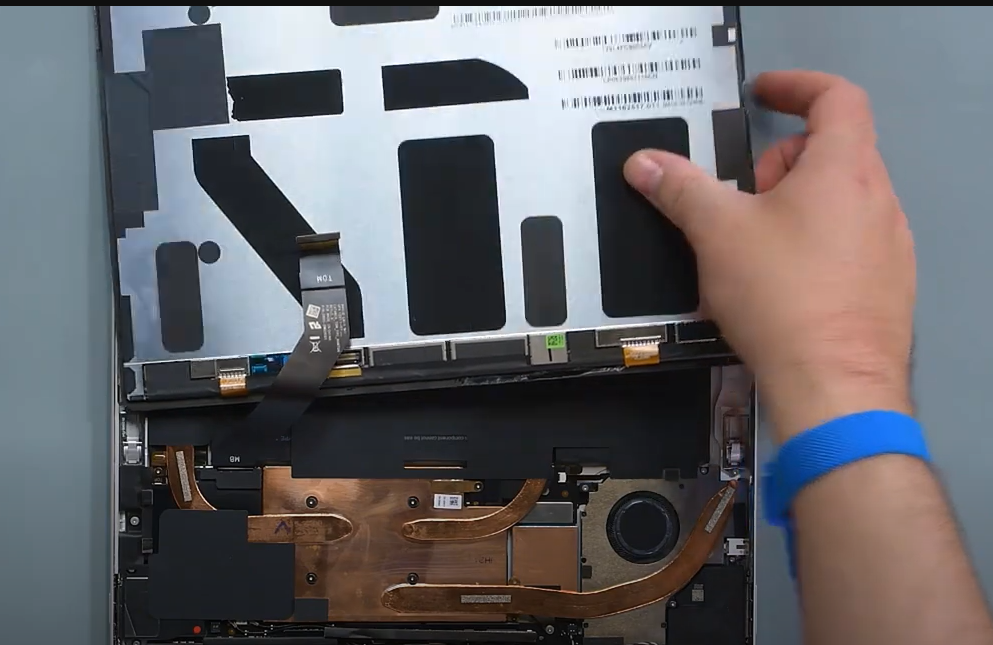
*You cannot remove the screen at this time. The screen is still connected.
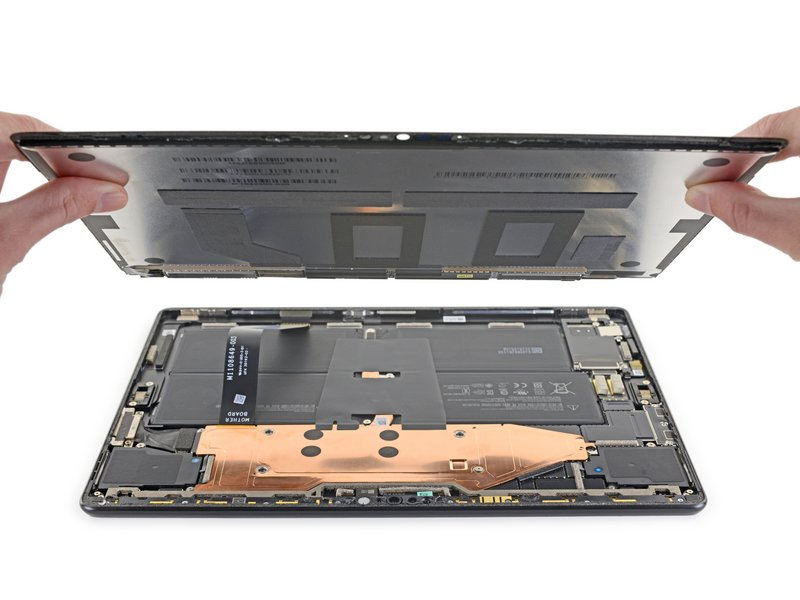
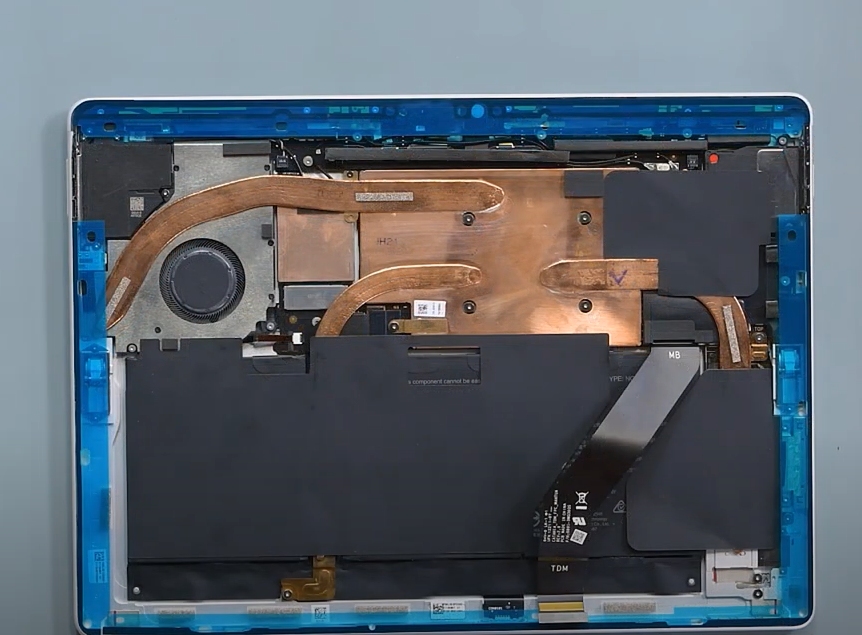
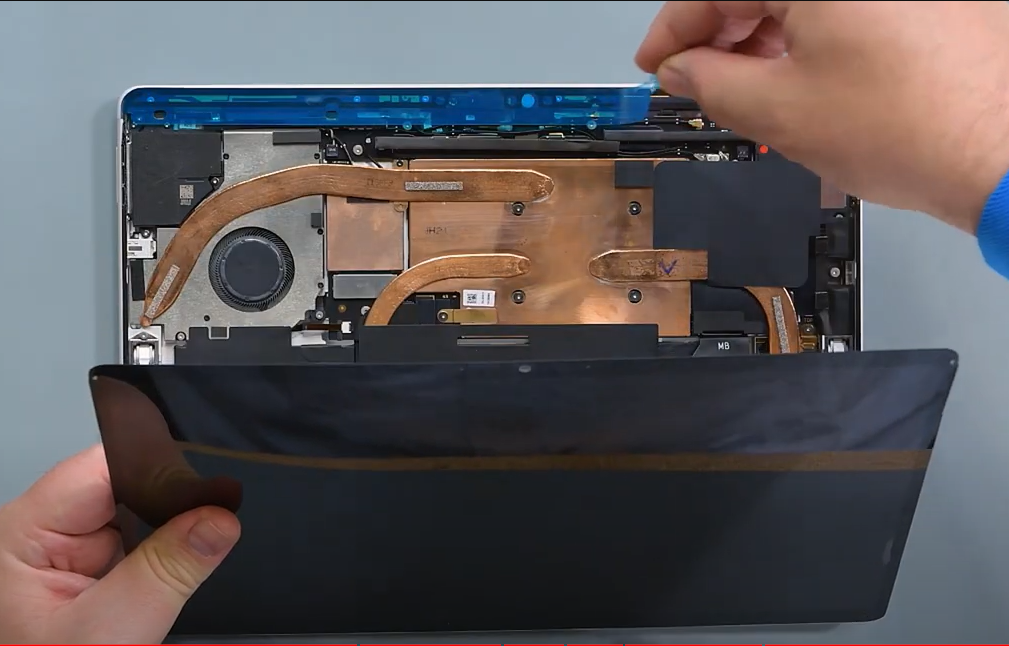
*Be careful and keep the screen as close as possible to the frame. The display cable is connected to the motherboard.
*Do not hit the battery with the screen. A damaged battery can leak harmful chemicals or cause a thermal event.
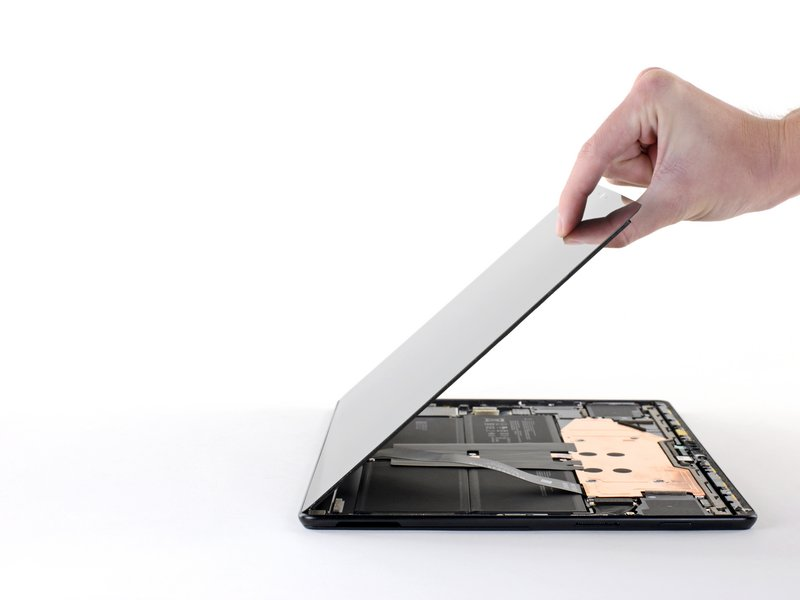
*Gently lift up the screen from the edge.
*Be sure to lift it to the 30° angle from the Surface Pro 8
*In case you feel any resistance leave the screen immediately. Separate the adhesive entirely with the help of an opening tool.
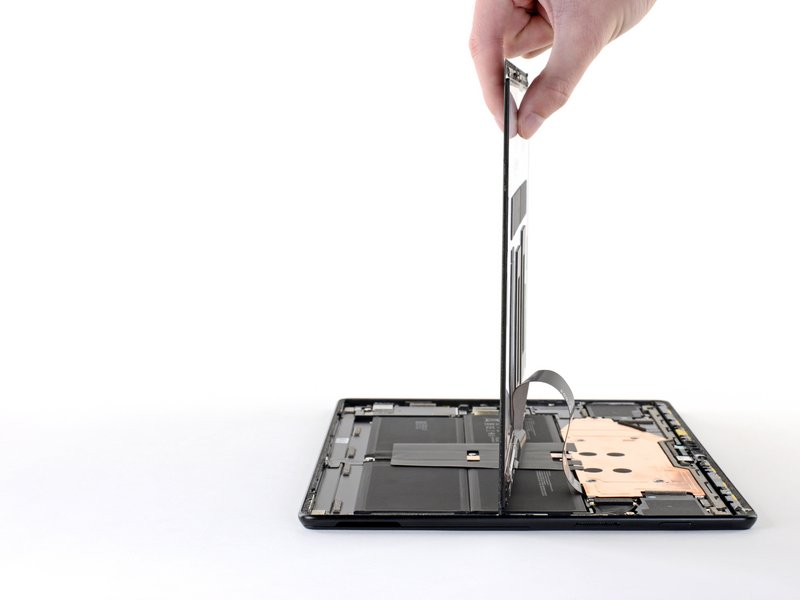
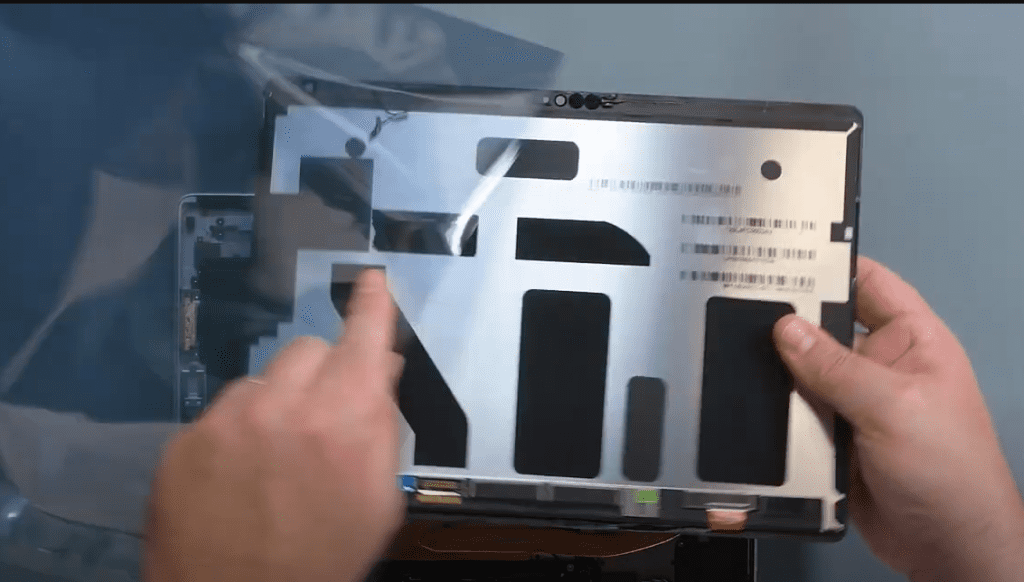
*Now rotate the screen and set it in the middle of the Surface Pro 8 At this time The screen should be perpendicular to the frame.
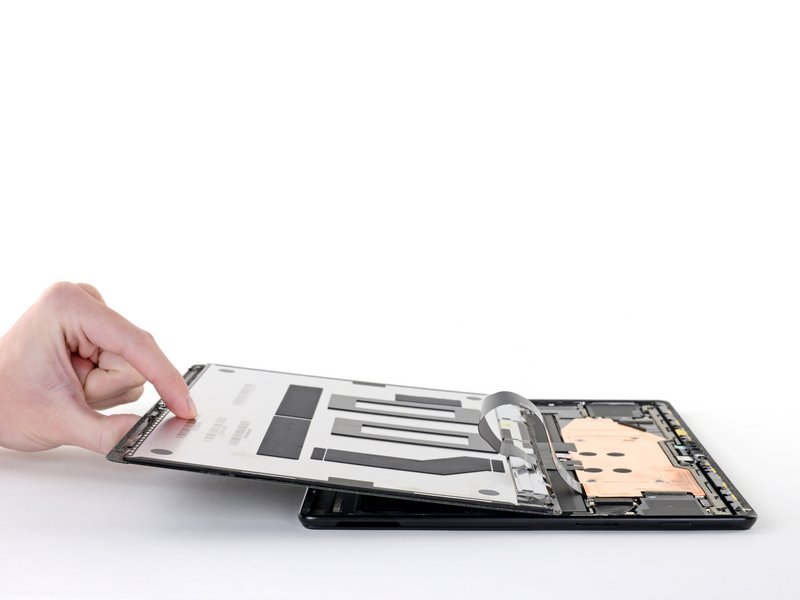
*Rotate the screen around 90° facing down.
*Place the screen on the frame.
Step #18. Pry Up The Screen Cable Shield
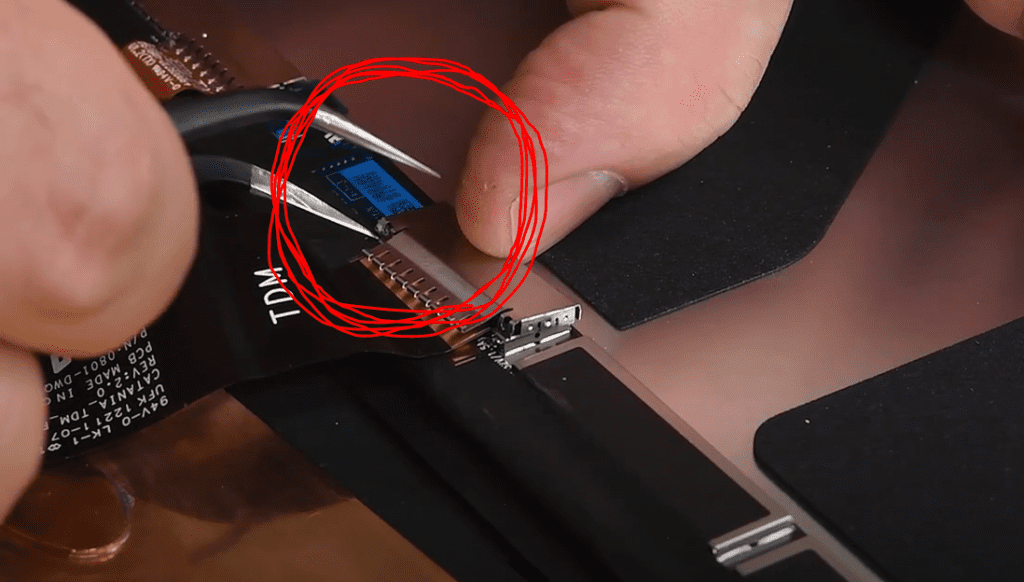
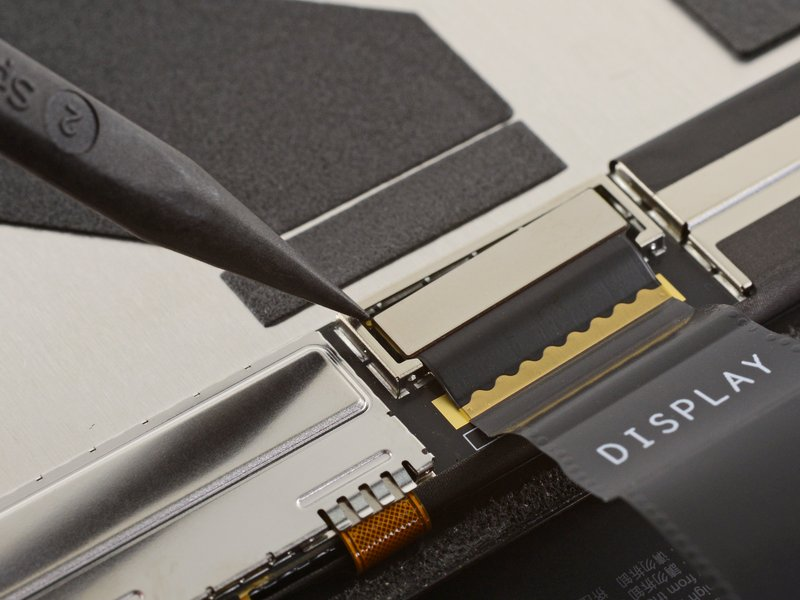
*Specifically it’s time to insert the tip of the pointed tweezers under the bottom right corner of the display shield.
*The display cable of the Surface Pro 8 is facing down under this shield.
*Pry it up to detach the corner.
Step #19. Repeat The Above Step For The Bottom Right Corner
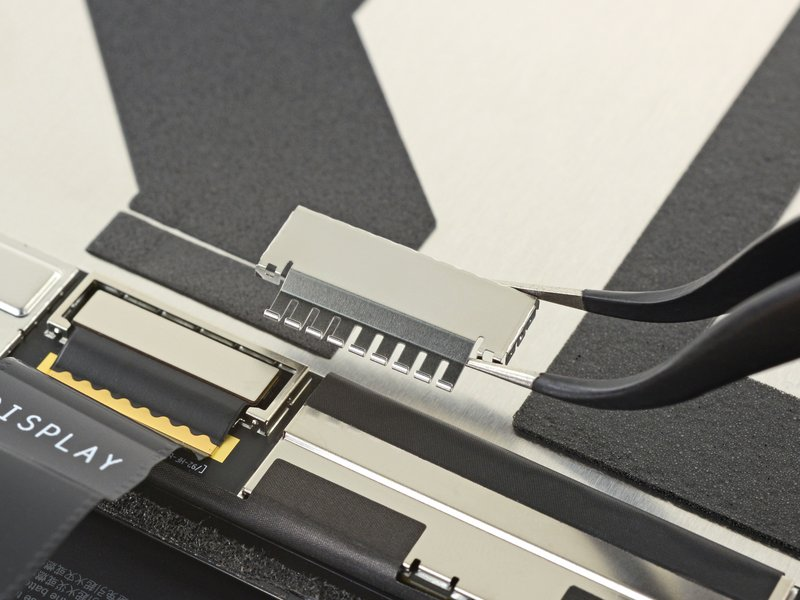
*Now insert the tweezer tip under the bottom left corner of the display cable shield.
*Lift it up from this side to make a gap and remove it.
*If the cable shield is detached easily, that’s good. Otherwise gently pry it up with the help of tweezers and separate it from the edges of the shield.
Step #20. Disconnect The Screen
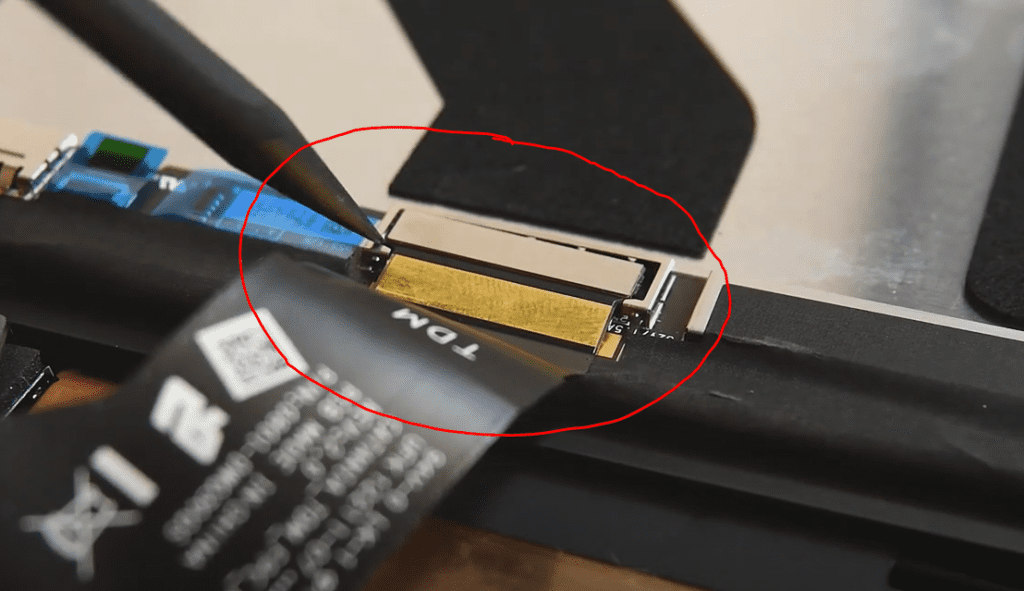
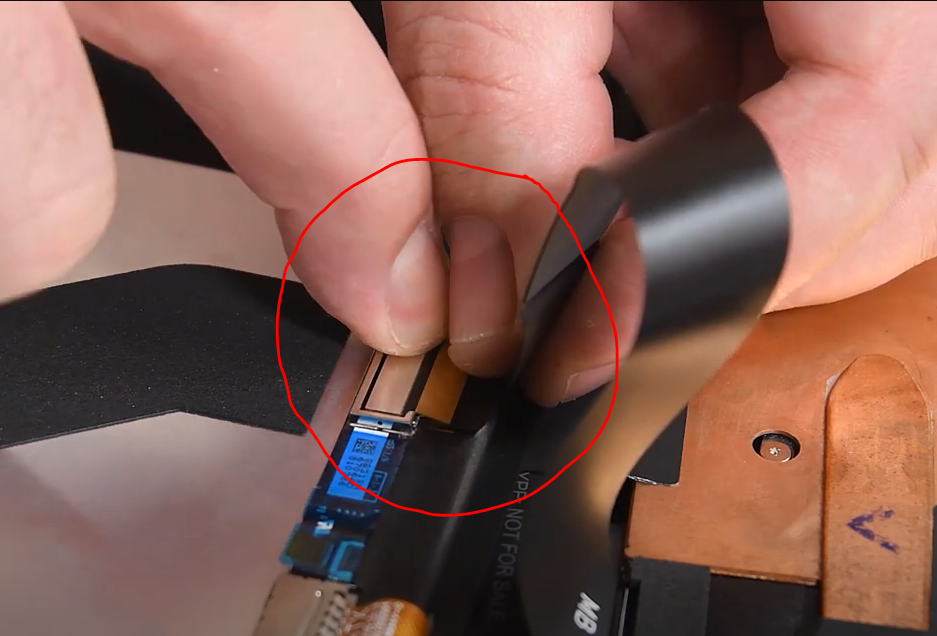
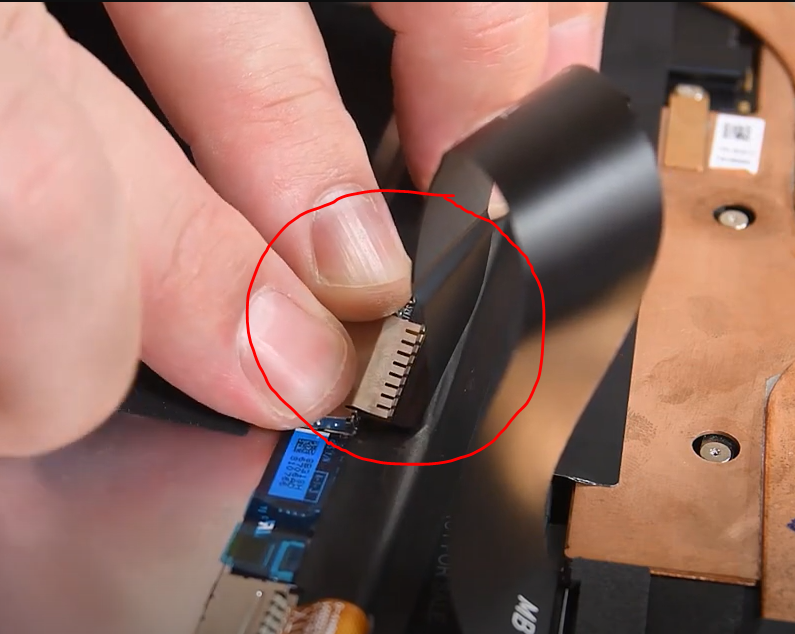
*After removing the cable shield you access the screen cable.
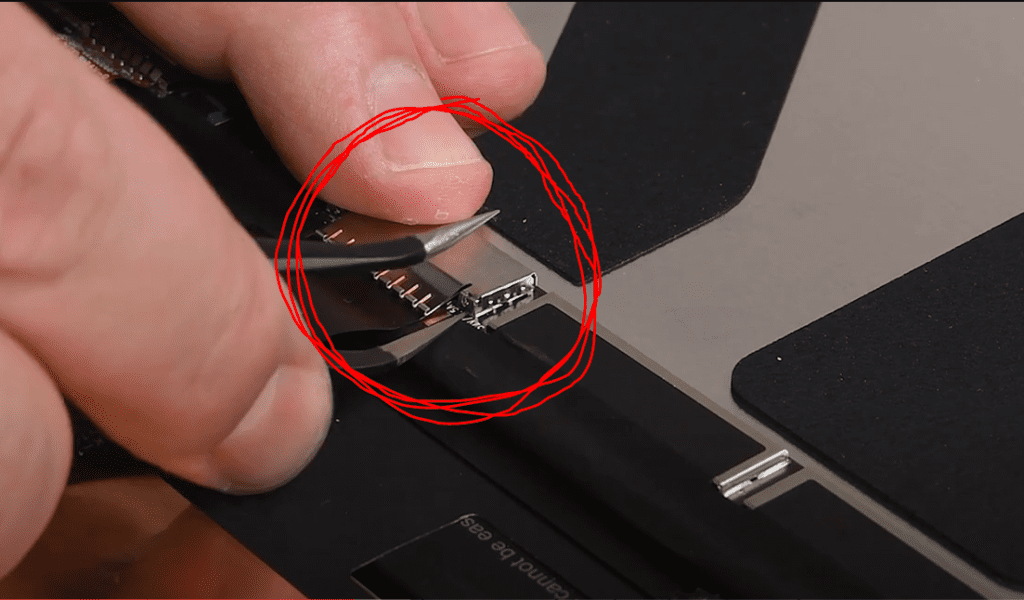
*Use a spudger and gently insert its pointed end under the right corner of the press screen cable connector.
*With a slide push you can seperate the right corner of the press connector.
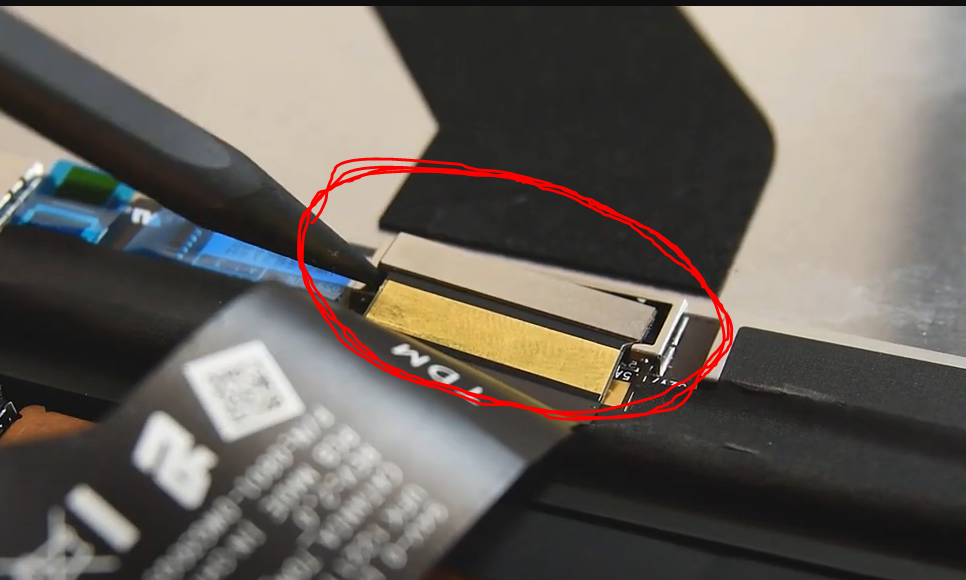
Step #21. Repeat The Previous Step On The Left Side
Simply repeat the same procedure for the left side of the screen cable.
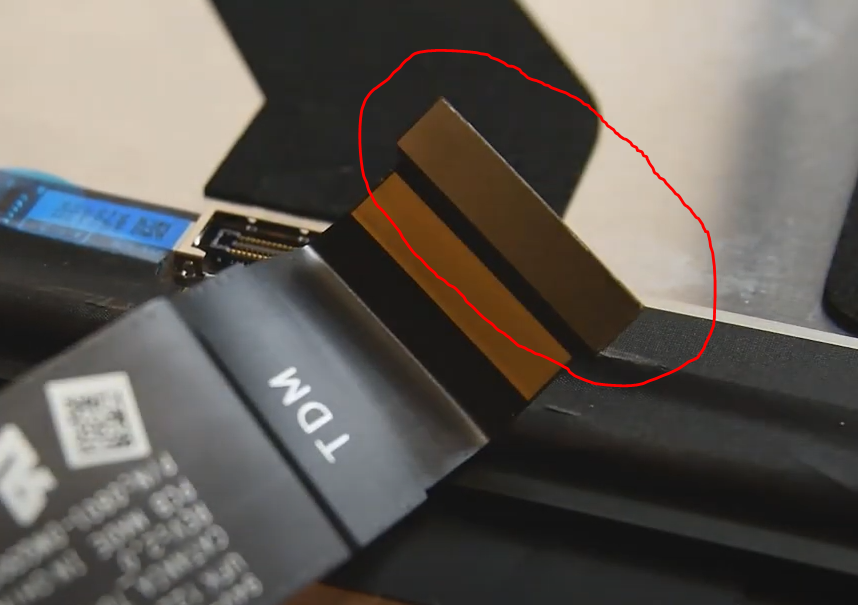
Push it with the pointed tip of the spudger and remove the Surface Pro 8 screen cable connector.
Step #22. Separate The Screen
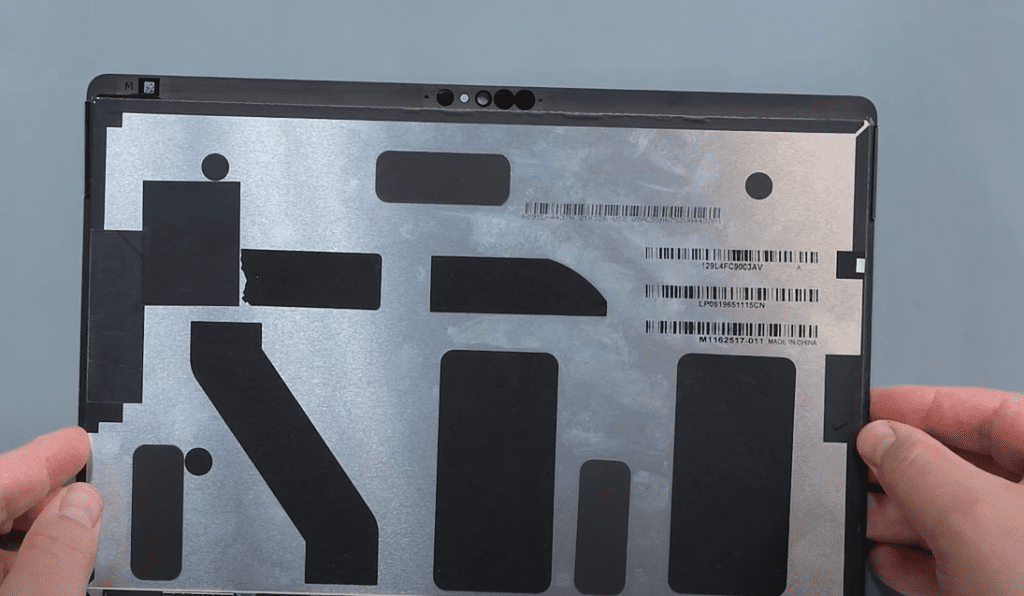
Now you can remove the screen from the Frame for Surface Pro 8 screen replacement.
Speaker Gill Information
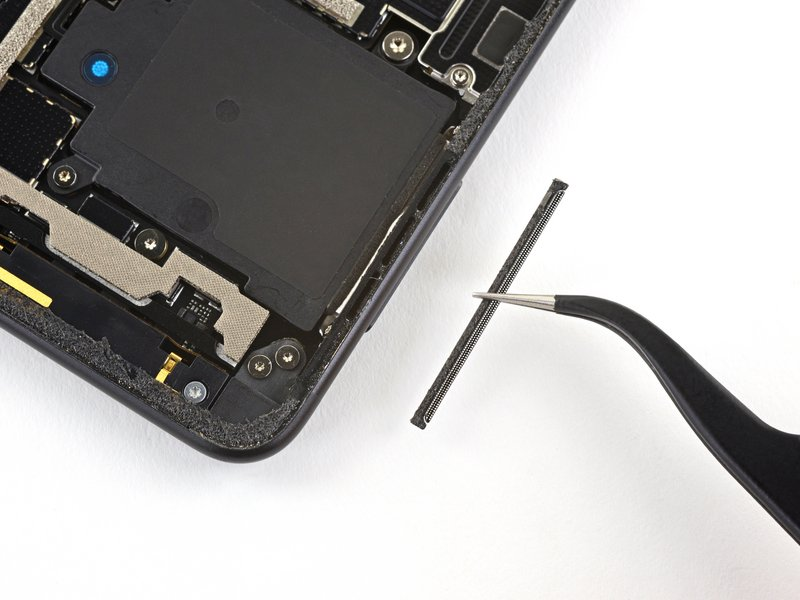
If the speaker grilles are stuck to the frame or the screen, and you want to replace a frame-attached grille, here’s what you can do.
*Use an opening pick to cut the adhesive under the grille.
*Take off the speaker grille.
*Do the same for the other speaker grille.
To replace or transfer a speaker grille attached to the Surface Pro 8 screen start this by cutting through the adhesive under the grille using an opening pick.
*Once the adhesive is cut carefully remove the speaker grille.
*Repeat the same process for the other speaker grille.
Step #23. Install The New Screen Of The Surface Pro 8
With careful hands it is time to change the Surface Pro 8 screen.
Step #24. Connect The Display Cable
*When reattaching press connectors such as this one make sure they are carefully aligned.
*Gently press down on one side until it clicks securely into place.
*Repeat the process on the other side.
*Avoid pressing down on the middle to prevent potential pin bending and permanent damage.
Step #25. Place The Display Cable Shield
With careful hands place the display cable shield and gently press it.
Gently settle it and fit it in its place to secure the display cable connector.
Information About Screen Adhesive
To replace the screen adhesive, follow these steps.
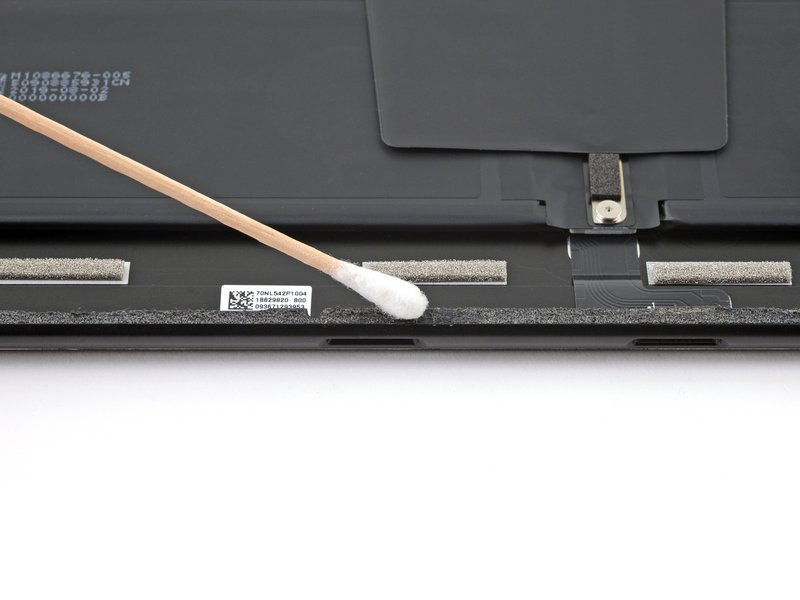
*Apply a few drops of isopropyl alcohol with high concentration (90% or higher) to the adhesive.
*Use a cotton swab or the flat end of a spudger to scrape away the adhesive.
*Wipe away any remaining adhesive with a lint-free cloth or coffee filter.
*Ensure the surface is completely dry before applying replacement adhesive.
*Apply new adhesive strips or pre-cut adhesive to the frame where the old screen adhesive was located.
Step #26. Verify Screen Functionality
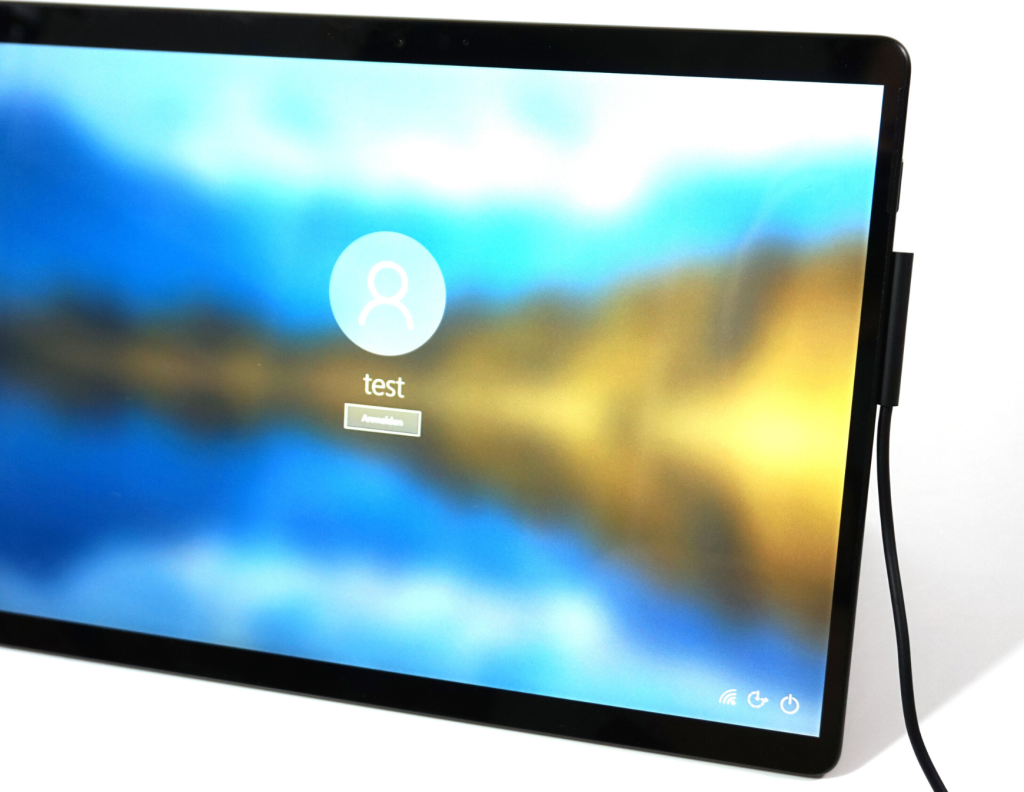
At this stage, it’s crucial to ensure the screen is functioning correctly. Power on the Surface Pro 8 tablet and confirm that the display is responsive and free from any abnormalities. Check for proper touch functionality and verify that there are no dead pixels or irregularities in the screen’s performance. This step ensures the success of the Surface Pro 8 screen replacement process and guarantees a fully operational device.
Step #27. Aligning the Screen
Once you’ve verified the functionality of the new screen the next step is to align it carefully with the Surface Pro 8. Gently place the screen in position ensuring it matches the edges and fits securely within the frame. Take extra care to align the screen correctly to prevent any display or touch functionality issues. This correct alignment ensures a seamless and professional finish to your Surface Pro 8 screen replacement.
Conclusion
Finally congratulations! You have successfully done with the Surface Pro 8 Screen Replacement. We hope this guide has helped you at every stage and made this screen replacement journey smooth and ultimately successful.
However we must follow this guide carefully and not miss any steps. Keep in your mind all the precautions. Though the Surface Pro 8 screen replacement is easy. But if you are confused don’t do it alone. Consider an authorized and professional service center such as Screen Fixed.
We will see you in the next guide. Until then have a good journey with your Surface Device.
